What’s the perfect side dish for a weeknight dinner? Try this easy tangy pickled cherry tomatoes recipe made with fresh homemade ingredients for a quick family favorite, Save for later
Tangy Pickled Cherry Tomatoes Recipe
Introduction
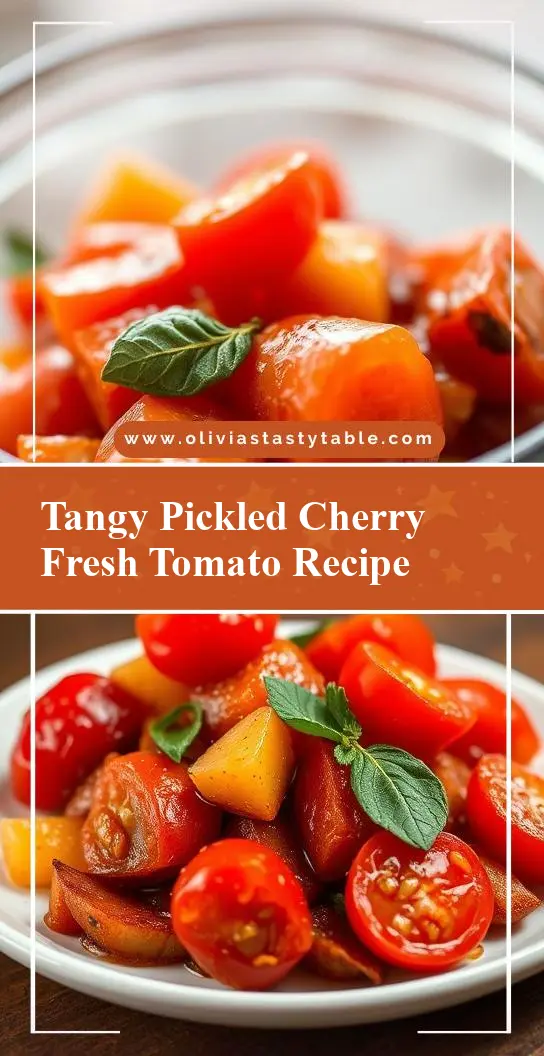
Pickling is an age-old method of preserving vegetables that not only extends their shelf life but also enhances their flavor and texture. Among the numerous vegetables that can be pickled, cherry tomatoes stand out for their natural sweetness and the burst of juicy flavor they add to any dish. This Tangy Pickled Cherry Tomatoes Recipe is a delightful combination of ease, flavor, and creativity, using everyday ingredients to create a side dish or topping that elevates salads, sandwiches, and snacks to a whole new level. With its perfect balance of tanginess and sweetness, this recipe is sure to become a favorite in your kitchen.
Why This Works
- Flavor balance and ingredient accessibility: The recipe strikes a perfect balance between the natural sweetness of cherry tomatoes and the tanginess of the pickling liquid, making it appealing to a wide range of tastes. Moreover, all the ingredients are easily accessible in most supermarkets, making this a practical choice for any meal.
- Ease of preparation: The preparation process is straightforward and simple, requiring minimal cooking skills and effort. This makes it an ideal recipe for beginners or for those looking for a quick and delicious addition to their meals.
- Impressive results with minimal effort: Despite its simplicity, the end result is impressive and can add a gourmet touch to any dish. The pickled cherry tomatoes can be used as a topping for salads, as a side dish, or even as a unique ingredient in homemade sandwiches and wraps.
Key Ingredients
The main ingredients in this recipe include cherry tomatoes, vinegar (preferably white wine or apple cider vinegar for a lighter flavor), sugar, salt, garlic, and fresh dill. Cherry tomatoes are the star of the show, providing natural sweetness and a pop of color. Vinegar gives the pickling liquid its tanginess, while sugar helps balance out the flavors. Salt enhances the overall flavor, and garlic adds a depth of flavor without overpowering the other ingredients. Fresh dill contributes a bright, fresh flavor that complements the cherry tomatoes perfectly. For practical substitutions, you can use other types of vinegar or herbs like basil or parsley, depending on your personal preferences and the dishes you plan to pair the pickled tomatoes with.
Instructions
- Step 1: Begin by washing and preparing the cherry tomatoes. Rinse them under cold water, and then pat them dry with a paper towel to remove excess moisture. This step is crucial as it helps the pickling liquid adhere to the tomatoes more evenly.
- Step 2: In a medium saucepan, combine the vinegar, sugar, salt, and minced garlic. Bring the mixture to a boil over medium heat, stirring occasionally to dissolve the sugar and salt. Once boiling, reduce the heat to low and let it simmer for about 5 minutes, allowing the flavors to meld together.
- Step 3: Pack the cherry tomatoes into a clean glass jar or container, leaving about 1/2 inch of space at the top. Pour the hot pickling liquid over the tomatoes, making sure they are completely covered. Add fresh dill on top for extra flavor and visual appeal. Seal the jar and let it cool to room temperature.
- Step 4: Once the jar has cooled, refrigerate it. The pickled cherry tomatoes will be ready to eat in a few hours and will keep in the refrigerator for up to 2 weeks. Before serving, give the jar a good shake to redistribute the flavors and textures.
Handy Tips
- For the best flavor, use fresh and high-quality ingredients. Fresh cherry tomatoes will have the best flavor and texture, and using good quality vinegar will impact the overall taste of the pickling liquid.
- Adjust the amount of garlic and dill according to your taste preferences. Some people might prefer a stronger garlic flavor, while others might like a more subtle hint of dill.
- Always use a clean and sterilized jar to pack the pickled tomatoes. This will help prevent spoilage and ensure the pickles stay fresh for a longer period.
Heat Control
When cooking the pickling liquid, it’s essential to monitor the heat to prevent it from becoming too hot. The ideal temperature for simmering the liquid is around medium to low heat, where you can see gentle bubbles rising to the surface. This temperature helps to slowly infuse the flavors into the liquid without burning the sugar or causing the vinegar to evaporate too quickly. The simmering time is about 5 minutes, during which you should occasionally stir the mixture to ensure all the ingredients dissolve evenly.
Crunch Factor
The crunch factor in this recipe comes from the fresh cherry tomatoes and the texture added by the pickling liquid. To maintain the crunchiness of the tomatoes, it’s crucial not to overcook them. The hot pickling liquid will slightly soften the tomatoes, but they should still retain some of their firmness and crunch. If you prefer your pickles softer, you can leave them in the pickling liquid for a longer period, but be careful not to let them become too soft or mushy.
Pro Kitchen Tricks
- Use a variety of cherry tomato colors to add visual appeal to your pickles. Mixing red, yellow, and orange cherry tomatoes can create a beautiful and appetizing presentation.
- Experiment with different spices and herbs to create unique flavor profiles. For example, adding a pinch of red pepper flakes can give your pickles a spicy kick, while using fresh basil instead of dill can offer a sweeter and more Italian-inspired flavor.
- For a quicker pickling process, you can use a microwave to heat the pickling liquid instead of simmering it on the stove. However, be cautious and heat it in short intervals, stirring between each heating to avoid overheating.
Storage Tips
- Store the pickled cherry tomatoes in the refrigerator at a temperature of 40°F (4°C) or below. This will help slow down the fermentation process and keep the pickles fresh for a longer period.
- Always check the pickles before consuming them. Look for signs of spoilage such as off smells, slimy texture, or mold. If you notice any of these signs, discard the pickles immediately.
- For longer storage, you can can the pickled cherry tomatoes using a water bath canner. This process involves heating the jars in boiling water to kill off any bacteria and create a vacuum seal, allowing the pickles to be stored at room temperature for up to a year.
Gift Packaging Ideas
If you’re considering gifting your homemade pickled cherry tomatoes, there are several creative ways to package them. You can use decorative glass jars with tight-fitting lids, wrap the jars in a colorful cloth or paper, and add a ribbon or a gift tag with the ingredients and storage instructions. Another idea is to pair the pickled tomatoes with other homemade goodies like artisanal cheeses, crackers, or chutneys, and present them in a gift basket or a wooden crate. This makes for a thoughtful and unique gift that showcases your culinary skills and attention to detail.
Flavor Variations
- 🌟 Different spices: Adding a pinch of cumin, coriander, or smoked paprika can give your pickles a smoky and earthy flavor. For a more exotic taste, you can experiment with spices like cinnamon, allspice, or cardamom.
- 🌟 Creative toppings: Use your pickled cherry tomatoes as a topping for salads, sandwiches, and burgers. They also pair well with grilled meats, fish, and as a side dish for barbecues and picnics.
- 🌟 Ingredient swaps: Instead of using cherry tomatoes, you can pickle sliced cucumbers, carrots, or bell peppers. Each vegetable will have a unique flavor and texture, offering a variety of options for your pickling adventures.
Troubleshooting
- Texture problems: If your pickles turn out too soft or mushy, it might be because they were overcooked in the pickling liquid or left at room temperature for too long. To avoid this, ensure the pickling liquid is not too hot, and store the pickles in the refrigerator as soon as they’re cooled.
- Ingredient replacements: If you don’t have all the ingredients, you can substitute them with similar alternatives. For example, you can use lemon juice instead of vinegar for a lighter flavor, or omit the garlic if you’re not a fan of its taste.
- Over/undercooking signs: Overcooking can be identified by the pickles becoming too soft or the liquid turning into a syrup. Undercooking might result in the pickles not being sour enough or the flavors not being fully developed. Adjust the cooking time and temperature accordingly to achieve the perfect balance.
FAQs
- Can I freeze it? Yes, you can freeze pickled cherry tomatoes, but it’s essential to follow the proper freezing and thawing procedures to maintain their texture and flavor. Freeze them in airtight containers or freezer bags, and thaw them in the refrigerator when you’re ready to use them.
- Is it gluten-free? Yes, this recipe is gluten-free, making it suitable for individuals with gluten intolerance or sensitivity. However, always check the ingredients of the vinegar and any additional spices you might use to ensure they are gluten-free.
- Can I double the recipe? Yes, you can easily double or triple this recipe if you need a larger quantity. Just ensure you have enough jars or containers to store the pickles, and adjust the cooking time slightly if you’re dealing with a larger batch.
Conclusion
This Tangy Pickled Cherry Tomatoes Recipe is a versatile and delicious addition to any meal, offering a perfect blend of tanginess, sweetness, and freshness. With its ease of preparation, impressive results, and the ability to customize the flavors, this recipe is sure to become a staple in your kitchen. Whether you’re a seasoned cook or a beginner, the step-by-step instructions and handy tips provided will guide you through the process, ensuring you achieve the best possible results. So, don’t hesitate to experiment, share, and enjoy the fruits of your labor with family and friends. Happy cooking!