Need a quick energy boost? Try these easy no-bake pumpkin pie energy balls made with homemade rolled oats and pumpkin puree, a perfect family favorite snack, save for later
Pumpkin Pie Energy Balls – No-Bake Recipe
Introduction
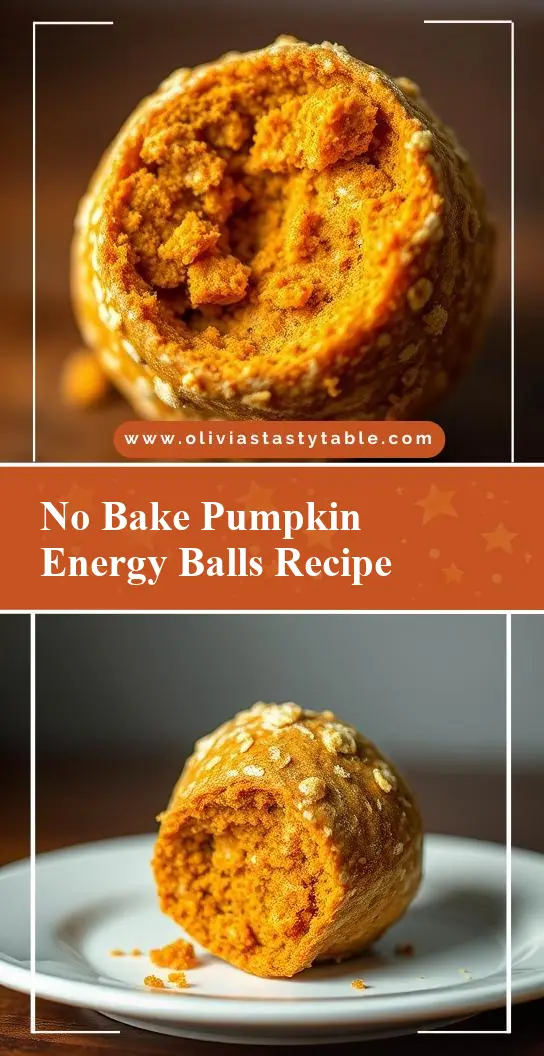
Get ready to indulge in the warm, comforting flavors of pumpkin pie in a convenient, bite-sized package with our Pumpkin Pie Energy Balls – No-Bake Recipe. This innovative treat combines the essence of the classic dessert with the practicality of an energy ball, making it perfect for a quick snack or as a healthy addition to your lunchbox. The best part? It requires no baking, making it accessible to everyone, regardless of their baking skills. With everyday ingredients and a dash of creativity, you can create these delicious energy balls that capture the spirit of autumn in every bite.
Why This Works
- Flavor balance and ingredient accessibility: The combination of rolled oats, pumpkin puree, and spices like cinnamon and nutmeg creates a flavor profile that is both familiar and inviting. The ingredients are also easily found in most supermarkets, making this recipe highly accessible.
- Ease of preparation: One of the standout features of this recipe is its simplicity. With no baking required, you can mix all the ingredients together in a matter of minutes, roll them into balls, and refrigerate until they’re set.
- Impressive results with minimal effort: Despite the ease of preparation, the end result is impressive. These energy balls are not only delicious but also visually appealing, making them a great option for potlucks, parties, or as a gift for friends and family.
Key Ingredients
The main ingredients in this recipe include rolled oats, pumpkin puree, creamy peanut butter, honey, chia seeds, cinnamon, nutmeg, and a pinch of salt. Each ingredient plays a crucial role in the texture and flavor of the energy balls. For instance, the oats provide a solid base, while the pumpkin puree adds moisture and that unmistakable pumpkin flavor. The peanut butter and honey work together to bind the ingredients and add sweetness. If you’re allergic to peanut butter, you can substitute it with almond butter or sunflower seed butter for a similar effect. Chia seeds are added for an extra nutritional boost, contributing omega-3 fatty acids and fiber to each energy ball.
Instructions
- Step 1: Begin by preparing your ingredients. In a large mixing bowl, combine 2 cups of rolled oats, 1/2 cup of pumpkin puree, 1/4 cup of creamy peanut butter, 2 tablespoons of honey, 1 tablespoon of chia seeds, 1/2 teaspoon of cinnamon, 1/4 teaspoon of nutmeg, and a pinch of salt. Mix these ingredients together until they form a consistent dough. If the dough is too dry, you can add a bit more honey. If it’s too wet, add some more oats.
- Step 2: With your dough ready, it’s time to shape your energy balls. Use your hands to scoop out small portions of the dough, about 1 tablespoon each, and roll them into balls. You should end up with around 12-15 energy balls, depending on their size.
- Step 3: Place the rolled energy balls on a baking sheet lined with parchment paper. If desired, you can roll them in additional oats or chia seeds for extra texture and nutrition.
- Step 4: Refrigerate the energy balls for at least 30 minutes to set. Once they’re firm, you can store them in an airtight container in the refrigerator for up to a week. These energy balls are perfect for grabbing on the go or as a quick snack at work or school.
Handy Tips
- When mixing the dough, make sure all the ingredients are well incorporated. If you find the dough too sticky, refrigerate it for 10 minutes to firm up before rolling into balls.
- For an extra crunchy exterior, you can chill the shaped energy balls in the freezer for 10 minutes before storing them in the refrigerator.
- Be mindful of the consistency of your pumpkin puree. If it’s too watery, you might need to adjust the amount of oats to achieve the right dough consistency.
Heat Control
Since this recipe is no-bake, you don’t have to worry about heat control. However, keeping the energy balls refrigerated is crucial to maintain their texture and freshness. If you live in a very warm climate, you might consider storing them in the freezer to prevent them from becoming too soft.
Crunch Factor
The crunch factor in these energy balls comes from the rolled oats and chia seeds. If you prefer a softer texture, you can reduce the amount of oats or add a bit more honey to the dough. For an extra crunchy exterior, consider rolling the energy balls in additional oats or nuts after they’ve been chilled.
Pro Kitchen Tricks
- To make the energy balls more uniform, use a small cookie scoop to portion out the dough before rolling it into balls.
- Experiment with different spices like ginger or cardamom to give your energy balls a unique flavor twist.
- For a chocolatey variation, melt some dark chocolate and dip the tops of the chilled energy balls into it for a delicious chocolate-pumpkin combination.
Storage Tips
- Store the energy balls in an airtight container in the refrigerator for up to a week.
- For longer storage, consider freezing the energy balls. Simply place them in a single layer in a freezer-safe bag or container and store in the freezer for up to 2 months. Allow them to thaw at room temperature or in the refrigerator when you’re ready to eat them.
- Keep in mind that the energy balls will soften over time, especially if stored at room temperature. Always refrigerate or freeze them to maintain their texture.
Gift Packaging Ideas
Flavor Variations
- 🌟 Different spices: Try adding a pinch of ground ginger or a few grinds of black pepper to your energy balls for an extra depth of flavor.
- 🌟 Creative toppings: Once your energy balls are set, you can roll them in coconut flakes, chopped nuts, or even candy pieces for a fun and colorful snack.
- 🌟 Ingredient swaps: Substitute the peanut butter with another nut butter like almond or cashew butter, or use maple syrup instead of honey for a slightly different flavor profile.
Troubleshooting
- Texture problems: If your energy balls are too dry, add a bit more honey or peanut butter. If they’re too wet, add some more oats.
- Ingredient replacements: Always read the labels of your ingredients to ensure they fit your dietary needs. For gluten-free, ensure your oats are processed in a gluten-free facility.
- Over/undercooking signs: Since this is a no-bake recipe, you don’t have to worry about overcooking. However, if your energy balls are too soft, they might not have been chilled long enough. If they’re too hard, they might have been over-chilled.
FAQs
- Can I freeze it? Yes, you can freeze the energy balls for up to 2 months. Simply thaw them at room temperature or in the refrigerator when you’re ready to eat them.
- Is it gluten-free? This recipe can be gluten-free if you use gluten-free oats. Always check the packaging of your oats to ensure they are processed in a facility that does not handle gluten.
- Can I double the recipe? Yes, you can easily double or triple this recipe if you need to make more energy balls. Just keep in mind that you might need to adjust the chilling time slightly if you’re making a larger batch.
Conclusion
Making Pumpkin Pie Energy Balls is a fun and rewarding experience that combines the joy of cooking with the simplicity of no-bake recipes. These energy balls are perfect for anyone looking for a healthy snack that’s also delicious and easy to make. Feel free to experiment with different ingredients and flavors to make the recipe your own, and don’t hesitate to share your creations with friends and family. Whether you’re a seasoned chef or a beginner in the kitchen, this recipe is sure to become a favorite. So go ahead, get creative, and enjoy the process of making something truly special with our Pumpkin Pie Energy Balls – No-Bake Recipe.