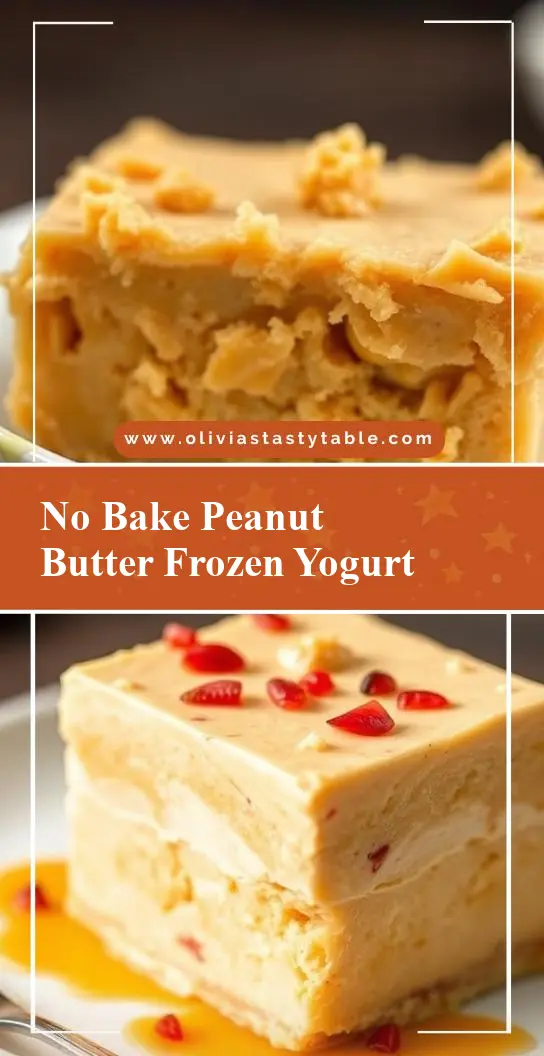
Craving a cool treat on a hot day? Try these no-bake peanut butter frozen yogurt bars made with creamy peanut butter and yogurt for a quick and easy homemade dessert, save for later
No-Bake Peanut Butter Frozen Yogurt Bars – Healthy, Creamy and Easy!
Introduction
Imagine indulging in a creamy, dreamy dessert that’s not only delicious but also healthy and incredibly easy to make. Our No-Bake Peanut Butter Frozen Yogurt Bars are the perfect treat for any time of the year, combining the richness of peanut butter with the freshness of frozen yogurt, all without needing to step into the kitchen with your oven. This recipe is a masterclass in simplicity, using everyday ingredients to create a dessert that’s both impressive and accessible. Whether you’re a busy parent looking for a quick dessert to please the kids, a health-conscious individual seeking a guilt-free treat, or simply a foodie who loves experimenting with new flavors, these bars are sure to become a favorite.
Why This Works
- Flavor balance and ingredient accessibility: The combination of peanut butter and frozen yogurt creates a perfect balance of flavors, and the best part is that these ingredients are easily found in most supermarkets.
- Ease of preparation: This no-bake recipe means you can skip the hassle of cooking altogether, making it perfect for hot summer days or for those who are not too comfortable with baking.
- Impressive results with minimal effort: Despite the simplicity of the recipe, the end result is a dessert that looks and tastes like it was made in a professional kitchen, making it ideal for serving at gatherings or parties.
Key Ingredients
The main ingredients for our No-Bake Peanut Butter Frozen Yogurt Bars include a base of graham cracker crumbs for the crust, a mixture of creamy peanut butter, powdered sugar, and vanilla extract for the peanut butter layer, and frozen yogurt for the topping. For the graham cracker crust, you can use either homemade or store-bought graham cracker crumbs. If you’re looking for a gluten-free option, consider using gluten-free crackers. The peanut butter should be creamy for the best results, but you can also use natural peanut butter if that’s your preference. For the frozen yogurt, any flavor works, but vanilla or honey flavors complement the peanut butter nicely. Feel free to get creative with toppings like chopped peanuts, chocolate chips,! or even fresh fruits to add more texture and flavor.
Instructions
- Step 1: Begin by preparing your crust. In a medium bowl, mix together 1 1/2 cups of graham cracker crumbs and 1/4 cup of sugar. Then, pour in 1/4 cup of melted butter, and mix until the crumbs are evenly moistened. Press this mixture into the bottom of a 9×9 inch baking dish lined with parchment paper. Refrigerate for about 10 minutes to set.
- Step 2: Next, prepare the peanut butter layer. In a large bowl, whip 1 cup of creamy peanut butter with 1/2 cup of powdered sugar and 1 teaspoon of vanilla extract until smooth and creamy. Spread this mixture evenly over the chilled crust. Return the dish to the refrigerator for another 30 minutes to allow the peanut butter layer to firm up.
- Step 3: Now, it’s time for the frozen yogurt layer. Simply spread 1 1/2 cups of your chosen frozen yogurt over the peanut butter layer. If using, add your desired toppings (chopped peanuts, chocolate chips, etc.) immediately after spreading the yogurt, as it will start to freeze and set quickly.
- Step 4: Finally, place the dish in the freezer to allow the frozen yogurt to set completely. This should take about 2-3 hours, depending on your freezer’s temperature. Once set, remove from the freezer, cut into bars, and serve immediately. You can store any leftovers in an airtight container in the freezer for up to a week.
Handy Tips
- For a crunchier crust, bake the graham cracker mixture in a preheated oven at 350°F (175°C) for 8-10 minutes. Let it cool completely before proceeding with the recipe.
- If you find your peanut butter mixture too thick, you can thin it out with a tablespoon or two of milk or cream. Conversely, if it’s too thin, add a bit more powdered sugar.
- Experiment with different flavors of frozen yogurt and toppings to create unique variations of the dessert.
Heat Control
Since this is a no-bake recipe, the only heat control you need to worry about is melting the butter for the crust, which can be done in a microwave-safe bowl in 10-15 second increments, stirring between each interval until smooth, or on the stovetop over low heat, stirring constantly.
Crunch Factor
The crunch in these bars comes from the graham cracker crust and any additional toppings you might choose, like chopped nuts. To ensure your crust has a nice crunch, don’t overmix the graham cracker crumbs with the sugar and melted butter, and make sure to press it firmly into the baking dish. If you’re looking for an extra crunchy topping, consider toasting your chopped nuts in a 350°F oven for 5-7 minutes, or until fragrant and lightly browned, before sprinkling them on top of the frozen yogurt.
Pro Kitchen Tricks
- Use a high-quality peanut butter for the best flavor. Natural peanut butters can separate, so make sure to stir well before using.
- Line your baking dish with parchment paper for easy removal of the bars once they’re set.
- Consider using a cookie scoop to portion out the frozen yogurt if you want uniform bars or to make bite-sized treats.
Storage Tips
- Store the bars in an airtight container in the freezer to keep them fresh for up to a week.
- For longer storage, consider wrapping each bar individually in plastic wrap or aluminum foil and placing them in a freezer bag.
- When serving, let the bars sit at room temperature for a few minutes to soften slightly for easier cutting and a creamier texture.
Gift Packaging Ideas
These bars make for a wonderful gift, especially during the summer months. Consider packaging them in decorative tins or jars, wrapped in colorful paper or bags, and tied with a ribbon. You could also include a few of your favorite toppings on the side for the recipient to customize their dessert. For a more rustic look, use Kraft paper bags and twine, and don’t forget to include a handwritten note with the recipe and storage instructions.
Flavor Variations
- 🌟 Different spices: Add a pinch of sea salt or a teaspoon of cinnamon to the peanut butter mixture for a unique twist.
- 🌟 Creative toppings: Use different types of nuts (walnuts, almonds), seeds (chia, flax), or even candy pieces (M&M’s, chocolate chips) to add texture and flavor.
- 🌟 Ingredient swaps: Replace the peanut butter with another nut butter like almond or cashew butter for a different flavor profile.
Troubleshooting
- Texture problems: If your peanut butter layer is too runny, refrigerate it for a bit to firm up. If your frozen yogurt is too hard, let it sit at room temperature for a few minutes to soften.
- Ingredient replacements: If you don’t have graham cracker crumbs, consider using crushed cookies (like Oreos or Chips Ahoy) or even crushed cereal as a substitute.
- Over/undercooking signs: Since this is a no-bake recipe, you don’t have to worry about overcooking. However, make sure your frozen yogurt is set before serving; if it’s too soft, it might not hold its shape well.
FAQs
- Can I freeze it? Yes, these bars are meant to be frozen. Simply place them in an airtight container or freezer bag and store in the freezer for up to a week.
- Is it gluten-free? The recipe can be made gluten-free by using gluten-free graham crackers or substitutes for the crust.
- Can I double the recipe? Absolutely! Just remember to adjust the size of your baking dish accordingly to ensure the bars are not too thick.
Conclusion
With these No-Bake Peanut Butter Frozen Yogurt Bars, you’re not only treating yourself and your loved ones to a delicious dessert, but you’re also embracing the simplicity and joy of cooking without the fuss of baking. Feel free to experiment with different flavors and toppings to make this recipe your own, and don’t hesitate to share your creations with friends and family. The beauty of this dessert lies in its ease and versatility, making it a perfect addition to any meal or gathering. So go ahead, get creative, and enjoy the cool, creamy goodness of these amazing bars!