Need a glow boost? Try this easy DIY salt scrub recipe made with natural ingredients like sea salt and coconut oil for a quick homemade spa treatment, save for later
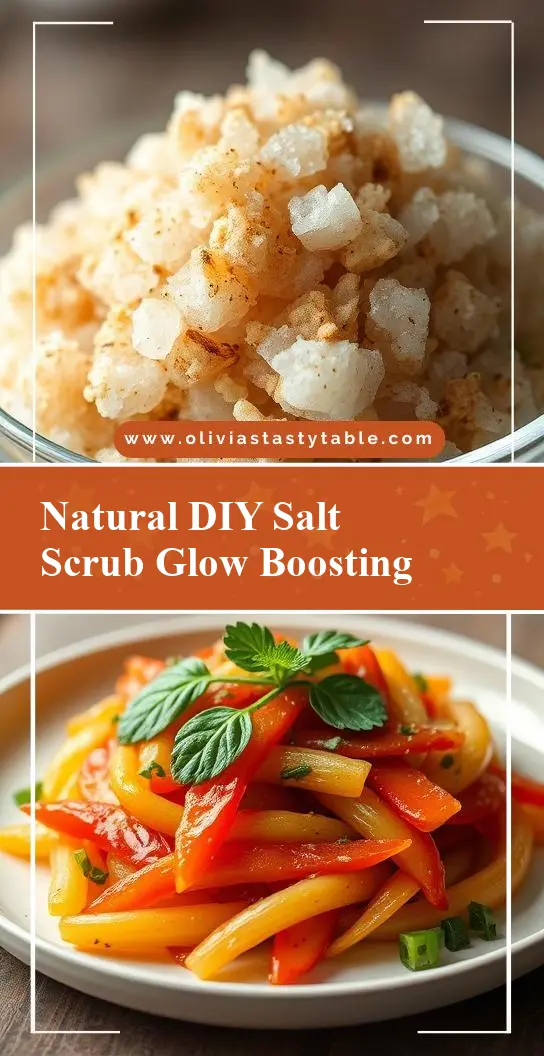
DIY Salt Scrub Recipe – Simple, Natural & Glow-Boosting!
Introduction
Creating your own DIY salt scrub at home is not only incredibly easy, but it’s also a fun and creative way to pamper yourself with natural ingredients that are likely already in your pantry. This recipe combines the exfoliating power of salt with the nourishing benefits of oil and essential oils, making it a perfect way to boost your skin’s glow and health. The best part? You can customize it to your liking with different flavors and ingredients, making each batch a unique experience tailored to your skin type and preferences. Whether you’re looking for a relaxing spa-like experience at home or a thoughtful, handmade gift for friends and family, this DIY salt scrub recipe has got you covered.
Why This Works
- The balance of salt and oil provides the perfect blend of exfoliation and moisturization, making it suitable for most skin types.
- The ease of preparation means you can whip up a batch in no time, using ingredients that are readily available and probably already stocked in your home.
- Despite the simplicity, the results are impressive, leaving your skin feeling smooth, soft, and rejuvenated with minimal effort.
Key Ingredients
The main ingredients in this DIY salt scrub recipe include salt, which acts as a natural exfoliant to remove dead skin cells; a carrier oil like coconut or olive oil, which moisturizes and nourishes the skin; and essential oils, which not only provide a pleasant aroma but also offer various skin benefits depending on the type chosen. For example, lavender oil is known for its calming properties, while lemon oil can help brighten the skin. You can also add other ingredients like dried herbs, flower petals, or even a teaspoon of honey for extra moisturizing properties. Practical substitutions can be made based on personal preferences and skin types; for instance, using Epsom salt instead of regular salt can add additional benefits like reducing inflammation.
Instructions
- Step 1: Begin by preparing your ingredients. Measure out 1 cup of salt and 1/2 cup of your chosen oil. If using, add a few drops of essential oil and any additional ingredients like dried herbs.
- Step 2: In a bowl, mix the salt and oil together until you get a consistent texture. It should be moist but not too oily. If needed, adjust the amount of oil to achieve the desired consistency.
- Step 3: Add your essential oils or any other additives and mix well. This is the stage where you can get creative with different scents and ingredients to customize your scrub.
- Step 4: Transfer your DIY salt scrub to an airtight container. You can use glass jars or any other container that suits your storage needs. Decorate the jar if you plan to give it as a gift, or simply store it in your bathroom for personal use.
Handy Tips
- When choosing your essential oils, consider the benefits you want to derive from your scrub. For relaxation, opt for calming scents like lavender or chamomile. For an invigorating scrub, citrus essential oils like lemon or grapefruit are excellent choices.
- Avoid using this scrub on broken or highly sensitive skin, as the salt can cause irritation. Also, be gentle when exfoliating sensitive areas.
- For a more intense exfoliation, you can increase the ratio of salt to oil. Conversely, for a gentler scrub, reduce the amount of salt.
Heat Control
This recipe does not require heat, making it safe and easy to prepare. However, if you plan to add any ingredients that require heating, such as melting coconut oil, be sure to do so carefully and allow the mixture to cool before adding other ingredients to avoid any skin irritation or discomfort.
Crunch Factor
The desired texture of your DIY salt scrub is a balance between being coarse enough to exfoliate effectively but not so harsh that it irritates the skin. The crunch from the salt should be noticeable but still feel gentle on the skin. Adjusting the ratio of salt to oil can help achieve the perfect texture for your preference.
Pro Kitchen Tricks
- Using a high-quality salt that is designed for skin care can make a significant difference in the effectiveness and feel of your scrub.
- Experiment with different types of oil and essential oils to find the combination that works best for your skin type and preferences.
- Consider adding a teaspoon of vitamin E oil for its antioxidant properties, which can help protect the skin from damage and promote healthier skin.
Storage Tips
- Store your DIY salt scrub in an airtight container to keep it fresh and prevent moisture from affecting the texture.
- Avoid storing it in direct sunlight or near heat sources, as this can cause the oil to become rancid or the essential oils to lose their potency.
- The shelf life of your scrub can vary depending on the ingredients used, but generally, it’s best to use it within a few months of making it.
Gift Packaging Ideas
If you’re planning to give your DIY salt scrub as a gift, consider packaging it in decorative glass jars with a ribbon or label. You can also include a handwritten note with instructions on how to use the scrub and the benefits of its ingredients. For a more luxurious gift, pair the scrub with other homemade or store-bought spa products like bath salts, scented candles, or plush towels.
Flavor Variations
- 🌟 Experiment with different essential oils like peppermint for a cooling sensation, eucalyptus for a decongesting effect, or rose for its romantic and relaxing ambiance.
- 🌟 Add creative toppings or mix-ins like dried flower petals, green tea leaves, or even coffee grounds for a unique texture and visual appeal.
- 🌟 Swap out the salt for sugar for a gentler exfoliant, or use a combination of both for a tailored scrubbing experience.
Troubleshooting
- Texture problems: If your scrub becomes too dry, add a bit more oil. If it’s too oily, add a bit more salt.
- Ingredient replacements: Always choose replacements that are skin-friendly and suitable for your skin type. For example, if you’re allergic to coconut oil, you can substitute it with another carrier oil like jojoba or sweet almond oil.
- Over/under exfoliation: Be mindful of how often you use the scrub and adjust based on your skin’s response. If you find your skin becoming too sensitive, reduce the frequency of use or the amount of salt in the recipe.
FAQs
- Can I freeze it? It’s not recommended to freeze your DIY salt scrub, as the oil can separate and the texture may become unpleasant upon thawing.
- Is it gluten-free? Yes, this recipe is naturally gluten-free, making it suitable for individuals with gluten intolerance or sensitivity.
- Can I double the recipe? Absolutely, you can easily double or triple the recipe if you’re making it for multiple people or want to have some extra on hand. Just be sure to store it properly to maintain its freshness.
Conclusion
Making your own DIY salt scrub is a fun, easy, and rewarding project that can enhance your skincare routine and provide a spa-like experience in the comfort of your own home. With its natural ingredients, customization options, and the joy of creating something with your own hands, this recipe is perfect for anyone looking to elevate their self-care practices. Feel free to experiment with different ingredients and scents to make it your own, and don’t hesitate to share your creations with friends and family as a thoughtful and unique gift. Happy mixing, and enjoy the glow!