Can you resist a classic summer treat made easy at home with simple ingredients like fruit juice and ice cream. This quick homemade bomb pop recipe is a family favorite perfect for weeknights. Save for later
Homemade Bomb Pops
Introduction
Welcome to the world of refreshing treats that are perfect for hot summer days. Making Homemade Bomb Pops is easier than you think, and with a few simple ingredients, you can create a delicious and cooling dessert that’s sure to be a hit with both kids and adults. The best part? You can customize the flavors to your liking, using everyday ingredients that you might already have in your pantry. In this article, we’ll guide you through the process of making your very own Homemade Bomb Pops, with tips, tricks, and variations to make it a fun and creative experience.
Why This Works
- Flavor balance and ingredient accessibility: The combination of fruit flavors, a bit of sugar, and the crunch of ice makes for a perfectly balanced treat that’s easy to make with accessible ingredients.
- Ease of preparation: With just a few steps, you can have your Homemade Bomb Pops ready to freeze and enjoy. The process is straightforward and doesn’t require any special equipment beyond what you likely already have in your kitchen.
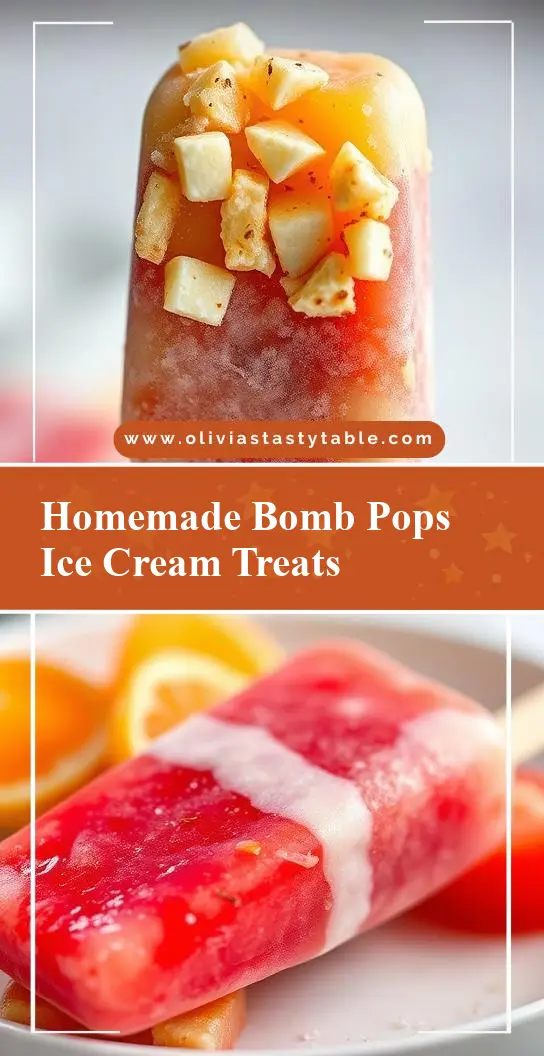
- Impressive results with minimal effort: Despite the simplicity of the recipe, the end result is impressive and sure to delight. The layers of color and flavor in each pop make them a visually appealing treat as well as a tasty one.
Key Ingredients
The main ingredients for Homemade Bomb Pops include fruit juice or puree (such as pineapple, orange, and cherry), granulated sugar, water, and ice pop molds. You can also add a bit of lemon juice for flavor and to prevent the growth of bacteria. For the fruit layers, you can use a combination of juices or purees to achieve the desired colors and flavors. Practical substitutions can be made with different types of fruit or even using lemon-lime soda for a fizzy twist.
Instructions
- Step 1: Begin by preparing your fruit juices or purees. If using fresh fruit, blend it with a little water to create a puree, then strain it to remove any pulp or seeds. If using juice, you can skip this step. Measure out the sugar and mix it with a small amount of water to create a simple syrup, which helps prevent the sugar from settling at the bottom of the pops.
- Step 2: Mix each flavor of juice or puree with a portion of the simple syrup and a bit of water. The exact amount of each will depend on the size of your ice pop molds and how intense you like the flavors. Stir well to combine and adjust the sweetness to taste.
- Step 3: Layer the different flavors into the ice pop molds. This is where you can get creative with the colors and patterns. Start with a layer of one flavor, freeze until set, then add the next layer, and so on. This process can take a few hours, depending on your freezer and the size of your pops.
- Step 4: Once all the layers are frozen, remove the pops from the molds and enjoy. You can also add additional toppings like sprinkles or chopped nuts for extra fun and texture.
Handy Tips
- Use a variety of fruits to create different colors and flavors. Experimenting with layering will give you unique patterns and tastes.
- Don’t overfill the molds, as the mixture will expand when it freezes. Leave about 1/4 inch of space at the top.
- For clearer ice pops, make sure to strain the fruit purees and use filtered water.
Heat Control
Since this recipe doesn’t involve cooking, heat control isn’t a concern. However, if you’re making your own simple syrup, heat the sugar and water mixture over low heat, stirring until the sugar dissolves. Remove from heat immediately to prevent the syrup from becoming too thick.
Crunch Factor
The crunch factor in Homemade Bomb Pops can come from adding a bit of texture to the layers, such as small pieces of fruit or even a sprinkle of edible glitter on top. However, the main texture will be smooth and icy, perfect for hot days.
Pro Kitchen Tricks
- Use a toothpick or small knife to create fun designs in the pops as they freeze. Inserting a toothpick into a partially frozen layer and swirling it can create a marbled effect.
- For easier removal from the molds, dip the molds in warm water for a few seconds before pulling out the pops.
- Keep your pops fresh by storing them in an airtight container in the freezer. This will prevent freezer burn and keep them tasting their best.
Storage Tips
- Store Homemade Bomb Pops in the freezer in airtight containers or freezer bags to maintain their texture and flavor.
- When giving as gifts, consider packaging them in insulated bags with ice packs to keep them frozen during transport.
- The shelf life of Homemade Bomb Pops is essentially the life of your freezer space. As long as they’re stored properly, they can last for several months.
Gift Packaging Ideas
Homemade Bomb Pops make great gifts, especially during the summer months. Consider packaging them in colorful paper bags or wrapping them individually in plastic wrap or aluminum foil and tying with a ribbon. You can also include a personalized note or a packet of dry ice for a fun and unique presentation.
Flavor Variations
- 🌟 Different spices: Try adding a pinch of cinnamon or nutmeg to your fruit layers for a unique twist.
- 🌟 Creative toppings: Use sprinkles, chopped nuts, or even a drizzle of honey to add extra flavor and texture to your pops.
- 🌟 Ingredient swaps: Substitute different types of fruit or use coconut milk for a creamy version. The possibilities are endless, so don’t be afraid to experiment and find your favorite combinations.
Troubleshooting
- Texture problems: If your pops are too icy, it might be due to too much water in the mixture. If they’re too soft, they might not have frozen long enough.
- Ingredient replacements: If you’re out of a particular ingredient, don’t be afraid to substitute with something similar. The key is to maintain the balance of flavors.
- Over/undercooking signs: Since this recipe involves freezing, the concern is more about the texture and consistency rather than cooking. Make sure your pops are fully frozen and firm to the touch before serving.
FAQs
- Can I freeze it? Yes, Homemade Bomb Pops are meant to be frozen. They can be stored in the freezer for several months when properly packaged.
- Is it gluten-free? Yes, as long as you’re using gluten-free ingredients, Homemade Bomb Pops are naturally gluten-free, making them a great option for those with dietary restrictions.
- Can I double the recipe? Absolutely. Simply multiply the ingredients and adjust the freezing time as needed. Keep in mind that larger batches might require longer freezing times to ensure everything is set properly.
Conclusion
Making Homemade Bomb Pops is a fun and rewarding process that allows you to get creative with flavors and textures. With these simple steps and tips, you can enjoy delicious and refreshing treats all summer long. Don’t be afraid to experiment and come up with your own unique flavor combinations. Share your creations with friends and family, and enjoy the joy of making something special with your own hands. Happy crafting, and stay cool!