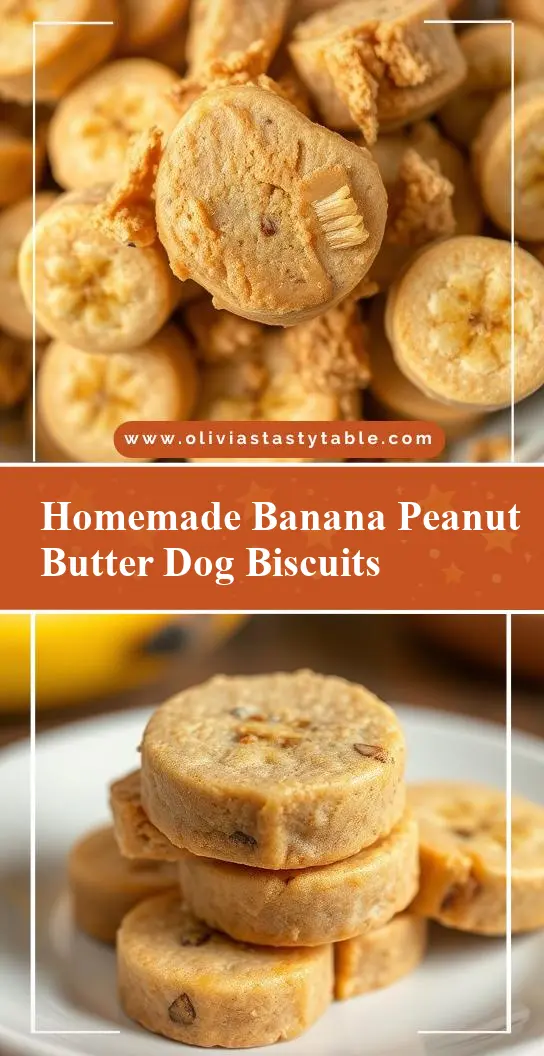
Need a healthy snack for your furry friend? Try these easy homemade banana peanut butter dog treats made with ripe bananas and creamy peanut butter for a quick and delicious family favorite – Save for later
Homemade Banana Peanut Butter Dog Treats
Introduction
Creating delicious and healthy treats for your furry friends has never been easier or more enjoyable. With just a few simple ingredients, you can whip up a batch of homemade banana peanut butter dog treats that are not only tasty but also packed with nutrients. The combination of ripe bananas and creamy peanut butter is a match made in heaven, and the best part is that you can customize these treats to suit your dog’s unique preferences and dietary needs. In this article, we’ll guide you through the process of making these mouthwatering treats, from preparation to presentation, and share some handy tips and tricks to make the experience even more enjoyable.
Why This Works
- The flavor balance between the sweetness of bananas and the richness of peanut butter is a perfect blend that dogs love, and it’s easily accessible with everyday ingredients.
- The ease of preparation is a significant advantage, as it requires minimal cooking and can be made in no time, making it perfect for busy pet owners.
- The impressive results with minimal effort are a testament to the simplicity and effectiveness of this recipe, yielding delicious treats that are sure to become your dog’s favorite snacks.
Key Ingredients
The main ingredients for these homemade banana peanut butter dog treats include ripe bananas, creamy peanut butter, whole wheat flour, and honey. You can also add in some oats or yogurt to give the treats an extra boost of nutrition. When it comes to substitutions, you can use almond butter or cashew butter instead of peanut butter, and coconut flour or oat flour instead of whole wheat flour. Just be sure to choose ingredients that are safe for your dog to consume and avoid any common allergens or toxins.
Instructions
- Step 1: Begin by preheating your oven to 350°F (180°C). Then, mash the ripe bananas in a bowl until they’re smooth and creamy. Add in the peanut butter and mix until well combined.
- Step 2: In a separate bowl, whisk together the whole wheat flour and oats. Gradually add the dry ingredients to the banana-peanut butter mixture and mix until a dough forms.
- Step 3: Roll out the dough to your desired thickness and use a cookie cutter or a glass to cut out fun shapes. You can also simply cut the dough into strips or squares for a more rustic look.
- Step 4: Place the shapes on a baking sheet lined with parchment paper and bake for 15-20 minutes, or until the edges are lightly golden. Allow the treats to cool completely before serving to your furry friend.
Handy Tips
- Make sure to use ripe bananas for the best flavor and texture. If the bananas are too green, they won’t be sweet enough, and if they’re too ripe, they’ll be too mushy.
- Don’t overmix the dough, as this can lead to tough treats. Stop mixing as soon as the ingredients come together in a ball.
- Consider adding in some extras like honey, yogurt, or eggs to give the treats an extra boost of nutrition and flavor.
Heat Control
If you’re baking the treats, make sure to keep an eye on the temperature and timing. The ideal temperature is 350°F (180°C), and the treats should be baked for 15-20 minutes, or until the edges are lightly golden. If you’re not using the oven, you can also cook the treats in a skillet on the stovetop over medium heat, flipping them halfway through.
Crunch Factor
The crunch factor of these treats will depend on how long you bake them. If you prefer a crunchier treat, bake them for 20-25 minutes. If you prefer a chewier treat, bake them for 10-15 minutes. You can also try dehydrating the treats in a dehydrator or your oven on the lowest temperature setting to get a crispy texture.
Pro Kitchen Tricks
- Use a silicone mat or parchment paper to line your baking sheet, as this will make cleanup a breeze and prevent the treats from sticking.
- Consider using a cookie scoop or a small ice cream scoop to portion out the dough, as this will give you uniform shapes and sizes.
- Don’t be afraid to get creative with the shapes and sizes of your treats. Use a variety of cookie cutters or a glass to cut out fun shapes, or simply cut the dough into strips or squares for a more rustic look.
Storage Tips
- Store the treats in an airtight container at room temperature for up to 5 days.
- Consider freezing the treats for up to 2 months, as this will help preserve their texture and flavor. Simply place the treats in a single layer on a baking sheet, freeze until solid, and then transfer to a freezer-safe bag or container.
- When reheating the treats, simply microwave them for a few seconds or bake them in the oven at 300°F (150°C) for a few minutes.
Gift Packaging Ideas
These homemade banana peanut butter dog treats are perfect for gifting to your furry friends or their owners. Consider packaging them in cute jars or containers, wrapping them in decorative paper or bags, or tying them up with a ribbon or twine. You can also add a personalized touch with a gift tag or a handwritten note.
Flavor Variations
- 🌟 Try adding in some cinnamon or nutmeg to give the treats a warm and spicy flavor.
- 🌟 Add in some chopped nuts or seeds, such as peanuts or sunflower seeds, for extra crunch and nutrition.
- 🌟 Use different types of flour, such as coconut flour or oat flour, to change up the texture and flavor of the treats.
Troubleshooting
- Texture problems: If the treats are too soft or too hard, try adjusting the baking time or temperature. If they’re too crumbly, try adding in more peanut butter or honey.
- Ingredient replacements: If you’re out of a certain ingredient, try substituting it with something similar. For example, you can use almond butter instead of peanut butter or coconut flour instead of whole wheat flour.
- Over/undercooking signs: If the treats are overcooked, they’ll be dry and crumbly. If they’re undercooked, they’ll be soft and chewy. Keep an eye on the treats while they’re baking and adjust the time as needed.
FAQs
- Can I freeze it? Yes, you can freeze the treats for up to 2 months. Simply place them in a single layer on a baking sheet, freeze until solid, and then transfer to a freezer-safe bag or container.
- Is it gluten-free? No, this recipe uses whole wheat flour, which contains gluten. However, you can substitute the flour with a gluten-free alternative, such as coconut flour or oat flour.
- Can I double the recipe? Yes, you can double the recipe to make more treats. Simply multiply all the ingredients by two and follow the same instructions.
Conclusion
Making homemade banana peanut butter dog treats is a fun and rewarding experience that allows you to show your furry friends love and care. With just a few simple ingredients and some basic kitchen equipment, you can create delicious and healthy treats that are tailored to your dog’s unique preferences and dietary needs. Don’t be afraid to get creative with the recipe and try out new ingredients and flavor combinations. And most importantly, have fun and enjoy the process of making something special for your beloved pet!