Want a delicious homemade treat in no time? This easy Apple Bread recipe is a quick family favorite made with tender apples and soft dough, perfect for weeknight dinner. Save for later and enjoy!
Pull-Apart Apple Bread Recipe
Introduction
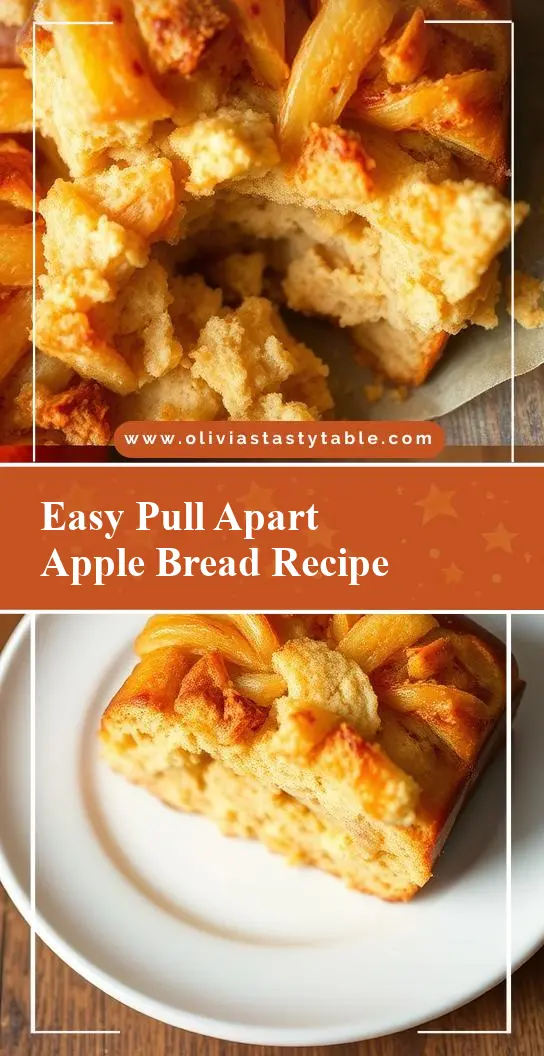
Imagine a warm, inviting kitchen filled with the sweet aroma of freshly baked bread, infused with the tender crunch of apples and the comfort of cinnamon. This Pull-Apart Apple Bread Recipe is not just a treat for the senses; it’s a masterclass in simplicity, using everyday ingredients to create a culinary masterpiece that’s both impressive and delectably easy to make. Whether you’re a seasoned baker or a novice in the kitchen, this recipe promises to delight with its perfect balance of flavors and textures, all wrapped up in a beautifully presented, pull-apart design that’s sure to be the centerpiece of any gathering.
Why This Works
- Flavor balance and ingredient accessibility: This recipe strikes a perfect chord between the sweetness of apples, the warmth of cinnamon, and the richness of bread, all made possible with ingredients you likely have on hand.
- Ease of preparation: With straightforward steps and minimal fuss, this recipe is a breeze to prepare, even for those with limited baking experience.
- Impressive results with minimal effort: The pull-apart design, combined with the aromatic blend of ingredients, ensures a dish that looks and tastes like it was crafted with professional care, all with surprisingly little effort.
Key Ingredients
The magic of this Pull-Apart Apple Bread lies in its thoughtful selection of ingredients. You’ll need a combination of all-purpose flour, sugar, warm milk, active dry yeast, salt, melted butter, eggs, diced apples (Granny Smith works beautifully for their tartness), and cinnamon for that unmistakable warmth. For practical substitutions, consider using other types of milk for a non-dairy version or experimenting with different spices like nutmeg or allspice to add unique twists to your bread.
Instructions
- Step 1: Begin by activating your yeast in warm milk, ensuring it’s not too hot to kill the yeast. While that’s working, chop your apples and mix your dry ingredients in separate bowls.
- Step 2: Combine your dry ingredients with the yeast mixture, melted butter, and eggs, mixing until a smooth dough forms. Knead the dough for about 10 minutes until it becomes elastic and smooth.
- Step 3: Let the dough rise in a warm place until it’s doubled in size. Then, punch it down and roll it out into a large rectangle. Brush with butter, sprinkle with cinnamon and sugar, and layer with diced apples.
- Step 4: Cut the dough into strips, stack them, and place them in a loaf pan. Let it rise again before baking until golden brown. The final touch is a drizzle of glaze made from powdered sugar and milk, adding a sweet and sticky finish to your bread.
Handy Tips
- When working with yeast, make sure your ingredients are at room temperature for better activation. Also, don’t overmix the dough, as this can lead to a dense bread.
Heat Control
Baking this bread at the right temperature is crucial. Preheat your oven to 375°F (190°C) and bake for about 40-45 minutes, or until a toothpick inserted into the center comes out clean. Keep an eye on it to prevent overbrowning.
Crunch Factor
The crunch in this bread comes from the apples and the crispy, caramelized sugar on top. To enhance this, ensure your apples are fresh and your sugar is evenly sprinkled before baking. A nice, tender crumb is also key, which you’ll achieve by not overbaking.
Pro Kitchen Tricks
- To ensure your bread rises beautifully, use a warm, draft-free place for rising. Also, consider using a stand mixer with a dough hook for easier kneading.
Storage Tips
- For leftover storage, wrap the bread tightly in plastic wrap or aluminum foil and store at room temperature for up to 3 days. For longer storage, consider freezing, where it will keep for up to 2 months. Simply thaw and reheat in the oven when you’re ready.
Gift Packaging Ideas
This bread makes a wonderful gift, especially when packaged thoughtfully. Consider wrapping it in a rustic paper bag, tying it with twine, and adding a handwritten note with warming instructions. For a more luxurious touch, place it in a wooden crate or a beautifully crafted bread box.
Flavor Variations
- 🌟 Different spices: Experiment with nutmeg, cardamom, or allspice to give your bread unique twists.
- 🌟 Creative toppings: Before baking, top your bread with chopped nuts, dried cranberries, or even chocolate chips for added texture and flavor.
- 🌟 Ingredient swaps: Try using different types of flour, like whole wheat or rye, for a nuttier flavor, or substitute apples with pears for a softer texture.
Troubleshooting
- Texture problems: If your bread turns out too dense, it might be due to overmixing. If it’s too dry, it could be overbaked.
- Ingredient replacements: Always try to substitute ingredients thoughtfully, considering how they might affect the final texture and flavor.
- Over/undercooking signs: Keep an eye on your bread’s color and texture. A golden brown crust and a clean toothpick test indicate it’s done. If it’s pale or the toothpick comes out with dough, it needs more time.
FAQs
- Can I freeze it? Yes, this bread freezes beautifully. Simply wrap it tightly and store in the freezer for up to 2 months.
- Is it gluten-free? As written, this recipe includes gluten. However, you can experiment with gluten-free flours for a gluten-free version, though results may vary.
- Can I double the recipe? Absolutely. Just ensure you have large enough bowls and pans to accommodate the increased ingredient quantities.
Conclusion
This Pull-Apart Apple Bread Recipe is a testament to the joy of baking: it’s a journey of creation, experimentation, and sharing. With its straightforward instructions, accessible ingredients, and impressive presentation, it’s the perfect project for anyone looking to spend a cozy afternoon in the kitchen. So go ahead, get baking, and don’t hesitate to experiment and make this recipe your own. Share your creations, and most importantly, enjoy the process and the delicious results!