Craving a decadent dessert without the fuss? This easy no-bake peanut butter pie is a homemade family favorite made with honeycomb and creamy peanut butter, perfect for a quick weeknight treat, save for later
Easy Honeycomb Peanut Butter Pie – No-Bake Bliss
Introduction
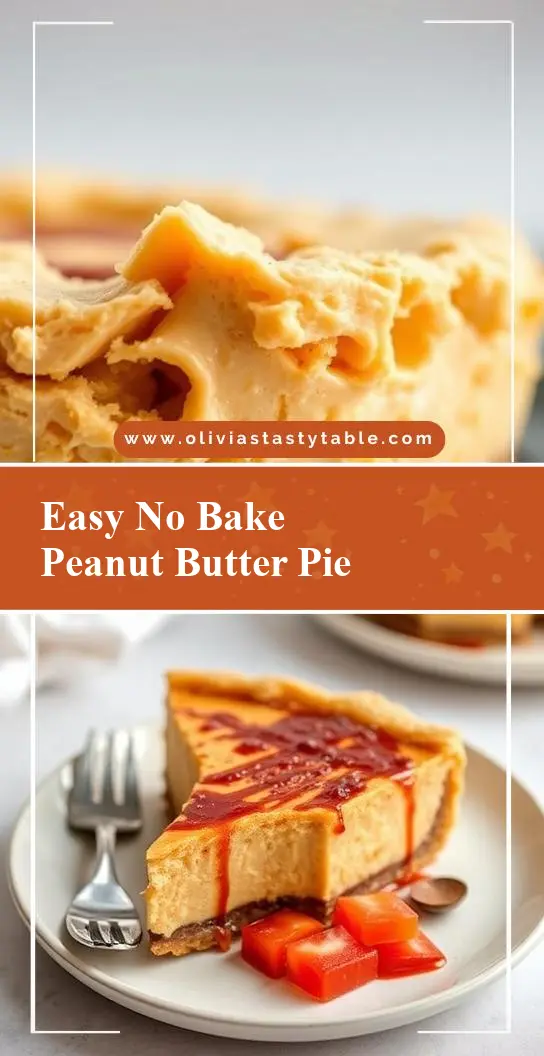
Imagine a dessert that combines the richness of peanut butter with the delightful crunch of honeycomb, all in a no-bake pie that’s as easy to make as it is impressive to serve. The Easy Honeycomb Peanut Butter Pie is a game-changer for anyone looking to wow their friends and family with a unique and delicious dessert. Using everyday ingredients and requiring no baking, this pie is perfect for hot summer days or anytime you want a cool, creamy treat. Its balance of flavors and textures will make it a standout at any gathering, and the best part is that it’s incredibly simple to prepare.
Why This Works
- Flavor balance and ingredient accessibility: The combination of peanut butter, honeycomb, and cream provides a perfect balance of salty, sweet, and crunchy, making each bite a delight. All the ingredients are easily found in most supermarkets, making this pie accessible to everyone.
- Ease of preparation: Since this is a no-bake pie, there’s no need to worry about complicated baking instructions or precise oven temperatures. The preparation involves simple mixing and layering, making it a fun project for all skill levels.
- Impressive results with minimal effort: Despite its simplicity, the Easy Honeycomb Peanut Butter Pie presents beautifully and tastes sophisticated, making it perfect for special occasions or as a unique dessert for dinner parties.
Key Ingredients
The main ingredients for this pie include a crust made from crushed biscuits or cookies, a creamy peanut butter filling, honeycomb for the crunch, and whipped cream for topping. For the peanut butter filling, you’ll need peanut butter, cream cheese, powdered sugar, and heavy cream. The honeycomb can be store-bought or homemade, depending on your preference. Practical substitutions include using different types of nuts or nut butters for the filling and varying the type of biscuits for the crust. If you’re looking for a gluten-free option, consider using gluten-free biscuits or cookies for the crust.
Instructions
- Step 1: Begin by preparing your crust. Crush the biscuits or cookies in a food processor until they’re finely ground. Mix in a bit of melted butter to help the crust hold together, then press the mixture into the bottom of a pie dish. Refrigerate the crust for about 10 minutes to set.
- Step 2: Prepare the peanut butter filling. In a large mixing bowl, combine the peanut butter, cream cheese, and powdered sugar. Mix until smooth and creamy, then gradually add in the heavy cream until the mixture reaches your desired consistency.
- Step 3: Layer the flavors and textures. Pour the peanut butter mixture into the prepared pie crust. If using, sprinkle crushed honeycomb over the top of the filling. Refrigerate the pie for at least 2 hours or until set.
- Step 4: Final touches and plating. Just before serving, top the pie with whipped cream and additional honeycomb if desired. Slice and serve chilled.
Handy Tips
- For a lighter texture, make sure not to overmix the peanut butter filling. Stop mixing as soon as the ingredients are combined.
- If you find the honeycomb too crunchy, you can crush it into smaller pieces or even blend it into the peanut butter mixture for a honeycomb-flavored filling.
- Always use fresh ingredients, especially the heavy cream, to ensure the best flavor and texture.
Heat Control
Since this is a no-bake pie, heat control isn’t a major concern. However, if you’re making your own honeycomb from scratch, you’ll need to heat sugar and golden syrup to the hard-ball stage (150°C or 300°F) to achieve the perfect crunch. Use a candy thermometer for precision, and never leave heating sugar unattended.
Crunch Factor
The crunch in this pie comes from the honeycomb and the biscuit crust. To maintain the crunch, it’s essential to not overmix the crust ingredients and to handle the honeycomb gently to avoid breaking it into smaller pieces. If you prefer a softer texture, you can always blend the honeycomb into the filling or use less of it.
Pro Kitchen Tricks
- To ensure the whipped cream holds its shape, chill the bowl and beaters in the freezer for about 10 minutes before whipping. This will help the cream whip up faster and hold its shape longer.
- For a clean slice, dip your knife in hot water and wipe it dry with a towel before cutting the pie. This helps the knife glide through the filling smoothly without dragging.
Storage Tips
- The pie can be stored in the refrigerator for up to 3 days. Cover it with plastic wrap or aluminum foil to prevent drying out.
- For longer storage, consider freezing the pie without the whipped cream topping. Simply thaw in the refrigerator overnight and top with whipped cream before serving.
- Leftover whipped cream can be stored in an airtight container in the refrigerator for up to a day. Re-whip before using if it becomes too runny.
Gift Packaging Ideas
If you’re considering gifting this pie, it’s best to package it in a way that keeps it cool and prevents damage. Use a sturdy pie box or a container with a secure lid. Decorate the top with additional honeycomb and whipped cream, and consider adding a ribbon or gift tag for a personal touch. For a more rustic look, wrap the pie in parchment paper and twine.
Flavor Variations
- 🌟 Different spices: Add a pinch of salt or a teaspoon of vanilla extract to the peanut butter filling for added depth.
- 🌟 Creative toppings: Instead of honeycomb, try using chopped nuts, chocolate shavings, or even candy pieces for a fun twist.
- 🌟 Ingredient swaps: Use almond butter or cashew butter for a different nutty flavor, or substitute the heavy cream with a non-dairy alternative for a vegan version.
Troubleshooting
- Texture problems: If the filling is too runny, refrigerate it for a few hours to set. If it’s too thick, you can thin it out with a bit more heavy cream.
- Ingredient replacements: If you can’t find honeycomb, you can make your own or substitute it with a different crunchy element like nuts or cookie crumbs.
- Over/undercooking signs: Since this is a no-bake pie, you don’t have to worry about overcooking. However, make sure the filling is set before serving. If it’s too soft, it might not hold its shape when sliced.
FAQs
- Can I freeze it? Yes, you can freeze the pie without the whipped cream topping. Thaw in the refrigerator overnight and top with whipped cream before serving.
- Is it gluten-free? It can be, depending on the biscuits or cookies you use for the crust. Look for gluten-free options to make the pie accessible to those with gluten intolerance.
- Can I double the recipe? Yes, you can easily double or even triple the recipe if you’re serving a larger crowd. Just remember to adjust the size of your pie dish accordingly.
Conclusion
The Easy Honeycomb Peanut Butter Pie is a true showstopper that’s deceptively simple to make. With its unique combination of creamy peanut butter, crunchy honeycomb, and light whipped cream, it’s sure to impress anyone who tries it. Don’t be afraid to experiment with different flavors and toppings to make the pie your own, and consider sharing it with friends and family as a special treat. Whether you’re a seasoned baker or a beginner in the kitchen, this pie is a must-try for anyone with a sweet tooth and a love for creative desserts.