Need a quick dessert fix? This easy no-bake pie is a family favorite, made with Butterfinger and caramel in just 15 minutes, perfect for a weeknight treat, save for later
Easy No-Bake Butterfinger Caramel Crunch Pie (Only 15 Minutes!)
Introduction
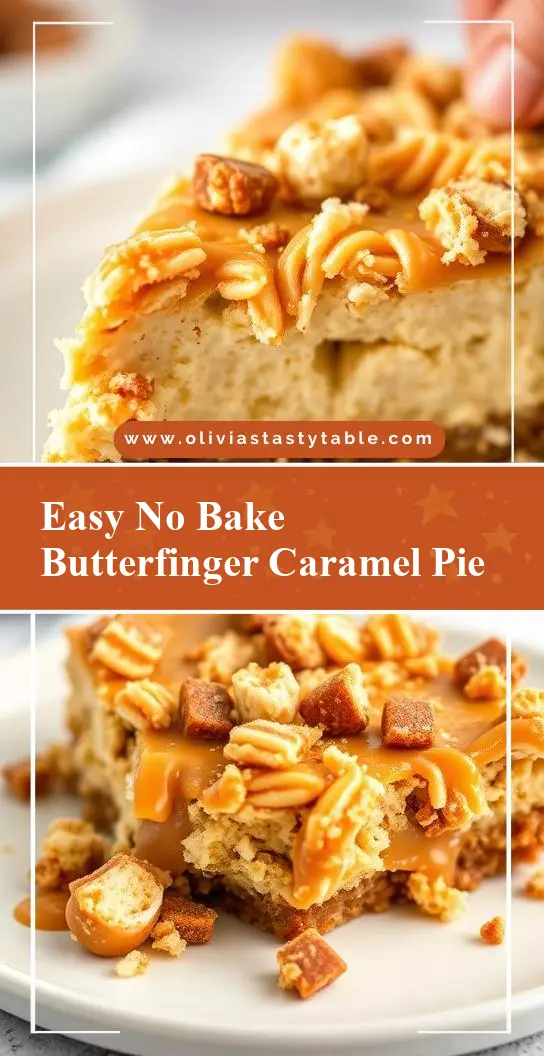
Imagine a dessert that combines the crunch of Butterfinger, the smoothness of caramel, and the ease of a no-bake pie, all in just 15 minutes. This Easy No-Bake Butterfinger Caramel Crunch Pie is a game-changer for anyone looking for a quick, delicious, and impressive dessert. Using everyday ingredients and requiring no cooking, this pie is perfect for hot summer days, last-minute gatherings, or anytime you crave something sweet and satisfying. The best part? It’s incredibly easy to make, allowing you to unleash your creativity in the kitchen without spending hours over the stove.
Why This Works
- Flavor balance and ingredient accessibility: The combination of Butterfinger, caramel, and cream provides a perfect balance of flavors and textures that everyone will love. Plus, all the ingredients are easily found in most grocery stores.
- Ease of preparation: This no-bake pie requires minimal effort. There’s no need to worry about baking times, oven temperatures, or the risk of overcooking. Just mix, layer, and chill.
- Impressive results with minimal effort: Despite its simplicity, the presentation and taste of this pie are impressive. The layers of color and texture make it a stunning centerpiece for any dessert table, and the flavors are rich and decadent.
Key Ingredients
The main ingredients for this Easy No-Bake Butterfinger Caramel Crunch Pie include a pre-made graham cracker crust for simplicity, a can of condensed milk for the caramel layer, heavy cream and cream cheese for the creamy filling, crushed Butterfinger bars for the crunch, and whipped cream for topping. For practical substitutions, you can use different types of candy bars for the crunch layer or make your own graham cracker crust from scratch if you prefer. Additionally, for those looking for a lighter version, you can substitute the heavy cream with a non-dairy whipped topping.
Instructions
- Step 1: Begin by preparing your ingredients. Crush the Butterfinger bars into small pieces and set them aside. If using a pre-made graham cracker crust, follow the package instructions to prepare it. If making your own, mix the graham cracker crumbs with melted butter and press them into a pie dish.
- Step 2: Mix the caramel layer by heating the condensed milk in a double boiler or in the microwave in short intervals, stirring between each interval until it reaches your desired caramel consistency. Be careful not to burn the caramel.
- Step 3: Prepare the creamy filling by mixing the heavy cream and cream cheese until smooth. You can add a bit of sugar or vanilla extract to taste. Then, layer the caramel, creamy filling, and crushed Butterfinger bars in the pie crust. Repeat the layers one more time, ending with a layer of whipped cream on top.
- Step 4: Final touches include decorating the top of the pie with additional crushed Butterfinger bars or caramel sauce, if desired. Chill the pie in the refrigerator for at least 30 minutes to allow the flavors to meld together before serving.
Handy Tips
- When crushing the Butterfinger bars, place them in a plastic bag and use a rolling pin to avoid making a mess. This also helps to get a finer crunch.
- For the caramel layer, be patient and stir frequently to avoid burning. If you notice it starting to darken too quickly, remove it from the heat source immediately.
- Experiment with different candies for the crunch layer to find your favorite combination. Peanuts, M&M’s, or even cookie pieces can add a fun twist.
Heat Control
Since this is a no-bake pie, the only heat control you need to worry about is when making the caramel. The ideal temperature for caramel is between 338°F and 345°F, but since we’re using condensed milk, we’re aiming for a softer caramel. Heat it in short intervals, checking and stirring until it reaches your desired consistency. Signs of doneness include a deep amber color and a smooth, creamy texture. Be cautious not to overheat, as this can lead to a burnt taste.
Crunch Factor
The crunch factor in this pie comes from the crushed Butterfinger bars. To achieve the perfect crunch, make sure not to over-crush the bars, as this can make them too fine and lose their texture. Aim for a mix of small and slightly larger pieces to provide a satisfying crunch in each bite. If you find the crunch layer gets soggy, it might be due to the pie being chilled for too long or the caramel layer being too wet. Adjust the chilling time or the amount of caramel to find the perfect balance.
Pro Kitchen Tricks
- To ensure the whipped cream stays firm on top of the pie, chill the bowl and whisk in the freezer for about 10 minutes before whipping. This will help the cream hold its shape better.
- For an extra creamy filling, make sure the cream cheese is at room temperature before mixing. This will help it blend smoothly with the heavy cream.
- Consider making individual mini pies for a fun and easy dessert to serve at parties. Simply layer the ingredients in small cups or ramekins and chill until ready to serve.
Storage Tips
- Leftover pie should be stored in the refrigerator, covered with plastic wrap or aluminum foil, and consumed within 3 days.
- For longer storage, consider freezing the pie without the whipped cream topping. When ready to serve, thaw overnight in the refrigerator and top with fresh whipped cream.
- The best containers for storing this pie are airtight, shallow dishes to prevent the layers from getting disturbed.
Gift Packaging Ideas
This pie makes a wonderful gift, especially for coworkers, neighbors, or as a hostess gift. Consider packaging it in a decorative pie dish or a sturdy cardboard box lined with parchment paper. Add a ribbon around the dish or box and include a handwritten note with serving instructions. For a more rustic look, wrap the pie in plastic wrap and then in a piece of cloth or paper, securing it with twine. Don’t forget to include a few extra crushed Butterfinger bars on top for a decorative touch.
Flavor Variations
- 🌟 Different spices: Add a pinch of sea salt or a teaspoon of vanilla extract to the creamy filling for added depth of flavor.
- 🌟 Creative toppings: Use different types of candy bars, nuts, or even dried fruits to create a unique crunch layer each time.
- 🌟 Ingredient swaps: Substitute the heavy cream with a non-dairy alternative for a vegan version, or use different types of milk for the caramel layer to change the flavor profile.
Troubleshooting
- Texture problems: If the pie becomes too soggy, it might be due to over-chilling or too much caramel. Adjust the chilling time or the amount of caramel in your next attempt.
- Ingredient replacements: If you can’t find Butterfinger bars, consider using other crunchy candies like peanut butter cups or even cookie pieces as a substitute.
- Over/undercooking signs: Since this is a no-bake pie, the risk of overcooking is minimal. However, be cautious of the caramel layer becoming too dark, which can indicate it’s becoming too hot.
FAQs
- Can I freeze it? Yes, you can freeze the pie without the whipped cream topping. Thaw overnight in the refrigerator and top with fresh whipped cream before serving.
- Is it gluten-free? Depending on the brand of graham cracker crust or the type of candy bars used, this pie may not be gluten-free. Always check the ingredient labels if you’re planning to serve it to someone with gluten intolerance.
- Can I double the recipe? Yes, you can easily double or triple the recipe to make more pies. Just remember to adjust the chilling time slightly if you’re making a larger pie.
Conclusion
This Easy No-Bake Butterfinger Caramel Crunch Pie is a versatile and delicious dessert that’s perfect for any occasion. With its quick preparation time, impressive presentation, and decadent flavors, it’s sure to become a favorite among your family and friends. Don’t be afraid to experiment with different ingredients and flavors to make it your own, and enjoy the process of creating something truly special in just 15 minutes.