Craving something rich and decadent? This easy mini brownie cake recipe is a homemade favorite, perfect for a quick weeknight dessert, made with fudgy chocolate and simple ingredients, save for later
Easy Mini Brownie Cake Recipe for Chocolate Lovers
Introduction
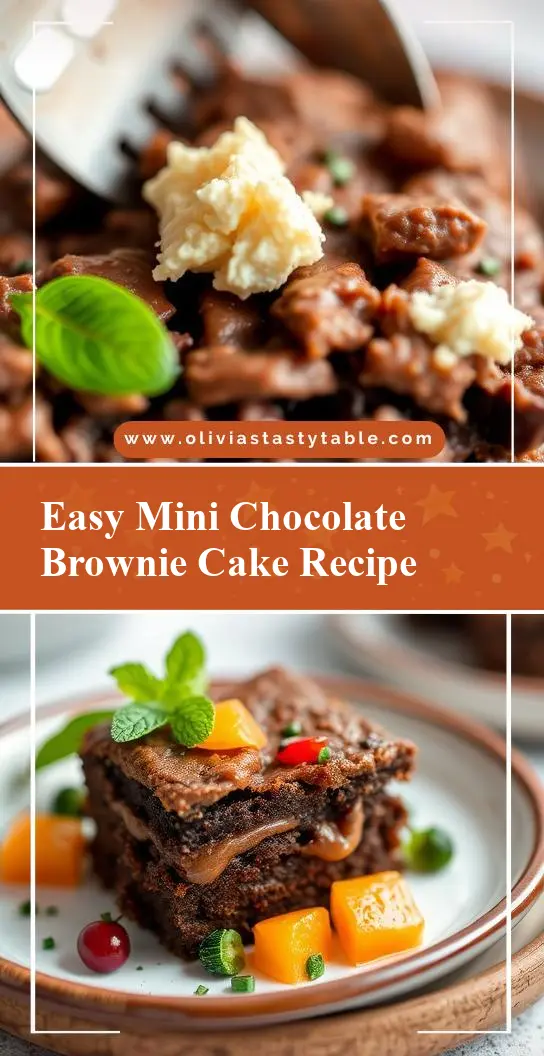
Indulge in the richness of chocolate with our easy mini brownie cake recipe, perfect for satisfying any chocolate craving. This recipe is designed to be simple, using everyday ingredients that you likely have in your pantry, making it accessible to anyone who wants to create a decadent dessert without the fuss. The combination of melted chocolate, dense texture, and the option to customize with your favorite toppings or mix-ins makes this recipe a favorite among both beginners and experienced bakers. Whether you’re looking for a quick dessert to impress guests or a sweet treat to enjoy on your own, these mini brownie cakes are the perfect solution.
Why This Works
- Flavor balance and ingredient accessibility: The recipe balances the deep flavor of chocolate with the lightness of eggs and sugar, making it easy to achieve a perfect taste without needing rare or expensive ingredients.
- Ease of preparation: With a straightforward mixing process and a short baking time, these mini brownie cakes are quicker to make than a traditional large brownie, ideal for those with limited time.
- Impressive results with minimal effort: Despite the simplicity of the recipe, the end result is a beautifully presented and deliciously moist dessert that looks like it came from a professional bakery.
Key Ingredients
The foundation of these mini brownie cakes includes all-purpose flour, granulated sugar, unsweetened cocoa powder, melted unsalted butter, large eggs, vanilla extract, and semi-sweet chocolate chips. For those looking for substitutions, you can use dark or milk chocolate chips depending on your preference for a deeper or sweeter flavor. Additionally, if you’re looking to reduce the calorie count, you can substitute some of the sugar with honey or maple syrup, though keep in mind this will slightly alter the flavor and texture.
Instructions
- Step 1: Preheat your oven to 425°F (220°C) and prepare your mini cake pans or muffin tin by greasing them with butter or cooking spray. In a medium bowl, whisk together the flour, sugar, and cocoa powder to combine.
- Step 2: In a large bowl, whisk together the melted butter, eggs, and vanilla extract until smooth. Gradually add the dry ingredients to the wet ingredients, mixing until just combined. Stir in the chocolate chips.
- Step 3: Divide the batter evenly among the prepared pans. If desired, add additional toppings such as chopped nuts, dried cranberries, or extra chocolate chips on top of each cake before baking.
- Step 4: Bake for 12-15 minutes or until a toothpick inserted into the center of a cake comes out with a few moist crumbs attached. Let the cakes cool in the pans for 5 minutes before transferring them to a wire rack to cool completely.
Handy Tips
- Ensure your ingredients are at room temperature for easier mixing and a better texture in the finished cakes.
- Avoid overmixing the batter, as this can lead to dense cakes.
- Don’t open the oven door during the baking time, as the sudden change in temperature can cause the cakes to sink or not cook evenly.
Heat Control
Maintaining the right oven temperature is crucial for baking these mini brownie cakes. The ideal temperature is 425°F (220°C), and baking time should be between 12-15 minutes. Keep an eye on them after 10 minutes, as oven temperatures can vary. The cakes are done when they are set, and a toothpick inserted into the center comes out with a few moist crumbs.
Crunch Factor
The texture of these mini brownie cakes should be fudgy in the center and slightly crispy on the edges. To achieve this, avoid overbaking. If you prefer a chewier cake, bake for 10-11 minutes. For a firmer cake, bake for 15-16 minutes, but be cautious not to overcook.
Pro Kitchen Tricks
- Use high-quality chocolate for the best flavor.
- Don’t overbake; it’s better to err on the side of underbaking for a moist cake.
- For an intense chocolate experience, use espresso powder or instant coffee to deepen the chocolate flavor.
Storage Tips
- Store the cooled cakes in an airtight container at room temperature for up to 3 days.
- For longer storage, wrap each cake individually in plastic wrap or aluminum foil and freeze for up to 2 months. Thaw at room temperature or reheat in the microwave.
- Reheating can be done in the microwave for 10-15 seconds or in the oven at 350°F (180°C) for a few minutes until warmed through.
Gift Packaging Ideas
These mini brownie cakes are perfect for gifting. Consider packaging them in decorative tins, jars, or bags. You can also top each cake with a dollop of whipped cream or a sprinkle of powdered sugar before packaging for an extra-special touch. For a more rustic look, wrap each cake in parchment paper and tie with a ribbon or twine.
Flavor Variations
- 🌟 Add different spices like cinnamon, nutmeg, or cayenne pepper to give your brownies a unique twist.
- 🌟 Experiment with creative toppings such as caramel sauce, chopped nuts, or dried fruits to add texture and flavor contrast.
- 🌟 Swap out semi-sweet chocolate chips for white, dark, or milk chocolate for a different flavor profile.
Troubleshooting
- Texture problems: If your cakes are too dense, it might be due to overmixing. If they’re too dry, they might have been overbaked.
- Ingredient replacements: Always substitute ingredients with caution, as it can affect the final texture and flavor of the cakes.
- Over/undercooking signs: Keep an eye on the baking time and check the cakes frequently towards the end of the baking time to avoid overcooking.
FAQs
- Can I freeze it? Yes, these mini brownie cakes can be frozen for up to 2 months. Wrap each cake tightly in plastic wrap or aluminum foil and place in a freezer-safe bag.
- Is it gluten-free? The recipe as given contains gluten due to the all-purpose flour. However, you can substitute the flour with a gluten-free flour mix to make it gluten-free.
- Can I double the recipe? Yes, you can double the recipe to make more mini brownie cakes. Just ensure you have enough pans or muffin tins to accommodate the increased batter.
Conclusion
With this easy mini brownie cake recipe, you’re just a few steps away from indulging in rich, chocolatey goodness. Whether you’re a seasoned baker or a beginner, this recipe is versatile and forgiving, allowing for creativity and experimentation. Don’t be afraid to try out different toppings, mix-ins, or flavor variations to make the recipe your own. Share these delightful treats with friends and family, or enjoy them all by yourself – either way, the joy of baking and savoring these mini brownie cakes is sure to bring a smile to your face.