Craving a fresh loaf of homemade bread for weeknight dinner? Try this easy artisan bread recipe made with simple ingredients and a quick cooking method, perfect for a family favorite meal, save for later
Easy Artisan Bread Recipe
Introduction
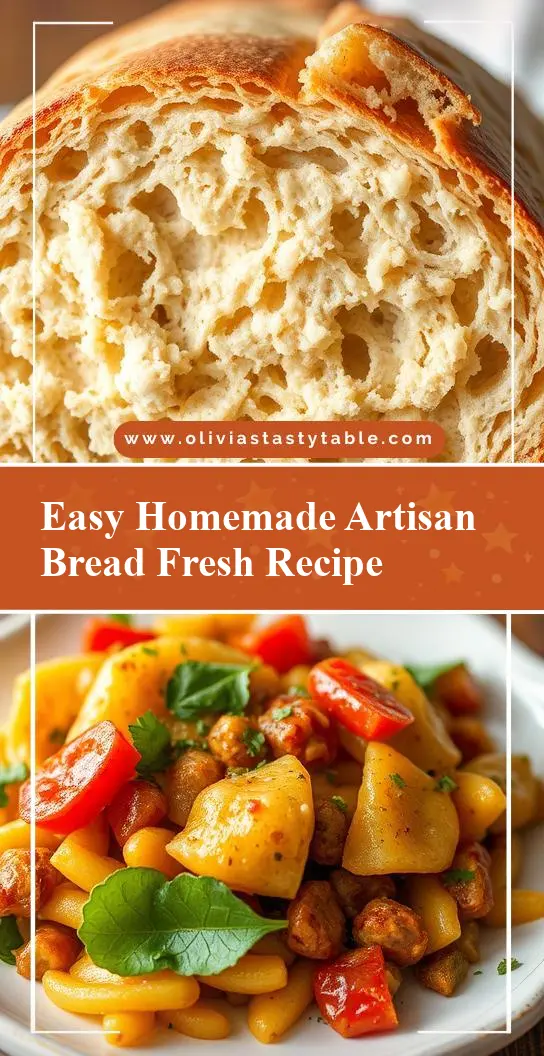
Welcome to the world of artisan bread, where the simplicity of ingredients meets the complexity of flavors and textures. With this easy artisan bread recipe, you’ll be able to create a delicious, crusty loaf using everyday ingredients that will impress your family and friends. The best part? It’s incredibly easy to make and requires minimal effort, perfect for those who are new to bread making or looking for a quick and delicious homemade bread solution. The combination of yeast, flour, water, salt, and a bit of sugar creates a symphony of flavors that will make your kitchen smell like a professional bakery.
Why This Works
- Flavor balance and ingredient accessibility: This recipe uses basic pantry staples that are easily accessible, ensuring that you can make it anytime without having to search for exotic ingredients.
- Ease of preparation: The preparation process is straightforward and simple, requiring minimal hands-on time and effort, making it perfect for busy days or when you need a quick bread solution.
- Impressive results with minimal effort: Despite its simplicity, this recipe yields a bread that is both visually appealing and delicious, with a crispy crust and a soft interior, sure to impress anyone who tries it.
Key Ingredients
The key to making a great artisan bread lies in the quality and simplicity of the ingredients. You will need:
1 1/2 cups of warm water, 2 teaspoons of active dry yeast, 3 tablespoons of sugar, 4 cups of all-purpose flour, and 1 teaspoon of salt. Optional ingredients include sesame seeds or other toppings of your choice for added flavor and texture. When choosing your flour, consider using a high-protein flour like bread flour for a better gluten structure, but all-purpose flour works wonderfully as well. For yeast, make sure it’s fresh and active to ensure the dough rises properly.
Instructions
- Step 1: Begin by activating the yeast. In a large mixing bowl, combine the warm water, yeast, and sugar. Stir gently to dissolve the yeast and let it sit for about 5-10 minutes, or until the mixture becomes frothy and bubbly.
- Step 2: Add the flour, salt, and any optional ingredients (like sesame seeds) to the bowl. Mix until a shaggy dough forms. You can use a stand mixer with a dough hook attachment or mix by hand. If mixing by hand, be prepared for a bit of a workout as you bring the dough together.
- Step 3: Knead the dough. If using a stand mixer, continue with the dough hook for about 5-7 minutes, until the dough becomes smooth and elastic. If kneading by hand, expect to knead for about 10-15 minutes. The dough is ready when it feels smooth and slightly sticky, forming a cohesive ball.
- Step 4: Let the dough rise. Place the dough in a greased bowl, cover it with plastic wrap or a damp towel, and let it rise in a warm, draft-free place for about 1-2 hours, or until it has doubled in size.
- Step 5: Shape the dough. Once risen, punch down the dough to release any air bubbles. Shape it into your desired form, whether it’s a round, oblong, or long loaf. Place the shaped dough onto a baking sheet or bread peel lined with parchment paper, cover it, and let it rise for another 30-45 minutes, or until it has puffed up slightly.
- Step 6: Bake the bread. Preheat your oven to 425°F (220°C). Place the dough into the preheated oven and bake for 20-25 minutes for a smaller loaf or 35-40 minutes for a larger one, or until the bread is golden brown and sounds hollow when tapped on the bottom.
Handy Tips
- Use a cast-iron pot or a Dutch oven for baking to achieve a crispy crust and a well-cooked interior. The steam created inside the pot helps in forming the crust.
- Ensure your yeast is fresh, as old yeast can lead to poor rising.
- Don’t overmix the dough, as this can lead to a dense bread. Mix just until the ingredients come together, then let the kneading process develop the gluten.
- Keep the rising area warm and draft-free. A cold environment can slow down the rising process.
Heat Control
Heat control is crucial when baking artisan bread. The ideal temperature for baking is 425°F (220°C). The baking time can vary depending on the size of your loaf and your oven’s performance. A good sign that the bread is done is when it’s golden brown and sounds hollow when tapped on the bottom. If you’re using a cast-iron pot, you might bake the bread covered for the first 20-25 minutes to trap the steam, then remove the lid to crisp the crust for the remaining baking time.
Crunch Factor
Achieving the perfect crunch on your artisan bread involves a few key steps. First, ensure you’re using the right flour, as high-protein flours tend to produce a better crust. Second, the steam during the baking process helps to create the crust, so using a pot with a lid or covering the bread for part of the baking time can enhance this. Finally, baking the bread at a high temperature initially helps to create a quick crust formation, locking in the moisture inside the bread.
Pro Kitchen Tricks
- Use a baking stone in your oven to enhance the crust’s crispiness. The stone absorbs moisture and distributes heat evenly.
- For an extra crispy crust, try baking the bread at 450°F (230°C) for the first 10-15 minutes, then reduce the temperature to 425°F (220°C) for the remainder of the baking time.
- Score the bread before baking to control where the bread expands during baking, creating a more even crust and a beautiful presentation.
Storage Tips
- Store your artisan bread in a cool, dry place. If you won’t be consuming it within a day or two, consider freezing it. Wrap the bread tightly in plastic wrap or aluminum foil and place it in a freezer-safe bag.
- To reheat frozen bread, thaw it at room temperature or reheat it directly in the oven at 350°F (180°C) for about 10-15 minutes, or until warmed through.
- The shelf life of artisan bread is typically 2-3 days at room temperature. If stored properly in the fridge, it can last up to 5 days. Frozen bread can last for several months.
Gift Packaging Ideas
Artisan bread makes for a wonderful gift, especially when presented nicely. Consider wrapping the cooled bread in a rustic paper bag, tying it with twine, and adding a handwritten note or a small jar of homemade jam or honey. For a more elegant presentation, wrap the bread in a tea towel and place it in a wicker basket. You can also pair the bread with a selection of cheeses, meats, and spreads for a gift basket.
Flavor Variations
- 🌟 Different spices: Try adding some dried herbs like rosemary, thyme, or oregano to the dough for a savory flavor. For a sweeter bread, add some cinnamon or nutmeg.
- 🌟 Creative toppings: Before baking, brush the top of the bread with egg wash and sprinkle with sesame seeds, poppy seeds, or coarse salt for added texture and flavor.
- 🌟 Ingredient swaps: Experiment with different types of flour, such as whole wheat, rye, or ancient grains, to create unique flavor profiles and textures.
Troubleshooting
- Texture problems: If your bread turns out too dense, it might be due to overmixing or not enough rising time. If it’s too dry, it could be overbaked or the dough was too dry initially.
- Ingredient replacements: If you’re out of a specific ingredient, consider substitutions. For example, you can use honey or maple syrup instead of sugar, but keep in mind the flavor profile will change slightly.
- Over/undercooking signs: Keep an eye on your bread while it’s baking. If it’s getting too dark, cover it with foil to prevent burning. If it doesn’t sound hollow when tapped, it might need a few more minutes in the oven.
FAQs
- Can I freeze it? Yes, artisan bread freezes well. Wrap it tightly and place it in a freezer-safe bag. It can be stored for several months.
- Is it gluten-free? This recipe uses all-purpose flour, which contains gluten. However, you can experiment with gluten-free flours, but keep in mind the texture and rising might be affected.
- Can I double the recipe? Yes, you can easily double or triple this recipe. Just ensure you have a large enough mixing bowl and baking sheet or pot to accommodate the larger dough.
Conclusion
Making artisan bread at home is a rewarding experience that combines simplicity with impressive results. With this easy artisan bread recipe, you’re not just making a loaf of bread; you’re creating an experience that brings people together. Whether you’re a seasoned baker or a beginner, this recipe is a great place to start your bread-making journey. Feel free to experiment with different flavors and ingredients to make the recipe your own, and don’t hesitate to share your creations with friends and family. Happy baking!