Can you resist a moist homemade cake made with Twinkies and simple ingredients? This easy family favorite dessert is a quick treat to make on a weeknight, try it tonight and save for later
Irresistible Twinkie Cake Recipe
Introduction
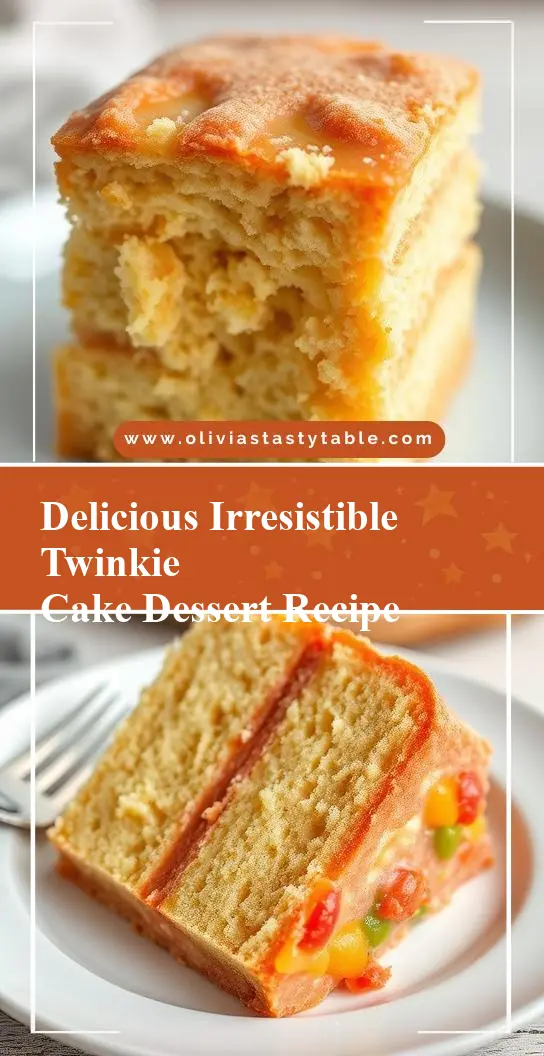
Imagine a moist and decadent cake that combines the nostalgia of childhood treats with the sophistication of a gourmet dessert. The Irresistible Twinkie Cake Recipe is a creative masterpiece that transforms the humble Twinkie into a show-stopping centerpiece for any occasion. By using everyday ingredients and simple techniques, this recipe makes it easy for anyone to create a truly impressive dessert. The best part? It’s incredibly easy to make and requires minimal effort, making it perfect for busy home bakers or those new to the world of cake decorating.
Why This Works
- Flavor balance and ingredient accessibility: This recipe strikes a perfect balance between the sweetness of the Twinkies, the richness of the cream, and the subtlety of the additional flavorings, all of which are easily found in most grocery stores.
- Ease of preparation: The steps involved are straightforward and require no special baking skills, making it accessible to bakers of all levels.
- Impressive results with minimal effort: Despite its simplicity, the end result is a visually stunning and deliciously unique cake that is sure to impress friends and family.
Key Ingredients
The main ingredients for this recipe include Twinkies, heavy cream, powdered sugar, and flavorings such as vanilla extract. For those looking for substitutions, other cream-filled snack cakes can be used in place of Twinkies, and different extracts like almond or coconut can add unique twists to the flavor. The beauty of this recipe lies in its versatility and the ability to customize it to suit your taste preferences.
Instructions
- Step 1: Begin by preparing your Twinkies. You will need to cut them in half lengthwise to create the layers of your cake. It’s also a good time to prepare your workspace by covering it with parchment paper or a silicone mat to make cleanup easier.
- Step 2: In a large bowl, whip the heavy cream until it begins to thicken. Gradually add the powdered sugar, continuing to whip until stiff peaks form. Add your preferred flavorings and mix well. This cream will be the “glue” that holds your cake together and adds the primary flavor component.
- Step 3: To assemble the cake, place a dollop of whipped cream on the bottom of your serving dish or cake stand. Arrange a layer of Twinkie halves on top of the cream. You can trim the Twinkies to fit your dish perfectly. Spread another layer of whipped cream over the Twinkies, making sure to cover them completely. Repeat this process until you have used up all your ingredients, finishing with a layer of cream on top.
- Step 4: Final touches can include decorating the top of the cake with additional whipped cream, sprinkles, or even sliced fruit. The key is to have fun and make it your own. Refrigerate the cake for at least 30 minutes to allow the flavors to meld together before serving.
Handy Tips
- One of the most helpful tips for this recipe is to ensure your cream is well-chilled before whipping. This will help it to whip up faster and to a stiffer peak. Also, don’t overmix the cream, as it can quickly become too stiff and separate.
Heat Control
This recipe does not require any cooking, making it perfect for hot summer days or for those who are nervous about using the oven. The refrigeration time allows the flavors to meld together and the textures to combine beautifully, resulting in a cool, creamy dessert.
Crunch Factor
The crunch in this dessert comes from the outer layer of the Twinkies, which provides a nice textural contrast to the soft, whipped cream. To enhance the crunch, you could also sprinkle some chopped nuts or cookie crumbs over the top of the cake before serving.
Pro Kitchen Tricks
- To make your cake more stable, especially if you’re planning to transport it, consider using a small amount of melted chocolate to “glue” the bottom layer of Twinkies to the serving plate. This will prevent the cake from shifting or toppling over.
Storage Tips
- This cake is best served fresh, but it can be stored in the refrigerator for up to 24 hours. If you’re planning to store it, make sure it’s in an airtight container to prevent it from absorbing other flavors from the fridge. For longer storage, consider freezing the cake. Wrap it tightly in plastic wrap or aluminum foil and place it in a freezer-safe bag. Frozen, it will keep for up to 2 months. Simply thaw in the fridge overnight before serving.
Gift Packaging Ideas
If you’re considering gifting this cake, presentation is key. Place the cake on a decorative cake stand or plate, and wrap the entire thing in clear plastic wrap or a large cellophane bag. Tie a ribbon around the base of the stand or plate to add a personal touch. For a more rustic look, you could also place slices of the cake in mason jars, top with whipped cream and a sprinkle of nuts, and tie a ribbon around the lid of the jar.
Flavor Variations
- 🌟 Different spices: Consider adding a pinch of cinnamon, nutmeg, or cardamom to your whipped cream for a unique twist.
- 🌟 Creative toppings: In addition to nuts or sprinkles, you could top your cake with fresh fruit, caramel sauce, or even crushed cookies or wafers.
- 🌟 Ingredient swaps: For a gluten-free version, ensure your snack cakes are gluten-free. You could also experiment with different types of milk or non-dairy whipped toppings for a vegan version.
Troubleshooting
- Texture problems: If your whipped cream becomes too stiff, you can try folding in a bit more heavy cream to lighten it. If it’s too soft, refrigerate it for about 10 minutes to firm up before using.
- Ingredient replacements: Always try to use the closest substitute possible to maintain the integrity of the recipe. For example, if you can’t find Twinkies, look for another cream-filled snack cake.
- Over/undercooking signs: Since this recipe doesn’t involve cooking, you don’t have to worry about over or undercooking. However, make sure your cream is whipped to the right consistency, and your cake is chilled sufficiently before serving.
FAQs
- Can I freeze it? Yes, you can freeze the cake for up to 2 months. Wrap it tightly and store in a freezer-safe bag.
- Is it gluten-free? It can be, depending on the snack cakes you use. Ensure they are gluten-free for a gluten-free version of the cake.
- Can I double the recipe? Absolutely. Simply double all the ingredients and follow the same instructions. You might need to adjust the size of your serving dish accordingly.
Conclusion
The Irresistible Twinkie Cake Recipe is a game-changer for anyone looking to impress with minimal fuss. It’s a versatile dessert that can be customized to fit any theme or taste preference, making it perfect for birthdays, holidays, or just a sweet treat any day of the week. Don’t be afraid to experiment and make it your own, and most importantly, have fun with it! Whether you’re a seasoned baker or just starting out, this recipe is sure to become a favorite.