Looking for a sweet treat to satisfy your cravings? Try this easy and quick delicious chocolate chip cookies recipe made with homemade love and simple ingredients like melted butter and semi sweet chocolate chips. Save for later and indulge in a family favorite tonight.
Delicious Chocolate Chip Cookies Recipe: A Simple Sweet Treat for Everyone
Introduction
There’s something undeniably special about the aroma of freshly baked chocolate chip cookies wafting through the house, filling every room with warmth and comfort. This classic treat is not only a staple of childhood memories but also a versatile dessert that can be easily customized to suit every taste and preference. What makes this recipe particularly appealing is its simplicity and the fact that it uses everyday ingredients, making it accessible to bakers of all skill levels. Whether you’re a seasoned baker looking for a reliable favorite or a beginner seeking a straightforward yet impressive dessert, this recipe for delicious chocolate chip cookies is sure to become a go-to in your household.
Why This Works
- Flavor balance and ingredient accessibility: The combination of butter, sugar, eggs, flour, and chocolate chips creates a perfectly balanced flavor profile that is both sweet and savory, while the ingredients are easily found in most grocery stores.
- Ease of preparation: The simplicity of the recipe makes it incredibly easy to prepare, requiring minimal time and effort for mixing and baking.
- Impressive results with minimal effort: Despite the ease of preparation, the end result is a batch of cookies that are not only delicious but also visually appealing, perfect for satisfying your sweet tooth or impressing guests.
Key Ingredients
This recipe relies on a few key ingredients to achieve its signature taste and texture. These include 2 1/4 cups of all-purpose flour, 1 tsp baking soda, 1 tsp salt, 1 cup unsalted butter (at room temperature), 3/4 cup white granulated sugar, 3/4 cup brown sugar, 2 large eggs, and 2 cups of semi-sweet chocolate chips. For those looking for substitutions, using salted butter and omitting the additional salt or swapping brown sugar with an extra 3/4 cup of white sugar (though this will slightly alter the flavor) are viable options. Additionally, for a gluten-free version, consider substituting the all-purpose flour with a gluten-free flour blend.
Instructions
- Step 1: Begin by preheating your oven to 375°F (190°C). Line a baking sheet with parchment paper or a silicone mat to ensure easy cookie removal. Next, whisk together the flour, baking soda, and salt in a medium bowl, setting it aside for later use.
- Step 2: In a large bowl, use an electric mixer to cream together the butter and sugars until light and fluffy, about 2-3 minutes. Beat in the eggs one at a time, ensuring each egg is fully incorporated before adding the next. Gradually mix in the dry ingredients, being careful not to overmix.
- Step 3: Stir in the chocolate chips to distribute them evenly throughout the dough. If desired, this is also the stage where you can add any additional mix-ins like nuts or dried cranberries to customize the cookies to your taste.
- Step 4: Scoop tablespoon-sized balls of dough onto the prepared baking sheet, leaving about 2 inches of space between each cookie to allow for spreading. Bake for 10-12 minutes, or until the edges are lightly golden brown. Remove the cookies from the oven and let them cool on the baking sheet for 5 minutes before transferring them to a wire rack to cool completely.
Handy Tips
- For chewier cookies, bake for 8-10 minutes. For crisper cookies, bake for 12-14 minutes. Keep an eye on them to prevent overcooking.
- Chilling the dough for 30 minutes to an hour can help the cookies retain their shape better and bake up with a nicer texture.
- Avoid overmixing the dough, as this can lead to tough cookies. Mix wet and dry ingredients separately and fold them together until just combined.
Heat Control
The ideal baking temperature for these cookies is 375°F (190°C). It’s crucial to monitor the baking time closely, as the cookies can quickly go from perfectly cooked to overcooked. A good sign of doneness is when the edges are lightly golden brown. If you’re unsure, it’s better to err on the side of undercooking, as the cookies will continue to cook a bit after being removed from the oven.
Crunch Factor
The crunch factor in these cookies comes from the baked exterior giving way to a chewy interior, a perfect balance achieved by not overbaking. For those who prefer a crisper cookie, baking for a few minutes longer will yield the desired texture. Conversely, for an even chewier center, baking for a minute or two less is recommended.
Pro Kitchen Tricks
- Using room temperature ingredients, especially butter and eggs, ensures a better emulsion and a lighter, more tender cookie.
- Investing in a cookie scoop can make the process of portioning out the dough much quicker and more uniform, resulting in cookies that bake evenly.
- For an added layer of flavor, consider sprinkling the cookies with a pinch of flaky sea salt immediately after baking, before they cool.
Storage Tips
- Cookies can be stored in an airtight container at room temperature for up to 5 days. For longer storage, consider freezing the cookies or the dough. Frozen cookies can be thawed at room temperature or reheated in the microwave for a few seconds. Frozen dough balls can be baked straight from the freezer, adding an extra 2-3 minutes to the baking time.
- When storing, it’s best to place a piece of parchment or wax paper between layers of cookies to prevent them from sticking together.
Gift Packaging Ideas
These cookies make a wonderful gift, especially when packaged thoughtfully. Consider placing a few cookies in a decorative tin or jar, wrapping them in cellophane bags tied with a ribbon, or arranging them in a gift box lined with parchment paper. Adding a personal touch, like a handwritten note or a small bag of artisanal coffee, can make the gift even more special.
Flavor Variations
- 🌟 Different spices: Introduce a hint of warmth by adding a pinch of cinnamon, nutmeg, or cardamom to the dough.
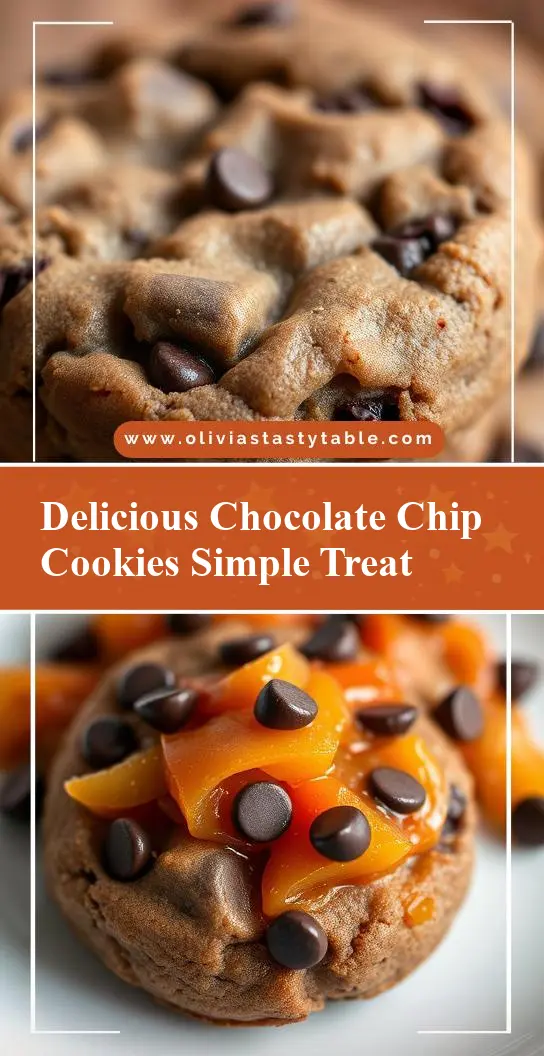
- 🌟 Creative toppings: Press a few extra chocolate chips into the top of each cookie immediately after baking, or sprinkle with chopped nuts or shredded coconut for added texture.
- 🌟 Ingredient swaps: Substitute semi-sweet chocolate chips with milk chocolate, white chocolate, or a combination for a unique flavor profile. Nuts like walnuts or pecans can also be added for extra flavor and texture.
Troubleshooting
- Texture problems: Cookies that spread too much may be due to overheated butter or incorrect oven temperature. Cookies that are too hard could be overbaked.
- Ingredient replacements: While the recipe is quite forgiving, replacing butter with margarine or using a different type of sugar can affect the final texture and flavor.
- Over/undercooking signs: Keep an eye on the cookies; they should be lightly golden. If they start to darken too quickly, they may be overcooking.
FAQs
- Can I freeze it? Yes, both the baked cookies and the dough can be frozen. Frozen cookies should be thawed at room temperature or briefly in the microwave. Frozen dough balls can be baked directly from the freezer, adding a couple of minutes to the baking time.
- Is it gluten-free? The original recipe includes all-purpose flour, making it not gluten-free. However, you can substitute the flour with a gluten-free flour blend to accommodate dietary needs.
- Can I double the recipe? Yes, the recipe can be doubled or even tripled if you’re looking to make a larger batch. Just ensure you have enough baking sheets and space in your oven for the increased number of cookies.
Conclusion
This delicious chocolate chip cookies recipe is a timeless classic that never fails to bring joy and satisfaction. With its ease of preparation, accessibility of ingredients, and the room for creativity it offers, it’s a perfect treat for any occasion. Whether you’re baking for yourself, your family, or as a gift for friends, these cookies are sure to be a hit. Don’t be afraid to experiment with different mix-ins and toppings to make the recipe your own, and enjoy the process of sharing your baked goods with others. Happy baking!