Looking for a quick dessert fix? Try these easy homemade mint chocolate cookie bars made with melted chocolate and fresh mint, perfect for a weeknight treat, save for later
Heavenly Mint Chocolate Cookie Bars
Introduction
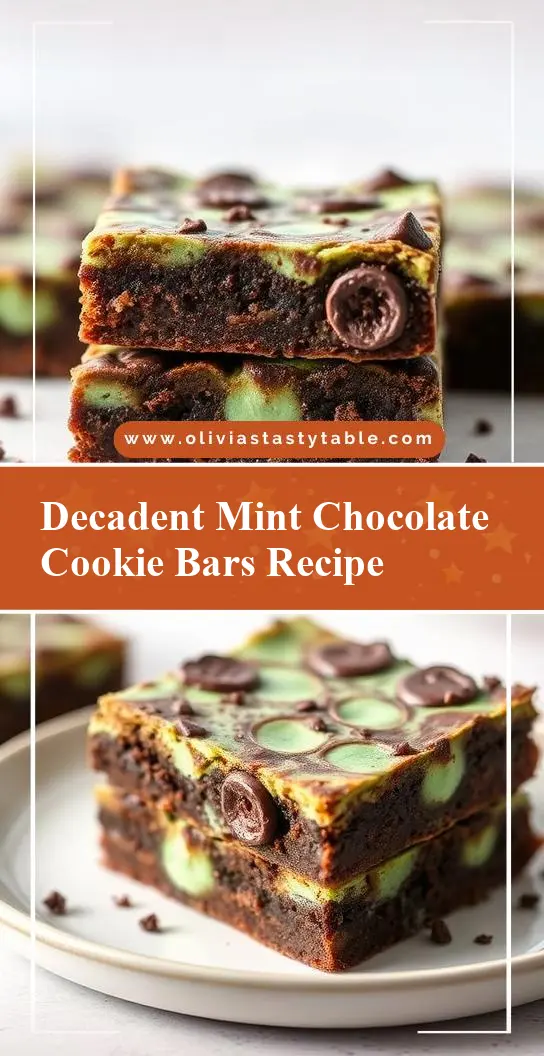
Imagine a dessert that combines the freshness of mint with the richness of chocolate, all in a convenient bar form. The Heavenly Mint Chocolate Cookie Bars are a creative twist on traditional cookie recipes, utilizing everyday ingredients to create a truly unique and delicious treat. These bars are not only easy to make but also offer a perfect balance of flavors and textures, making them an ideal dessert for any occasion. Whether you’re a fan of mint, chocolate, or just looking for a new dessert idea, these cookie bars are sure to impress.
Why This Works
- Flavor balance and ingredient accessibility: The combination of mint and chocolate provides a refreshing yet decadent taste experience, and the ingredients are easily found in most grocery stores.
- Ease of preparation: The recipe involves simple steps, from preparing the crust to mixing the mint chocolate topping, making it accessible to bakers of all skill levels.
- Impressive results with minimal effort: Despite the simplicity of the recipe, the end result is visually appealing and tastes like a professional dessert, perfect for impressing friends and family.
Key Ingredients
The Heavenly Mint Chocolate Cookie Bars rely on a few key ingredients to achieve their distinctive flavor and texture. The base of the bars is made with a mixture of all-purpose flour, granulated sugar, and melted butter, which provides a crunchy and sweet foundation. The mint chocolate topping is created with melted chocolate, peppermint extract, and heavy cream, giving the bars their creamy and refreshing flavor. Practical substitutions can be made, such as using different types of chocolate or adding a pinch of salt to balance the sweetness. Additionally, for those looking for gluten-free options, gluten-free flour can be used as a substitute in the crust.
Instructions
- Step 1: Begin by preheating your oven to 350°F (175°C). Prepare the crust by mixing together 2 cups of all-purpose flour, 1 cup of granulated sugar, and 1/2 cup of melted butter until well combined. Press the mixture into a 9×9 inch baking dish lined with parchment paper.
- Step 2: Bake the crust for 20-25 minutes, or until it is lightly golden. While the crust is baking, prepare the mint chocolate topping by melting 1 cup of chocolate chips in a double boiler or in the microwave in 30-second increments, stirring between each interval until smooth. Once the chocolate is melted, stir in 1 teaspoon of peppermint extract and 2 tablespoons of heavy cream until well combined.
- Step 3: Once the crust is ready, pour the mint chocolate topping over the warm crust and spread it evenly. Refrigerate the bars for at least 2 hours or until the topping is set.
- Step 4: Cut the bars into desired sizes and serve. For a cleaner cut, dip your knife in hot water and wipe it dry between each cut. This will help prevent the chocolate from sticking to the knife.
Handy Tips
- To ensure the crust doesn’t become too dark, keep an eye on it during the last 5 minutes of baking. If necessary, cover the edges with foil to prevent overbrowning.
- For a more intense mint flavor, you can add a few drops of peppermint extract to the crust mixture before baking.
- Avoid overmixing the crust and topping mixtures, as this can lead to a tough or grainy texture.
Heat Control
When baking the crust, it’s crucial to maintain the right temperature and baking time. The ideal temperature is 350°F (175°C), and the crust should be baked for 20-25 minutes. Signs of doneness include a lightly golden color and a firm texture when pressed lightly in the center. If you’re unsure, it’s better to err on the side of underbaking than overbaking, as the crust will continue to set as it cools.
Crunch Factor
The crunch factor in these bars comes from the baked crust and the texture of the chocolate topping once it’s set. To achieve the right crunch, make sure not to overbake the crust, and allow the chocolate topping to set completely in the refrigerator. This balance of textures adds depth and interest to the dessert, making each bite a delightful experience.
Pro Kitchen Tricks
- For a glossy finish on the chocolate topping, melt the chocolate slowly over low heat and avoid stirring too much, as this can introduce air and make the chocolate appear dull.
- To make cleanup easier, line your baking dish with parchment paper before pressing in the crust, and use a silicone spatula to spread the chocolate topping, as it will not stick to the spatula as much as it would to a metal or wooden one.
- Consider using high-quality chocolate for the best flavor. While it might be more expensive, the difference in taste is noticeable, especially in a dessert where chocolate is a main component.
Storage Tips
- These bars can be stored in an airtight container in the refrigerator for up to 5 days. Allow them to come to room temperature before serving for the best flavor and texture.
- For longer storage, the bars can be frozen. Cut them into individual portions, place them on a baking sheet lined with parchment paper, and put the sheet in the freezer until the bars are frozen solid. Then, transfer them to a freezer-safe bag or container for up to 2 months. Thaw frozen bars in the refrigerator overnight or at room temperature for a few hours.
- When reheating, avoid using the microwave, as it can cause the chocolate to seize up or the crust to become soggy. Instead, let the bars come to room temperature naturally or warm them in a low-temperature oven (200°F or 90°C) for a few minutes.
Gift Packaging Ideas
These bars make a wonderful gift, especially during holidays or as a thoughtful gesture. Consider packaging them in decorative tins, jars, or boxes lined with parchment paper or wax paper. You can also wrap individual bars in cellophane or plastic wrap and tie them with a ribbon for a more personalized touch. Adding a handwritten note or a sprinkle of decorative toppings like chopped nuts or shaved chocolate can make the gift even more special.
Flavor Variations
- 🌟 Different spices: Add a pinch of salt or a teaspoon of cinnamon to the crust for a unique twist.
- 🌟 Creative toppings: Sprinkle chopped nuts, shredded coconut, or crushed candy canes over the chocolate topping before it sets for added texture and flavor.
- 🌟 Ingredient swaps: Use dark, milk, or white chocolate for the topping, or substitute the heavy cream with a non-dairy milk for a vegan version.
Troubleshooting
- Texture problems: If the crust turns out too hard, it might have been overbaked. If the chocolate topping is too soft, it might not have been refrigerated long enough.
- Ingredient replacements: Always try to use the ingredients called for in the recipe, but if you must substitute, do so with similar ingredients. For example, you can replace heavy cream with half-and-half or whole milk, but keep in mind the flavor and texture might be slightly different.
- Over/undercooking signs: Keep an eye on the crust’s color and the chocolate’s consistency. A lightly golden crust and a set chocolate topping are ideal. Avoid overbaking the crust, as it can become too dark and hard.
FAQs
- Can I freeze it? Yes, these bars can be frozen for up to 2 months. Follow the storage tips for freezing and thawing instructions.
- Is it gluten-free? The original recipe includes all-purpose flour, making it not gluten-free. However, you can substitute the flour with a gluten-free flour mix to make a gluten-free version.
- Can I double the recipe? Yes, you can double the recipe to make a larger batch. Just keep in mind you’ll need a larger baking dish, and the baking time might be slightly longer. Check the crust frequently to avoid overbaking.
Conclusion
Making the Heavenly Mint Chocolate Cookie Bars is a delightful experience that combines the simplicity of a cookie with the elegance of a chocolate mint dessert. With their refreshing flavor and crunchy texture, these bars are perfect for satisfying your sweet tooth or impressing your friends and family. Don’t be afraid to experiment with different flavors and toppings to make the recipe your own, and enjoy the process of creating something truly special. Whether you’re a seasoned baker or just starting out, these bars are sure to become a favorite, and with the tips and variations provided, you’ll be well on your way to creating your own heavenly desserts.