Want a showstopping dessert for your next family gathering? This easy homemade chocolate explosion cake recipe is a quick favorite made with rich cocoa and melted chocolate, perfect for a weeknight treat, save for later and indulge in the decadence.
Decadent Chocolate Explosion Cake Recipe
Introduction
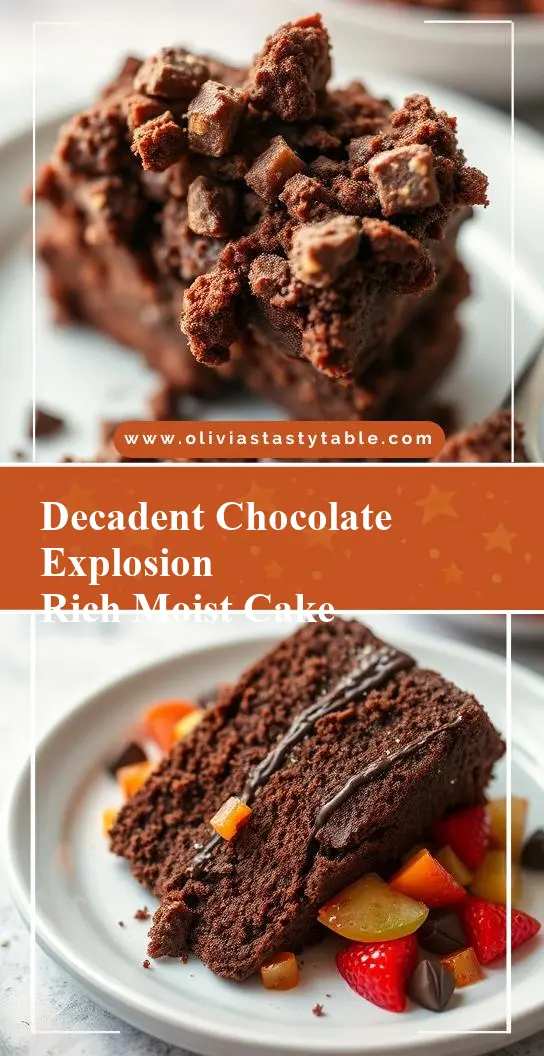
Imagine a rich, velvety chocolate cake that’s not just a delight to the taste buds but also a marvel to behold, with its layers and textures creating a true explosion of flavors. This Decadent Chocolate Explosion Cake Recipe is designed to be accessible, using everyday ingredients to create an extraordinary dessert that’s perfect for special occasions or just a sweet treat any day of the week. With its balance of deep, dark chocolate and subtle sweetness, this cake is sure to impress both in taste and presentation, all while being surprisingly easy to make.
Why This Works
- Flavor balance and ingredient accessibility: The recipe combines easily found ingredients in a way that maximizes flavor depth without requiring exotic or hard-to-find items.
- Ease of preparation: Despite its decadent nature, the cake is straightforward to prepare, with steps that are simple to follow and require minimal specialized equipment.
- Impressive results with minimal effort: The layering and textural elements of the cake create a visually stunning dessert that belies the relatively simple preparation process.
Key Ingredients
The foundation of this cake includes high-quality dark chocolate for the deepest flavor, moist brown sugar, large eggs for structure, and a hint of vanilla for complexity. Practical substitutions can be made, such as using almond milk instead of regular milk for a non-dairy version, or substituting some of the flour with cocoa powder for an intense chocolate experience. The cake also benefits from a crunchy element, such as chopped nuts or chocolate chips, adding texture to each bite.
Instructions
- Step 1: Begin by preheating your oven to 350°F (175°C). Prepare your pans by greasing them and lining the bottoms with parchment paper. Measure out your dry ingredients, including flour, sugar, and cocoa powder, and sift them together in a large bowl. Chop your dark chocolate into small pieces and set it aside.
- Step 2: In a large mixing bowl, whisk together your eggs, milk, and vanilla extract. Add the dry ingredients to the wet ingredients and mix until just combined. Melt the chocolate and allow it to cool slightly before folding it into the cake batter. Pour the batter into your prepared pans and smooth the tops.
- Step 3: Bake the cakes for about 25-30 minutes, or until a toothpick inserted into the center comes out clean. Allow the cakes to cool in the pans for 10 minutes before transferring them to a wire rack to cool completely. Once the cakes are cool, you can start layering them with your choice of fillings, such as chocolate ganache, whipped cream, or fruit preserves.
- Step 4: For the final touches, frost the outside of the cake with a rich chocolate buttercream and decorate as desired. This could include adding more chopped nuts, chocolate shavings, or even edible gold dust for a luxurious look.
Handy Tips
- To ensure your cake is moist, don’t overmix the batter, and make sure to not overbake. A toothpick inserted into the center should come out with a few moist crumbs attached.
- For a lighter texture, you can separate your eggs and whip the whites until stiff before folding them into the batter.
- Avoid opening the oven door during the baking time, as this can cause the cakes to sink or not cook evenly.
Heat Control
Heat control is crucial in baking this cake. The ideal temperature is 350°F (175°C), and the baking time should be closely monitored. Signs of doneness include the cake pulling away from the sides of the pan, a toothpick coming out clean or with a few moist crumbs, and the top being firm to the touch. If you’re unsure, it’s always better to err on the side of underbaking than overbaking, as the cake will continue to cook a bit after it’s removed from the oven.
Crunch Factor
Achieving the right crunch factor can elevate this cake from good to great. This can be done by adding crunchy elements like chopped nuts (walnuts or pecans work well), chocolate chips, or even cookie crumbs to the batter. For an extra crunchy topping, you can sprinkle some chopped nuts or shaved chocolate on top of the frosting before it sets.
Pro Kitchen Tricks
- Invest in high-quality chocolate for the best flavor. While it might be tempting to use cheaper alternatives, the difference in taste is noticeable.
- Use room temperature ingredients for easier mixing and a better texture.
- Don’t overfill your pans, as this can lead to the cakes overflowing during baking. Fill them about 2/3 full for the best results.
Storage Tips
- The cake can be stored at room temperature for up to 3 days, wrapped tightly in plastic wrap or aluminum foil.
- For longer storage, the cake can be refrigerated for up to 5 days or frozen for up to 2 months. When freezing, it’s best to freeze the layers separately before assembling and frosting the cake.
- When reheating, a short time in the microwave or a few minutes in a low-temperature oven can restore the cake’s freshness and texture.
Gift Packaging Ideas
This cake makes a wonderful gift, especially when presented nicely. Consider placing the cake on a decorative stand or plate, wrapping it in cellophane or a large plastic bag, and tying it with a ribbon. You can also add a personal touch with a handwritten note or a small gift card. For a more rustic look, the cake can be wrapped in parchment paper and twine, perfect for a country-themed gift.
Flavor Variations
- 🌟 Different spices: Add a pinch of salt, a teaspoon of cinnamon, or a hint of cayenne pepper to give the cake a unique twist.
- 🌟 Creative toppings: Experiment with different types of nuts, chocolate shavings, or even candy pieces to add texture and visual appeal.
- 🌟 Ingredient swaps: Substitute some of the flour with oat flour for a slightly nutty flavor, or use coconut sugar for a deeper sweetness.
Troubleshooting
- Texture problems: If the cake turns out too dense, it might be due to overmixing. If it’s too dry, it could be overbaked. Adjust your mixing and baking times accordingly.
- Ingredient replacements: If you’re missing an ingredient, consider what its role is in the recipe. For example, if you’re out of eggs, you might use a flax egg or applesauce as a substitute.
- Over/undercooking signs: Keep an eye on your cake while it’s baking. If the top starts to brown too quickly, cover it with foil. If it’s not done after the recommended time, check it every 5 minutes until it’s cooked through.
FAQs
- Can I freeze it? Yes, the cake can be frozen for up to 2 months. It’s best to freeze the layers separately before assembling and frosting the cake.
- Is it gluten-free? The cake contains wheat flour, making it not gluten-free. However, you can experiment with gluten-free flours as substitutes, though this may affect the texture and flavor.
- Can I double the recipe? Yes, the recipe can be doubled. Just ensure you have large enough pans and adjust the baking time accordingly, as a larger cake will take longer to cook through.
Conclusion
Creating this Decadent Chocolate Explosion Cake is a journey of discovery, from the initial mixing of ingredients to the final, satisfying bite. It’s a recipe that invites experimentation and adaptation, making it perfect for both beginners and experienced bakers. Whether you’re looking to impress at a dinner party or simply satisfy your sweet tooth, this cake is sure to deliver. So, don’t be afraid to get creative, share your results, and enjoy the process of making something truly special.