Want a quick weeknight dinner solution? Try these easy crispy white tuna balls made with tender tuna and crunchy panko breadcrumbs, perfect for a homemade family favorite, save for later
Crispy White Tuna Balls Recipe
Introduction
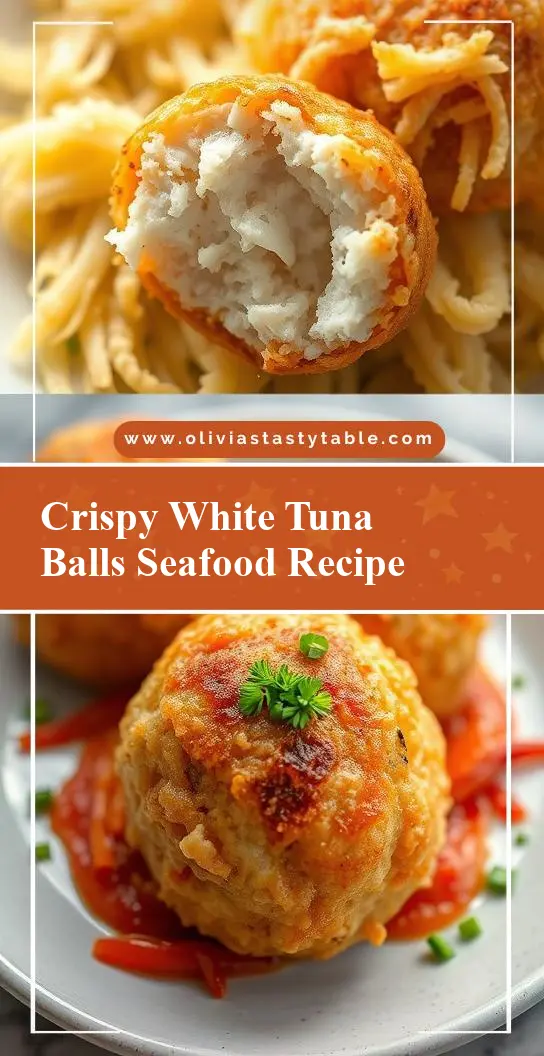
Imagine sinking your teeth into a crispy, golden exterior, only to reveal a tender, flavorful interior that’s bursting with the freshness of the ocean. That’s exactly what you get with our Crispy White Tuna Balls Recipe, a dish so divine, it’s sure to become a staple in your culinary repertoire. The best part? It’s incredibly easy to make, requiring just a few everyday ingredients and some basic kitchen tools. Whether you’re a seasoned chef or a culinary newcomer, this recipe is perfect for anyone looking to add a touch of creativity and elegance to their meals without breaking a sweat.
Why This Works
- Flavor balance and ingredient accessibility: The combination of white tuna, breadcrumbs, and a hint of lemon creates a perfect harmony of flavors that’s both refreshing and satisfying. Plus, all the ingredients are easily found in most supermarkets.
- Ease of preparation: With a simple mix-and-shape process, these tuna balls are a breeze to prepare, even for those with limited kitchen experience.
- Impressive results with minimal effort: Despite the simplicity of the recipe, the end result is nothing short of impressive. The crispy exterior and tender interior make for a dish that’s sure to wow your family and friends.
Key Ingredients
The star of the show is, of course, the white tuna. Look for high-quality canned white tuna that’s low in mercury and rich in flavor. Other essential ingredients include panko breadcrumbs for that perfect crunch, a squeeze of fresh lemon juice for a burst of citrus, and a sprinkle of parsley for freshness. For those looking for substitutions, you can also use fresh tuna steaks, just be sure to cook them thoroughly before flaking. Additionally, gluten-free breadcrumbs are a great option for those with dietary restrictions.
Instructions
- Step 1: Begin by draining the liquid from the canned tuna and placing it in a large bowl. Flake the tuna into small pieces using a fork, being careful not to over-mix.
- Step 2: Add the panko breadcrumbs, lemon juice, chopped parsley, salt, and pepper to the bowl with the tuna. Mix everything together until just combined. Be gentle to avoid compacting the mixture.
- Step 3: Using your hands, shape the tuna mixture into small balls, about 1.5 inches in diameter. You should end up with around 12-15 tuna balls.
- Step 4: Heat about 1/2 inch of olive oil in a large skillet over medium-high heat. When the oil is hot, add a few of the tuna balls (do not overcrowd the skillet) and fry until they’re golden brown and crispy on all sides, about 3-4 minutes per side. Repeat with the remaining tuna balls.
Handy Tips
- Make sure to not overmix the tuna mixture, as this can make the tuna balls dense and heavy.
- If you find that your tuna balls are falling apart, you can add a little more panko breadcrumbs to help bind them together.
- For an extra crispy coating, you can chill the shaped tuna balls in the refrigerator for 30 minutes before frying.

Heat Control
When frying the tuna balls, it’s crucial to maintain the right temperature. Aim for a medium-high heat, around 375°F. This will ensure that the outside crisps up nicely while the inside remains tender. Also, keep an eye on the tuna balls and adjust the heat as necessary to prevent burning.
Crunch Factor
The crunch factor in this recipe comes from the panko breadcrumbs and the frying process. To achieve the perfect crunch, make sure the oil is hot enough before adding the tuna balls, and don’t overcrowd the skillet. This allows each tuna ball to fry evenly and prevents them from sticking together.
Pro Kitchen Tricks
- For a lighter version, you can bake the tuna balls instead of frying them. Simply place them on a baking sheet lined with parchment paper and bake at 400°F for about 12-15 minutes, or until crispy and golden.
- To add extra flavor, you can mix some grated onion or minced garlic into the tuna mixture before shaping the balls.
- Experiment with different seasonings like paprika or dried herbs to give your tuna balls a unique twist.
Storage Tips
- Leftover tuna balls can be stored in an airtight container in the refrigerator for up to 2 days. Reheat them in the oven or microwave until crispy and warm.
- For longer storage, you can freeze the shaped tuna balls on a baking sheet, then transfer them to a freezer-safe bag or container for up to 2 months. Fry or bake them frozen.
- When storing, it’s best to keep the tuna balls in a single layer to prevent them from sticking together.
Gift Packaging Ideas
These crispy tuna balls make for a wonderful gift, especially when packaged in a decorative jar or container. Simply layer the tuna balls with some mixed greens or pickled vegetables, and top with a ribbon or a gift tag. You can also include a side of homemade tartar sauce or a lemon wedge for an extra-special touch.
Flavor Variations
- 🌟 Different spices: Try adding some cumin for a smoky flavor, or some dried basil for an Italian twist.
- 🌟 Creative toppings: Serve your tuna balls with a variety of toppings like diced onions, sliced hard-boiled eggs, or pickled relish.
- 🌟 Ingredient swaps: Experiment with different types of fish or seafood, like salmon or shrimp, for a unique flavor profile.
Troubleshooting
- Texture problems: If your tuna balls are too dense, try adding a little more panko breadcrumbs. If they’re too crumbly, you can add a bit more lemon juice or an egg white to help bind them.
- Ingredient replacements: If you can’t find white tuna, you can substitute it with other types of canned fish, like salmon or mackerel.
- Over/undercooking signs: Keep an eye on the tuna balls while they’re frying, and adjust the heat as necessary. If they’re not crispy enough, you can try frying them for a bit longer. If they’re too dark, remove them from the heat immediately.
FAQs
- Can I freeze it? Yes, you can freeze the shaped tuna balls for up to 2 months. Simply fry or bake them frozen when you’re ready to serve.
- Is it gluten-free? Yes, this recipe is gluten-free, thanks to the use of gluten-free panko breadcrumbs. Just be sure to check the ingredients of your canned tuna and any additional seasonings you might use.
- Can I double the recipe? Absolutely! Simply double all the ingredients and follow the same instructions. You might need to fry the tuna balls in batches to prevent overcrowding the skillet.
Conclusion
And there you have it – a simple, yet impressive recipe for crispy white tuna balls that’s sure to delight your taste buds and impress your friends. Whether you’re looking for a quick snack, a light lunch, or a creative appetizer, this recipe has got you covered. So go ahead, get creative, and enjoy the process of making something truly special. Don’t forget to share your experiences and adaptations with us, and happy cooking!