Craving a family favorite appetizer? Make this easy homemade Outback Steakhouse Bloomin Onion with a simple batter and quick frying method for a delicious weeknight dinner, Save for later
Outback Steakhouse Bloomin’ Onion
Introduction
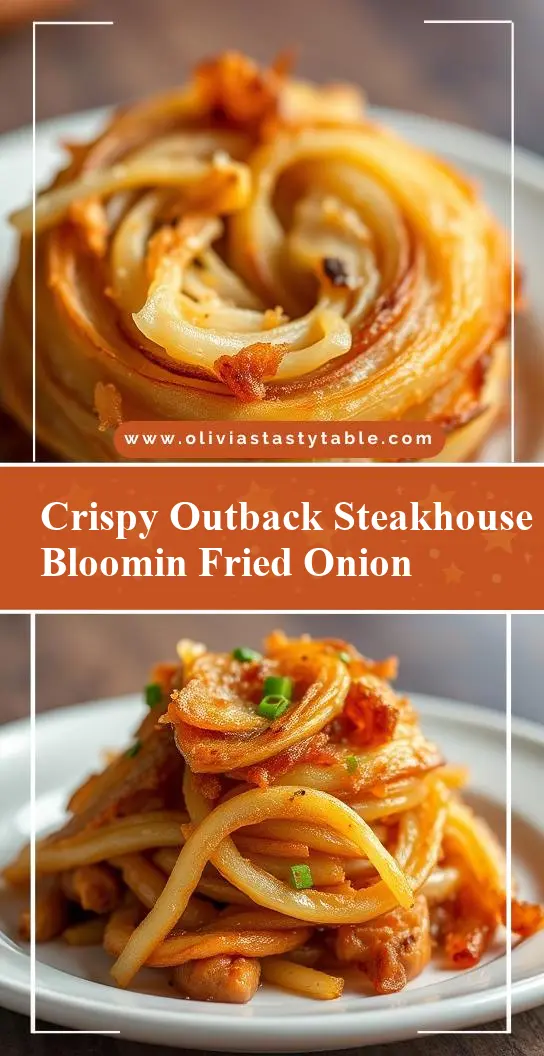
The Outback Steakhouse Bloomin’ Onion is a culinary masterpiece that has captured the hearts and taste buds of many. This iconic dish is not only a delight to the palate, but it’s also surprisingly easy to make at home using everyday ingredients. With its perfect balance of flavors and textures, the Bloomin’ Onion is an ideal appetizer or snack for any occasion. In this article, we’ll delve into the world of this beloved dish, exploring its simplicity, creativity, and the secrets behind its irresistible taste.
Why This Works
- Flavor balance and ingredient accessibility: The Bloomin’ Onion’s success lies in its harmonious blend of savory, sweet, and tangy flavors, all of which can be achieved with easily accessible ingredients.
- Ease of preparation: Despite its impressive presentation, the Bloomin’ Onion requires minimal effort to prepare, making it a perfect choice for both novice and experienced cooks.
- Impressive results with minimal effort: The dish’s dramatic appearance and mouth-watering aroma are sure to impress your guests, all without requiring extensive culinary expertise.
Key Ingredients
To recreate the Outback Steakhouse Bloomin’ Onion, you’ll need a few key ingredients, including a large onion, all-purpose flour, paprika, garlic powder, salt, and pepper. For the Bloomin’ Onion sauce, you’ll need mayonnaise, ketchup, and a blend of spices. Practical substitutions can be made for some ingredients, such as using different types of onions or adjusting the amount of spices according to your taste preferences.
Instructions
- Step 1: Begin by preparing the onion. Cut off the top of the onion, then carefully remove the center, creating a blooming effect. Soak the onion in cold water for about 30 minutes to reduce bitterness and help the petals separate.
- Step 2: In a bowl, mix together the flour, paprika, garlic powder, salt, and pepper. Remove the onion from the water, and coat it evenly with the flour mixture, making sure to get some of the seasoning between the onion petals.
- Step 3: Heat about 2-3 inches of oil in a deep frying pan to 375°F. Fry the onion until it’s golden brown, which should take about 3-4 minutes. Drain the onion on paper towels.
- Step 4: To make the Bloomin’ Onion sauce, combine the mayonnaise, ketchup, and spices in a bowl. Mix well until smooth. Serve the fried onion with the sauce for dipping.
Handy Tips
- When cutting the onion, try to make your cuts as even as possible to ensure the onion blooms nicely. Also, be gentle when separating the onion petals to avoid breaking them.
- Avoid over-frying the onion, as this can make it too crispy and lose its delicate flavor. The ideal frying time will depend on the size of your onion and the heat of your oil.
- For an extra crispy coating, you can chill the floured onion in the refrigerator for about 30 minutes before frying. This helps the coating adhere better to the onion.
Heat Control
Heat control is crucial when frying the Bloomin’ Onion. The ideal temperature for frying is between 375°F and 400°F. If the oil is too hot, the onion will burn on the outside before it’s fully cooked on the inside. Conversely, if the oil is not hot enough, the onion will absorb too much oil and become greasy. The frying time will typically be around 3-4 minutes, depending on the size of the onion and the desired level of crispiness.
Crunch Factor
Achieving the perfect crunch is key to the Bloomin’ Onion’s appeal. The onion should be crispy on the outside and tender on the inside. To enhance the crunch factor, ensure that the oil is at the right temperature, and don’t overcrowd the frying pan, as this can lower the oil temperature and result in a less crispy onion. Also, patting the onion dry with paper towels before frying can help reduce moisture and achieve a crisper exterior.
Pro Kitchen Tricks
- For an added layer of flavor, you can marinate the onion in your favorite seasonings before coating and frying it. This step can add depth and complexity to the dish.
- To make the Bloomin’ Onion sauce ahead of time, prepare the ingredients and store them in separate containers in the refrigerator until ready to assemble and serve. This can save time and ensure that your sauce is fresh and vibrant.
- Consider using a thermometer to ensure the oil reaches the perfect frying temperature. This tool can be invaluable in achieving consistent results and preventing accidents.
Storage Tips
- The fried onion is best served immediately, but if you need to store it, place it in an airtight container in the refrigerator for up to a day. Reheat it in the oven at 350°F for about 10 minutes, or until crispy again.
- The Bloomin’ Onion sauce can be stored in the refrigerator for up to a week. Give it a good stir before serving, and consider adding a fresh squeeze of lemon juice to revitalize the flavors.
- For leftover onions, you can also freeze them after frying. Simply place the fried onion in a freezer-safe bag or container and store it in the freezer for up to 2 months. Reheat it in the oven as described above.
Gift Packaging Ideas
If you’re considering gifting the Bloomin’ Onion, you could package the fried onion in a decorative basket or box, accompanied by a side of the Bloomin’ Onion sauce in a small jar or container. Add some garnishes like fresh parsley or a sprinkle of paprika for a pop of color. You could also include a recipe card with tips on how to reheat and serve the onion for a complete gift experience.
Flavor Variations
- 🌟 Different spices: Experiment with various spice blends, such as Cajun seasoning or Italian herbs, to give your Bloomin’ Onion a unique twist.
- 🌟 Creative toppings: Consider adding some creative toppings to your Bloomin’ Onion, such as grated cheese, diced bacon, or a dollop of sour cream, to enhance the flavor and texture.
- 🌟 Ingredient swaps: Don’t be afraid to swap out ingredients, such as using a different type of onion or substituting the mayonnaise with Greek yogurt in the sauce, to create a version that suits your taste preferences.
Troubleshooting
- Texture problems: If your onion turns out too greasy, it might be due to the oil not being hot enough. Conversely, if it’s too dry, the oil might have been too hot. Adjust the temperature accordingly for the next batch.
- Ingredient replacements: If you’re missing a specific ingredient, don’t hesitate to substitute it with something similar. For example, you can use lemon juice instead of vinegar in the sauce for a slightly different flavor profile.
- Over/undercooking signs: Keep an eye on the onion’s color and texture while it’s frying. If it’s turning too dark, it might be overcooking. If it remains too pale, it might not be crispy enough. Adjust the frying time as needed.
FAQs
- Can I freeze it? Yes, you can freeze the fried onion for lên to 2 months. Simply place it in a freezer-safe bag or container and reheat it in the oven when ready to serve.
- Is it gluten-free? The traditional Bloomin’ Onion recipe contains gluten due to the all-purpose flour. However, you can easily make a gluten-free version by substituting the flour with a gluten-free alternative.
- Can I double the recipe? Absolutely! Simply multiply all the ingredients by two and proceed with the recipe as instructed. Keep in mind that you might need to fry the onions in batches to avoid overcrowding the pan.
Conclusion
Recreating the Outback Steakhouse Bloomin’ Onion at home is a rewarding experience that combines ease, flavor, and creativity. With its accessible ingredients and straightforward preparation, this dish is perfect for anyone looking to impress their guests or simply enjoy a delicious meal. Feel free to experiment with different flavors and toppings to make the Bloomin’ Onion your own, and don’t hesitate to share your creations with friends and family. Happy cooking, and we look forward to hearing about your culinary adventures!