Craving a quick and easy weeknight dinner solution? Try our homemade oven-baked falafel made with chickpeas and spices, perfect for a family favorite meal, save for later and make tonight
Healthy Oven-Baked Falafel – No Frying Needed!
Introduction
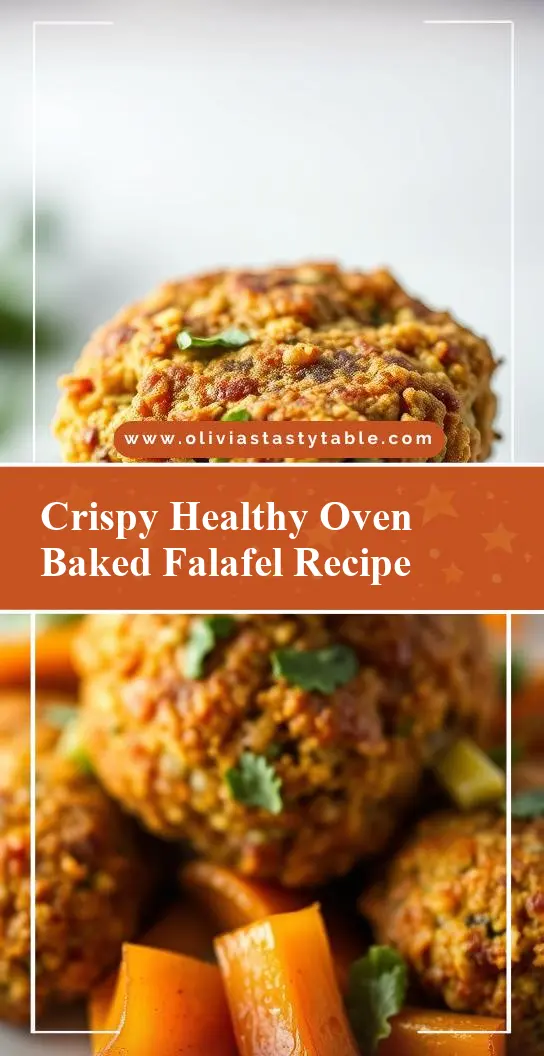
Imagine sinking your teeth into crispy, flavorful, and incredibly healthy falafel, all without the need for deep-frying. This recipe for oven-baked falafel brings together the simplicity of everyday ingredients with the creativity of Middle Eastern cuisine, making it a perfect addition to any meal, whether you’re a vegan, vegetarian, or just looking to mix things up. The beauty of oven-baking lies not only in its health benefits but also in the ease and minimal cleanup it offers, making this dish accessible to anyone, regardless of their cooking experience.
Why This Works
- Flavor balance and ingredient accessibility: The combination of chickpeas, herbs, and spices creates a deliciously balanced flavor profile that’s easy to achieve with readily available ingredients.
- Ease of preparation: With a simple blend, shape, and bake process, this recipe minimizes prep time and effort, making it perfect for busy days or meal prep.
- Impressive results with minimal effort: Despite its simplicity, the end result is impressive, with a crispy exterior giving way to a soft, flavorful interior, sure to delight both in taste and texture.
Key Ingredients
The main ingredients for this healthy oven-baked falafel include chickpeas, which provide the base and protein content; parsley and cilantro, adding freshness and depth; garlic and onion, for an aromatic flavor; lemon juice, contributing a tangy note; and a mix of spices like cumin, coriander, and paprika, which bring warmth and a traditional Middle Eastern flavor. For practical substitutions, you can use fresh dill instead of parsley or cilantro, and adjust the amount of garlic and onion based on personal taste. Additionally, for those looking to reduce sodium, using low-sodium chickpeas or reducing the amount of added salt can be beneficial.
Instructions
- Step 1: Begin by prepping your ingredients. Drain and rinse the chickpeas, chop the parsley, cilantro, garlic, and onion, and juice the lemon. In a food processor, combine all the ingredients, including the spices and olive oil, and blend until you achieve a coarse, well-mixed texture. Be careful not to overprocess, as this can make the falafel dense.
- Step 2: Using your hands, shape the mixture into small patties or balls, depending on your desired shape for the falafel. Place them on a baking sheet lined with parchment paper, leaving enough space between each falafel for even cooking.
- Step 3: Drizzle the tops with a little extra olive oil and gently roll them to coat evenly. This step helps in achieving a crispy exterior.
- Step 4: Bake the falafel in a preheated oven at 375°F (190°C) for about 20-25 minutes, flipping them halfway through the cooking time. They should be golden brown and crispy on the outside, and soft on the inside. Serve hot with your favorite tahini sauce, hummus, or in a pita with fresh vegetables.
Handy Tips
- For an extra crispy exterior, you can try baking the falafel at a higher temperature for the first 10 minutes, then reduce the heat to prevent burning. Also, don’t overcrowd the baking sheet, as this can prevent even cooking and crisping.
Heat Control
To achieve the perfect bake, it’s crucial to monitor the temperature and cooking time. Ideally, the oven should be preheated to 375°F (190°C). For the first 10-12 minutes, the falafel will start to firm up and begin crisping. Flipping them at this stage ensures even cooking. The total cooking time should be around 20-25 minutes, but this can vary based on the size of your falafel and your oven’s performance. Look for a golden brown color and a crispy texture to determine doneness.
Crunch Factor
The crunch factor in oven-baked falafel is achieved through the right balance of moisture and dryness in the mixture, coupled with the baking process. To enhance crispiness, ensuring the falafel are not too closely packed on the baking sheet is key, as is the light drizzle of olive oil before baking. For an extra crunch, you can also try broiling the falafel for an additional 2-3 minutes after baking, though keep a close eye to prevent burning.
Pro Kitchen Tricks
- One expert tip for achieving consistent results is to chill the shaped falafel in the refrigerator for about 30 minutes before baking. This helps them retain their shape better and can contribute to a crisper exterior.
- For easier cleanup, line your baking sheet with parchment paper or a silicone mat. This prevents the falafel from sticking and makes post-baking cleanup a breeze.
Storage Tips
- For storing leftover falafel, it’s best to cool them completely on a wire rack before placing them in an airtight container in the refrigerator. They can be stored for up to 3 days. For reheating, simply bake them in the oven at 350°F (175°C) for about 5-7 minutes, or until warmed through.
- Falafel can also be frozen after baking and cooling. Place them in a freezer-safe bag or container, and when you’re ready to eat them, bake frozen falafel in a preheated oven at 375°F (190°C) for about 12-15 minutes, flipping halfway through.
Gift Packaging Ideas
If you’re considering gifting your homemade falafel, a charming way to present them is in a decorative jar or container, layered with paper or a cloth to separate the falafel. You can also include a side of tahini sauce or hummus in a smaller jar, along with some pita bread or fresh vegetables, all wrapped up in a gift basket or bag. Adding a personal touch, like a handwritten recipe card or a sprinkle of sumac on top, can make the gift even more special.
Flavor Variations
- 🌟 Different spices: Experiment with various spice blends, such as adding a bit of cayenne pepper for heat, smoked paprika for a smoky flavor, or garam masala for an Indian-inspired twist.
- 🌟 Creative toppings: Serve your falafel with innovative toppings like pickled turnips, grilled halloumi cheese, or a dollop of tzatziki sauce for added flavor and texture.
- 🌟 Ingredient swaps: Try substituting chickpeas with other beans like black beans or fava beans for a different nutritional profile and flavor. You can also add some chopped mushrooms or bell peppers to the mixture for extra moisture and flavor.
Troubleshooting
- Texture problems: If your falafel turn out too dense, it might be due to overprocessing the mixture. If they’re too dry, you might need to add a bit more lemon juice or olive oil to the mix.
- Ingredient replacements: For those with specific dietary needs, consider replacing traditional wheat flour with gluten-free flour, or using vegan-friendly alternatives to any animal products.
- Over/undercooking signs: Keep an eye on your falafel while they’re baking. If they’re undercooked, they might be soft and pale. Overcooking can make them dry and overly brown. Adjust the baking time as needed based on your oven and the size of your falafel.
FAQs
- Can I freeze it? Yes, falafel can be frozen after baking and cooling. Simply place them in a freezer-safe bag or container and bake frozen falafel in a preheated oven at 375°F (190°C) for about 12-15 minutes, flipping halfway through.
- Is it gluten-free? The basic recipe is gluten-free, but be mindful of the type of flour or breadcrumbs you might add, opting for gluten-free alternatives if necessary.
- Can I double the recipe? Absolutely, this recipe can be easily doubled or tripled. Just ensure you have enough space on your baking sheet for the falafel to cook evenly, and adjust the baking time slightly if necessary.
Conclusion
With its simplicity, versatility, and delicious flavor, oven-baked falafel is a recipe that’s sure to become a staple in your kitchen. Whether you’re a seasoned cook or just starting out, this dish offers a fun and healthy way to explore the flavors of the Middle East. Don’t be afraid to experiment with different spices and ingredients to make the recipe your own, and enjoy the process of sharing your creations with friends and family. Happy cooking, and remember, the joy of cooking lies not just in the eating, but in the sharing and the love that goes into every dish.