Craving crispy fried chicken without the fuss? Try this easy homemade buttermilk oven fried chicken recipe for a quick weeknight dinner using simple ingredients like buttermilk and chicken breasts, save for later
Buttermilk Oven Fried Chicken
Introduction
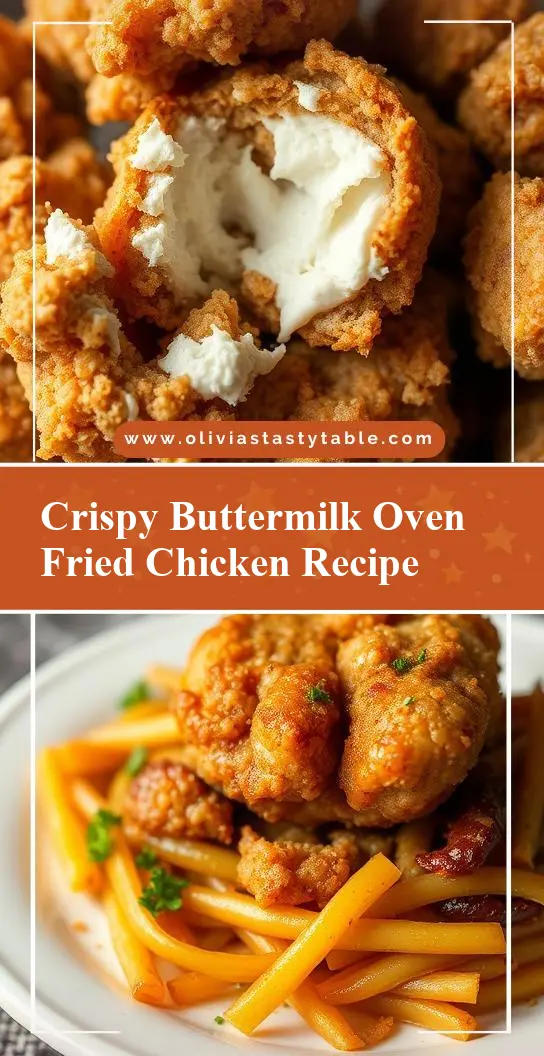
Imagine the crispy, golden exterior and juicy, tender interior of fried chicken, but without the extra calories and mess of deep-frying. Buttermilk Oven Fried Chicken is a game-changer for anyone looking to indulge in this comfort food classic without the guilt. This recipe is all about ease, flavor, and creativity, using everyday ingredients to create a dish that’s both impressive and accessible. Whether you’re a busy weeknight cook or a weekend entertainer, this oven-fried chicken is sure to become a staple in your kitchen.
Why This Works
- Flavor balance and ingredient accessibility: The combination of buttermilk, spices, and a light breading creates a perfect balance of tangy, savory, and slightly sweet flavors, all with ingredients you likely have on hand.
- Ease of preparation: The steps are straightforward, and the oven does most of the work, making this a low-maintenance dish for a quick dinner or a party.
- Impressive results with minimal effort: Despite its simplicity, the end result is crispy on the outside, juicy on the inside, and full of flavor, sure to impress family and friends.
Key Ingredients
The stars of this recipe are buttermilk for its tangy flavor and tenderizing properties, chicken pieces (you can use any combination of legs, thighs, wings, and breasts), and a blend of spices that add depth without overpowering the other flavors. For the breading, you’ll need all-purpose flour, cornstarch, and panko breadcrumbs for the lightest, crispiest coating. Practical substitutions include using regular milk with a splash of vinegar or lemon juice if buttermilk isn’t available, and swapping out spices to suit your taste preferences.
Instructions
- Step 1: Begin by preparing your ingredients. In a large bowl, whisk together the buttermilk, salt, and your choice of spices (such as garlic powder, onion powder, and paprika). Add the chicken pieces and make sure they’re fully submerged in the buttermilk mixture. Cover the bowl with plastic wrap and refrigerate for at least 2 hours or overnight.
- Step 2: Preheat your oven to 400°F (200°C). In a separate large bowl, mix together the flour, cornstarch, and a pinch of salt and pepper. In another bowl, place the panko breadcrumbs. Remove the chicken from the buttermilk, letting any excess liquid drip off. Dredge the chicken pieces in the flour mixture, coating them lightly but evenly, then roll them in the panko breadcrumbs to coat. Place the coated chicken on a baking sheet lined with parchment paper.
- Step 3: Drizzle the tops of the chicken pieces with a little olive oil. This helps the breadcrumbs brown in the oven. Bake the chicken for about 20-25 minutes or until it reaches an internal temperature of 165°F (74°C). Halfway through the baking time, flip the chicken pieces over to ensure even browning.
- Step 4: Once the chicken is done, remove it from the oven and let it rest for a few minutes. This step is crucial as it allows the juices to redistribute, making the chicken even more tender and juicy. Serve hot and enjoy!
Handy Tips
- For an extra crispy coating, you can chill the breaded chicken pieces in the refrigerator for 30 minutes before baking. This sets the coating and helps it brown better in the oven.
- Don’t overcrowd the baking sheet, as this can prevent the chicken from cooking evenly. If necessary, bake the chicken in batches.
- Experiment with different spice blends in the buttermilk and in the breading for unique flavor twists.
Heat Control
The ideal temperature for baking the chicken is 400°F (200°C), and the cooking time will depend on the size and thickness of your chicken pieces. Always use a meat thermometer to ensure the chicken reaches a safe internal temperature of 165°F (74°C). Signs of doneness include the chicken feeling firm to the touch and the juices running clear when pierced with a fork.
Crunch Factor
Achieving the perfect crunch on oven-fried chicken is all about the breading and the baking technique. Using panko breadcrumbs provides a lighter, crisper coating than regular breadcrumbs. Ensuring the chicken pieces are not overcrowded on the baking sheet allows air to circulate around them, helping the coating to crisp up evenly. For an extra crunchy coating, you can try broiling the chicken for an additional 1-2 minutes after baking, watching closely to prevent burning.
Pro Kitchen Tricks
- For easier cleanup, line your baking sheet with parchment paper or aluminum foil before adding the chicken.
- To keep the chicken warm while baking in batches, place the cooked pieces in a low-temperature oven (around 200°F or 90°C) until all the chicken is done.
- Consider using a wire rack on your baking sheet for the chicken to sit on. This allows air to circulate under the chicken, promoting even browning and crispiness.
Storage Tips
- Leftover chicken can be stored in an airtight container in the refrigerator for up to 3 days. Reheat in the oven at 350°F (175°C) until warmed through.
- For longer storage, cool the chicken completely, then freeze in airtight containers or freezer bags for up to 2 months. Reheat frozen chicken in the oven at 400°F (200°C) until cooked through.
- When reheating, make sure the chicken reaches an internal temperature of 165°F (74°C) to ensure food safety.
Gift Packaging Ideas
If you’re considering gifting your oven-fried chicken, perhaps for a picnic or a potluck, packaging is key. Individual portions can be wrapped in parchment paper or aluminum foil and placed in a basket or container. For a more rustic touch, use paper bags or cones and tie with twine. Don’t forget to include a few dipping sauces, like ranch or BBQ sauce, to complement the chicken.
Flavor Variations
- 🌟 Different spices: Try adding smoked paprika for a smoky flavor, cumin for a Mexican twist, or dried herbs like thyme or rosemary for a more aromatic taste.
- 🌟 Creative toppings: Once the chicken is baked, top it with anything from diced onions and bell peppers to pickles or jalapeños for added flavor and texture.
- 🌟 Ingredient swaps: Use Greek yogurt instead of buttermilk for a similar tanginess, or substitute chicken with turkey or pork for a different protein.
Troubleshooting
- Texture problems: If the coating doesn’t crisp up, check your oven temperature and ensure the chicken isn’t overcrowded. For soggy chicken, try baking for a few more minutes or broiling briefly.
- Ingredient replacements: If you’re out of a particular spice or ingredient, don’t be afraid to substitute with something similar or omit it altogether. The dish will still turn out delicious.
- Over/undercooking signs: Always check the internal temperature of the chicken to avoid undercooking. Overcooking will result in dry chicken, so keep an eye on the baking time and temperature.
FAQs
- Can I freeze it? Yes, you can freeze the chicken after it’s been breaded but before baking. Simply place the breaded chicken pieces on a baking sheet lined with parchment paper and put it in the freezer until frozen solid, then transfer the frozen chicken to airtight containers or freezer bags for storage.
- Is it gluten-free? The recipe can be made gluten-free by substituting the all-purpose flour with a gluten-free flour blend and ensuring the panko breadcrumbs are gluten-free.
- Can I double the recipe? Absolutely, just keep in mind that you may need to bake the chicken in batches to prevent overcrowding the baking sheet.
Conclusion
Buttermilk Oven Fried Chicken is a versatile and delicious recipe that’s perfect for any occasion. With its balance of flavors, ease of preparation, and impressive results, it’s sure to become a favorite. Don’t be afraid to experiment with different spices and toppings to make the dish your own, and enjoy the process of creating a meal that’s both comforting and exciting. Share your creations and adaptations with friends and family, and don’t hesitate to reach out with any questions or tips of your own. Happy cooking!