Craving a sweet treat? This easy homemade ice cream features creamy salted caramel and is a quick family favorite dessert made with simple ingredients, save for later and indulge in a delicious delight tonight
Creamy Salted Caramel Ice Cream Delight
Introduction
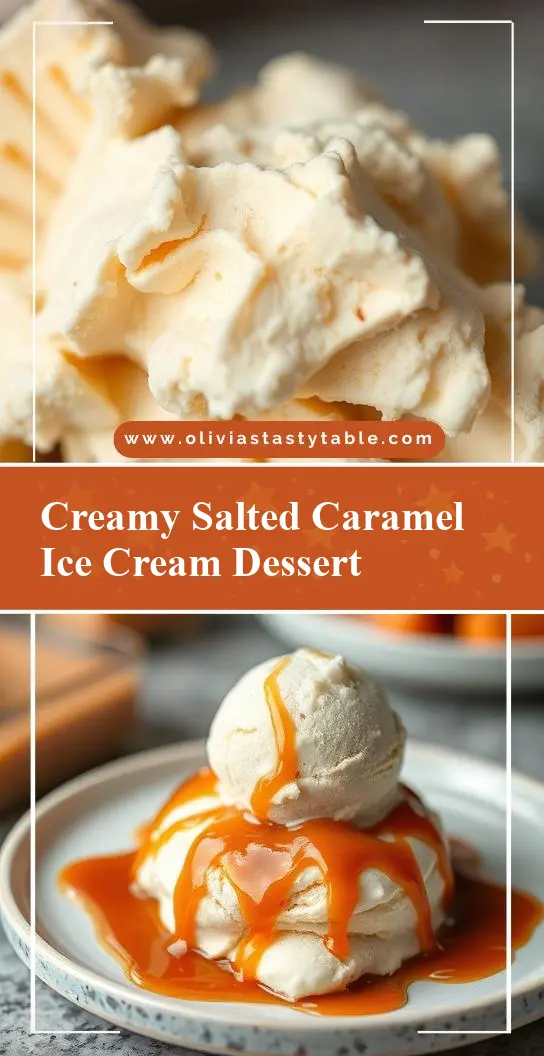
Imagine a scoop of creamy, dreamy ice cream that’s both familiar and excitingly new, with the deep, velvety smoothness of caramel and the perfect touch of salt. This Creamy Salted Caramel Ice Cream Delight is a masterclass in balanced flavors, using everyday ingredients in a creative way that’s sure to impress both kids and adults alike. The best part? It’s incredibly easy to make, requiring minimal effort for a dessert that tastes like it was plucked straight from a gourmet ice cream shop. Whether you’re a seasoned chef or a beginner in the kitchen, this recipe is perfect for anyone looking to elevate their dessert game without spending hours in the kitchen.
Why This Works
- Flavor balance and ingredient accessibility: The combination of caramel, salt, and cream creates a perfectly balanced flavor profile that’s neither too sweet nor too salty, and all the ingredients are easily found in most supermarkets.
- Ease of preparation: Despite its luxurious taste, this ice cream is surprisingly simple to make, requiring just a few ingredients and some basic kitchen equipment.
- Impressive results with minimal effort: The end result is a dessert that looks and tastes professional, perfect for special occasions or everyday treats, all achieved with minimal fuss and effort.
Key Ingredients
The magic of this Creamy Salted Caramel Ice Cream Delight lies in its ingredients. You’ll need heavy cream, whole milk, granulated sugar, unsalted butter, fleur de sel or flaky sea salt, and vanilla extract for the ice cream base. For the caramel sauce, you’ll use granulated sugar, unsalted butter, and heavy cream. Practical substitutions can be made for some ingredients; for example, you can use kosher salt if you don’t have fleur de sel, and brown sugar can add a deeper flavor to your caramel. However, it’s worth noting that using high-quality ingredients, especially when it comes to the vanilla and salt, can elevate the flavor of your ice cream significantly.
Instructions
- Step 1: Begin by preparing your ingredients. Measure out your cream, milk, sugar, and salt. For the caramel, measure out the sugar, butter, and cream. Chop the butter into small pieces to help it melt more evenly.
- Step 2: Cook the caramel sauce. Place the sugar in a saucepan over medium heat. Once the sugar starts to melt, reduce the heat to medium-low and simmer, without stirring, until it turns a deep amber color. Remove from heat and carefully whisk in the butter and cream. The mixture will bubble vigorously, so be cautious. Set the caramel aside to cool.
- Step 3: Make the ice cream base. In a medium saucepan, combine the cream, milk, sugar, and salt. Heat over medium heat, stirring occasionally, until the sugar has dissolved and the mixture is hot but not boiling. Remove from heat and stir in the vanilla extract. Let it cool to room temperature, then cover and refrigerate until chilled.
- Step 4: Churn the ice cream. Once the base is chilled, pour it into an ice cream maker and churn according to the manufacturer’s instructions. During the last 2 minutes of churning, slowly pour in the cooled caramel sauce, allowing it to distribute evenly throughout the ice cream. Transfer the ice cream to an airtight container and freeze for at least 2 hours to firm up.
Handy Tips
- When making caramel, it’s crucial not to stir the sugar too much, as this can cause it to crystallize. Instead, gently tilt the pan to distribute the heat evenly.
- For a creamier ice cream, make sure your base is well chilled before churning, and avoid over-churning, as this can introduce air into the ice cream and make it icy.
- Consider using different types of salt for varying flavor profiles. Fleur de sel and flaky sea salt add a delicate, crunchy texture and a touch of saltiness without overpowering the other flavors.
Heat Control
Heat control is critical when making the caramel sauce. The ideal temperature for caramelizing sugar is between 338°F and 345°F. This is the hard-ball stage, where the sugar syrup will form a hard ball when dropped into cold water. If you don’t have a candy thermometer, you can test the caramel by color, looking for a deep amber hue. Be careful not to burn the caramel, as this can give your ice cream a bitter taste.
Crunch Factor
This ice cream is designed to be smooth and creamy, with the caramel sauce swirled through it adding a deep, velvety texture. If you prefer a bit of crunch, you could add some chopped nuts or caramelized pecans to the ice cream during the last minute of churning. This will distribute them evenly and provide a nice textural contrast to the smooth ice cream.
Pro Kitchen Tricks
- For an extra creamy ice cream, add a tablespoon or two of cornstarch to the ice cream base before heating it. This will help inhibit the growth of ice crystals, resulting in a smoother texture.
- To prevent ice cream from becoming too icy, it’s essential to age the base in the refrigerator for at least 2 hours or overnight. This allows the flavors to meld together and the mixture to chill thoroughly.
- Invest in an ice cream maker with a built-in freezer bowl or a compressor. These models churn ice cream faster and to a creamier consistency than models that require pre-freezing the bowl.
Storage Tips
- Store your ice cream in an airtight container in the freezer to prevent freezer burn and other flavors from affecting its taste.
- If you’re not planning to serve the ice cream immediately, consider pouring the churned ice cream into airtight, freezer-safe containers or zip-top plastic bags, pressing out as much air as possible before sealing to prevent ice crystals from forming.
- The shelf life of homemade ice cream is typically 3 to 4 days, though it’s best consumed within 2 days for optimal flavor and texture.
Gift Packaging Ideas
This Creamy Salted Caramel Ice Cream Delight makes a wonderful gift, especially during warmer months or for special occasions. Consider packaging it in decorative ice cream containers or jars, topped with a ribbon or a gift tag. You could also pair it with complementary treats like caramel sauce, nuts, or cookies for a gift basket. For a more rustic look, use mason jars and add a handwritten label or a small bag of caramel bits on top.
Flavor Variations
- 🌟 Different spices: Adding a pinch of sea salt or a teaspoon of vanilla bean paste can enhance the flavor. For a unique twist, try adding a teaspoon of ground cinnamon or nutmeg to the ice cream base before churning.
- 🌟 Creative toppings: Top your ice cream with caramelized bananas, whipped cream, chopped nuts, or even a sprinkle of flaky sea salt for added texture and flavor.
- 🌟 Ingredient swaps: Experiment with different types of milk, such as almond or coconut milk, for a non-dairy version. You can also use brown sugar instead of granulated sugar for a deeper caramel flavor.
Troubleshooting
- Texture problems: If your ice cream turns out too icy, it might be due to over-churning or not aging the base long enough. Try adding a stabilizer like cornstarch or guar gum to the base before churning.
- Ingredient replacements: If you’re out of heavy cream, you can substitute it with a mixture of milk and butter or use half-and-half for a richer flavor.
- Over/undercooking signs: Keep an eye on your caramel sauce, as it can quickly go from perfectly caramelized to burnt. If you notice it starting to smell burnt or turn too dark, remove it from the heat immediately.
FAQs
- Can I freeze it? Yes, this ice cream can be frozen for up to 3 months. Simply transfer it to an airtight, freezer-safe container and press out as much air as possible before sealing.
- Is it gluten-free? Yes, this recipe is gluten-free, making it suitable for those with gluten intolerance or sensitivity.
- Can I double the recipe? Absolutely. Simply double all the ingredients and proceed with the instructions. Note that you might need to adjust the churning time slightly, depending on the capacity of your ice cream maker.
Conclusion
Making the Creamy Salted Caramel Ice Cream Delight is a journey of discovery, from the simple joy of caramelizing sugar to the satisfaction of watching your ice cream churn into a creamy, dreamy dessert. It’s a recipe that encourages creativity and experimentation, whether you’re trying new flavors, textures, or presentation ideas. So don’t be afraid to get creative, share your adaptations, and most importantly, enjoy the process and the delicious results. With its perfect balance of flavors and textures, this ice cream is sure to become a favorite, and the best part is, it’s all made possible with ingredients and equipment you likely have on hand.