Are you ready for a peanut butter treat like no other? Indulge in these easy homemade Nutter Butter Bars made with creamy peanut butter and a simple cooking method. Save for later and satisfy your cravings tonight!
The BEST Nutter Butter Bars – Peanut Butter Lover’s Dream!
Introduction
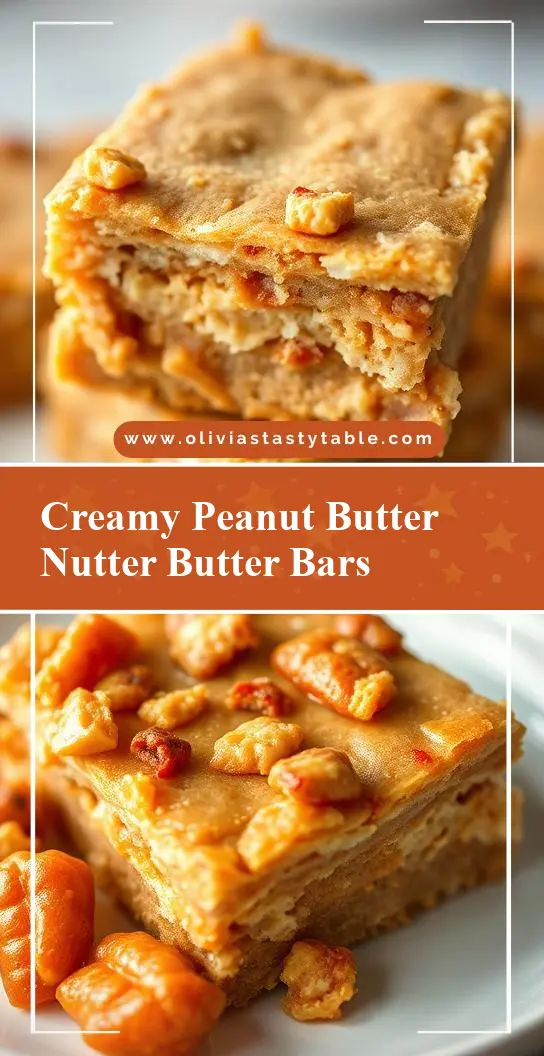
Imagine a dessert that combines the creamy richness of peanut butter with the crunch of a perfectly baked cookie, all in one indulgent bar. Welcome to the world of Nutter Butter Bars, a peanut butter lover’s dream come true! These bars are incredibly easy to make, requiring just a handful of everyday ingredients and minimal effort, yet they yield results that are nothing short of impressive. Whether you’re a fan of no-bake desserts, looking for a creative way to satisfy your peanut butter cravings, or simply seeking a recipe that’s both fun and delicious, these Nutter Butter Bars are the perfect treat for you.
Why This Works
- Flavor balance and ingredient accessibility: The combination of peanut butter, sugar, and graham cracker crust creates a perfect balance of flavors that is both familiar and exciting. Plus, all the ingredients are easily found in most grocery stores, making this recipe highly accessible.
- Ease of preparation: One of the best things about these bars is how easy they are to prepare. With a simple graham cracker crust and a no-bake filling, you can have these bars ready in no time, perfect for last-minute gatherings or spontaneous cravings.
- Impressive results with minimal effort: Despite the ease of preparation, these bars look and taste like they were made in a professional bakery. The layers of creamy peanut butter filling, crunchy graham cracker crust, and optional toppings like chocolate or nuts make for a dessert that’s sure to impress friends and family.
Key Ingredients
The main ingredients in these Nutter Butter Bars include graham crackers for the crust, peanut butter for the creamy filling, powdered sugar to balance the flavors, and butter to hold everything together. For the graham cracker crust, you can also use digestive biscuits or any other similar crunchy cookie as a substitute. For the peanut butter, natural peanut butter works beautifully, offering a richer, more nuanced flavor. If you’re looking for a lighter version, you can also use peanut butter spread or reduce the amount of sugar to your taste.
Instructions
- Step 1: Begin by preparing your graham cracker crust. Crush 1 1/2 cups of graham crackers in a food processor until they’re finely ground. Mix in 1/4 cup of granulated sugar and 6 tablespoons of melted butter until the mixture is evenly moistened. Press this mixture into the bottom of a 9×9 inch baking dish. Refrigerate for about 10 minutes to set.
- Step 2: For the peanut butter filling, in a large mixing bowl, combine 1 cup of creamy peanut butter, 1/2 cup of powdered sugar, and 1/4 cup of melted butter. Mix until smooth and creamy. You can adjust the amount of powdered sugar to your taste, depending on how sweet you like your desserts.
- Step 3: Spread the peanut butter mixture evenly over the graham cracker crust. If desired, melt some chocolate and spread it over the top of the peanut butter layer for an extra-decadent treat. You can also sprinkle chopped nuts or sea salt for added texture and flavor.
- Step 4: Refrigerate the bars for at least 30 minutes to allow the layers to set. Cut into bars and serve. For a cleaner cut, you can dip your knife in hot water and wipe it dry between cuts.
Handy Tips
- One of the most helpful tips for making these bars is to make sure your graham cracker crust is evenly pressed into the baking dish. This ensures that the crust doesn’t crumble when you cut the bars. Also, using high-quality peanut butter will give your bars the best flavor.
Heat Control
Since these bars are no-bake, heat control isn’t a major issue. However, if you choose to melt chocolate for the top layer, be careful not to overheat it. Chocolate can be melted in a double boiler or in short increments in the microwave, stirring between each heating to prevent burning.
Crunch Factor
The crunch in these bars comes from the graham cracker crust and any optional toppings like nuts. To maintain the crunch of the crust, it’s essential to not overprocess the graham crackers when grinding them and to press the mixture firmly into the baking dish. For added crunch, you can also sprinkle some chopped nuts or cookie crumbs over the top of the peanut butter layer before adding the chocolate.
Pro Kitchen Tricks
- To ensure that your bars cut cleanly and look their best, refrigerate them for a few hours or even overnight before serving. This allows all the layers to set properly. Also, using a sharp knife to cut the bars can make a big difference in how they look.
Storage Tips
- These bars can be stored in an airtight container in the refrigerator for up to 5 days. If you want to freeze them, it’s best to cut them first and then place the cut bars in a single layer in a freezer-safe container or bag. Frozen bars can be thawed at room temperature or refrigerated overnight.
Gift Packaging Ideas
These Nutter Butter Bars make a wonderful gift, especially for peanut butter lovers. Consider packaging them in decorative tins, jars, or even cellophane bags tied with a ribbon. You can also include a handwritten note with the recipe or a few suggestions for variations to make it a more personal gift.
Flavor Variations
- 🌟 Different spices: Adding a pinch of salt or a teaspoon of cinnamon can enhance the flavor of the peanut butter and add depth to the bars.
- 🌟 Creative toppings: Besides chocolate and nuts, consider using other toppings like caramel sauce, marshmallows, or even candy pieces to create different flavor combinations.
- 🌟 Ingredient swaps: For a gluten-free version, use gluten-free graham crackers. You can also experiment with different types of nut butter, like almond or cashew butter, for a unique twist.
Troubleshooting
- Texture problems: If your bars turn out too soft, they may not have been refrigerated long enough. If they’re too hard, the peanut butter mixture might have been overmixed or the bars were cut too soon after refrigeration.
- Ingredient replacements: Always try to use the ingredients called for in the recipe for the best results. However, if you need to make substitutions, choose ingredients that have similar properties and flavors.
- Over/undercooking signs: Since these bars are no-bake, you don’t have to worry about overcooking. However, if you’re melting chocolate for the top, be careful not to overheat it, as it can become grainy or separate.
FAQs
- Can I freeze it? Yes, these bars can be frozen. It’s best to freeze them after they’ve been cut, placing the bars in a single layer in a freezer-safe container or bag.
- Is it gluten-free? The original recipe includes graham crackers, which contain gluten. However, you can easily make a gluten-free version by using gluten-free graham crackers.
- Can I double the recipe? Yes, you can double the recipe. Just keep in mind that you’ll need a larger baking dish, likely a 9×13 inch dish, to accommodate the doubled ingredients.
Conclusion
Making these Nutter Butter Bars is a fun and rewarding experience that yields a dessert that’s sure to please both kids and adults. With their easy preparation, impressive presentation, and delicious flavor, they’re perfect for any occasion, from casual gatherings to special celebrations. Feel free to experiment with different toppings and flavor variations to make the recipe your own, and don’t hesitate to share your creations with friends and family. Happy baking, and enjoy every bite of these scrumptious Nutter Butter Bars!