Craving a decadent dessert without the fuss? Try these easy no-bake mini cheesecakes made with a homemade graham cracker crust and creamy filling for a quick family favorite – Save for later
Irresistible No-Bake Mini Cheesecakes
Introduction
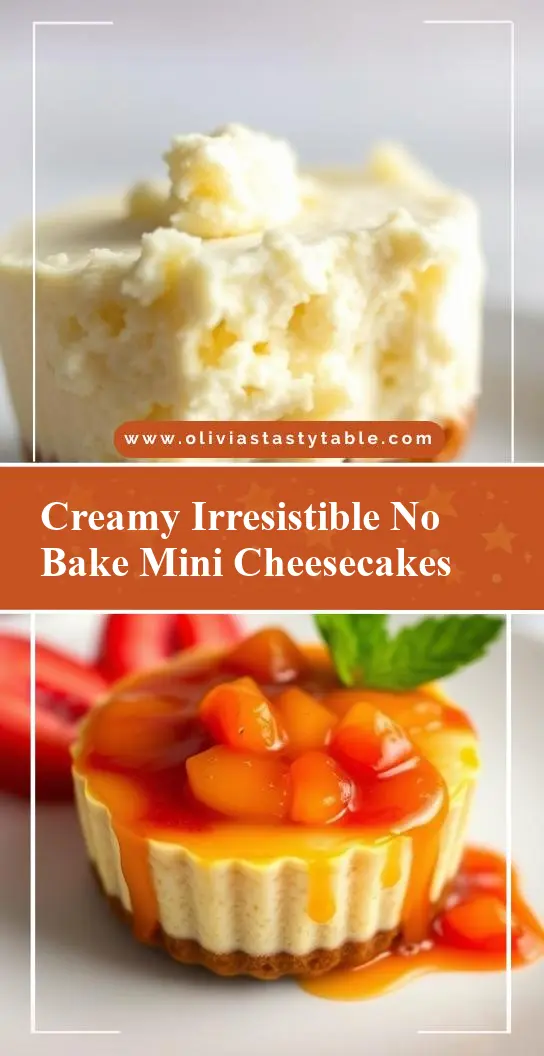
Imagine indulging in creamy, rich, and indulgent mini cheesecakes without ever having to turn on your oven. These no-bake mini cheesecakes are a game-changer for anyone looking for a dessert that’s both easy to make and impressive to serve. Using everyday ingredients and requiring minimal effort, these bite-sized treats are perfect for any occasion, from casual gatherings to special celebrations. The best part? They’re incredibly versatile, allowing you to get creative with flavors and toppings to suit any taste or theme.
Why This Works
- Flavor balance and ingredient accessibility: The combination of a crunchy biscuit base, a creamy cheesecake filling, and your choice of toppings creates a perfect balance of flavors and textures that everyone will love. Plus, all the ingredients are easily found in most supermarkets.
- Ease of preparation: One of the standout features of these mini cheesecakes is how simple they are to prepare. No baking is required, which means no risk of overcooking or undercooking, making them a great option for beginners or those short on time.
- Impressive results with minimal effort: Despite their ease of preparation, these mini cheesecakes look and taste like they were made by a professional. They’re perfect for impressing friends and family without spending hours in the kitchen.
Key Ingredients
The main ingredients for these no-bake mini cheesecakes include a packet of biscuits (such as Digestives or Graham crackers) for the base, a can of condensed milk, cream cheese, lemon juice, and vanilla extract for the cheesecake mixture. You’ll also need some butter to bind the biscuit base together. For toppings, the choice is yours, but popular options include fresh fruits, nuts, caramel sauce, and chocolate shavings. If you’re looking for substitutions, you can use different types of biscuits or cookies for the base, and there are various non-dairy alternatives to cream cheese and condensed milk for those with dietary restrictions.
Instructions
- Step 1: Begin by preparing your ingredients. Crush the biscuits in a food processor or place them in a plastic bag and crush them with a rolling pin until they’re finely ground. Soften the butter to room temperature. Open the can of condensed milk and ensure the cream cheese is at room temperature for easier mixing.
- Step 2: Mix the crushed biscuits with the softened butter until well combined. Press this mixture into the bottoms of mini cheesecake pans or a muffin tin lined with cupcake liners. Refrigerate for about 10 minutes to set.
- Step 3: In a large mixing bowl, whip the cream cheese until it’s smooth. Add the condensed milk, lemon juice, and vanilla extract. Mix until the mixture is smooth and creamy. Pour the cheesecake mixture over the biscuit bases and smooth the tops. Refrigerate for at least 4 hours or overnight until set.
- Step 4: Once the cheesecakes are set, it’s time to add your toppings. Choose your favorite fruits, nuts, or sauces and decorate each cheesecake. If using fresh fruits, it’s best to add them just before serving to prevent them from making the cheesecake soggy.
Handy Tips
- For a firmer cheesecake, make sure to refrigerate them for at least 4 hours. If you’re in a hurry, 2 hours will still give you a decent set, but the longer, the better.
- Avoid overmixing the cheesecake mixture, as this can introduce air and cause the cheesecakes to crack or become too dense.
- Experiment with different toppings to find your favorite combinations. This is a great way to personalize the cheesecakes for different occasions or to suit various tastes.
Heat Control
Since these cheesecakes are no-bake, the only heat control you need to worry about is ensuring your ingredients are at room temperature for mixing and that your refrigerator is at the correct temperature (usually around 40°F or 4°C) to set the cheesecakes properly.
Crunch Factor
The crunch factor in these mini cheesecakes comes from the biscuit base. To ensure it remains crunchy, don’t overmix the biscuit and butter mixture, and make sure the biscuits are fully crushed to prevent any large chunks from forming. If you’re looking for an extra crunch, you can also top the cheesecakes with nuts or cookie crumbs before adding any other toppings.
Pro Kitchen Tricks
- To ensure the cheesecakes release easily from the pans, make sure to press the biscuit mixture firmly into the bottoms and up the sides of the pans. If using cupcake liners, lightly grease them with butter or cooking spray.
- For a smooth cheesecake mixture, make sure all your ingredients are at room temperature before mixing. This will help prevent lumps from forming and ensure the mixture is creamy and smooth.
- Consider making these cheesecakes in advance and freezing them without the toppings. They can be frozen for up to 2 months and thawed in the refrigerator overnight when you’re ready to serve them.
Storage Tips
- Store the cheesecakes in an airtight container in the refrigerator for up to 5 days. Keep them away from strong-smelling foods, as they can absorb odors easily.
- If you choose to freeze the cheesecakes, place them in an airtight container or freezer bag, making sure to press out as much air as possible before sealing. Frozen cheesecakes are best consumed within 2 months.
- When reheating or thawing frozen cheesecakes, do so in the refrigerator overnight to prevent them from becoming soggy or developing an uneven texture.
Gift Packaging Ideas
These no-bake mini cheesecakes are perfect for gifting, especially during the holiday season or for special occasions like birthdays. Consider packaging them in decorative jars, tin containers, or even small gift boxes. You can decorate the tops with festive toppings like holly sprigs, candy canes, or edible flowers, and finish the gift with a ribbon or gift tag. For a more rustic look, wrap each cheesecake in parchment paper or a small paper bag and tie with twine.
Flavor Variations
- 🌟 Different spices: Add a pinch of cinnamon, nutmeg, or cardamom to the cheesecake mixture for a unique twist.
- 🌟 Creative toppings: Use different fruits like strawberries, blueberries, or raspberries, or try nuts like almonds, walnuts, or pecans. Caramel sauce, chocolate shavings, and cookie crumbs are also delicious options.
- 🌟 Ingredient swaps: Replace the cream cheese with a non-dairy alternative for a vegan version, or use different types of milk and biscuits to change up the flavor and texture.
Troubleshooting
- Texture problems: If your cheesecakes are too runny, they may not have been refrigerated for long enough. If they’re too dense, you might have overmixed the cheesecake mixture.
- Ingredient replacements: If you can’t find a specific ingredient, look for substitutions online or in cookbooks. Common replacements include using different types of cream cheese or biscuits.
- Over/undercooking signs: Since these cheesecakes are no-bake, you don’t have to worry about overcooking. However, under-setting can be an issue. Make sure to refrigerate them for at least 4 hours to ensure they’re set properly.
FAQs
- Can I freeze it? Yes, these cheesecakes can be frozen for up to 2 months. It’s best to freeze them without toppings and thaw them in the refrigerator overnight when you’re ready to serve.
- Is it gluten-free? Depending on the type of biscuits you use, these cheesecakes can be gluten-free. Look for gluten-free biscuit or cookie options to make a gluten-free version.
- Can I double the recipe? Yes, you can easily double or triple the recipe to make more cheesecakes. Just ensure you have enough pans or cupcake liners and adjust the refrigeration time slightly if necessary.
Conclusion
Making these irresistible no-bake mini cheesecakes is a fun and rewarding experience that’s sure to impress anyone who tries them. With their creamy texture, crunchy base, and endless possibilities for toppings, they’re the perfect dessert for any occasion. Don’t be afraid to experiment with different flavors and ingredients to make them your own, and enjoy the process of creating something truly special. Whether you’re a seasoned baker or a beginner in the kitchen, these mini cheesecakes are sure to become a favorite, and with the tips and tricks provided, you’ll be well on your way to cheesecake perfection.