Looking for a classic family favorite dessert. This easy homemade Rice Krispie treats recipe is a quick and simple weeknight treat made with marshmallows and cereal. Save for later and make it tonight.
Best Rice Krispie Treats Recipe
Introduction
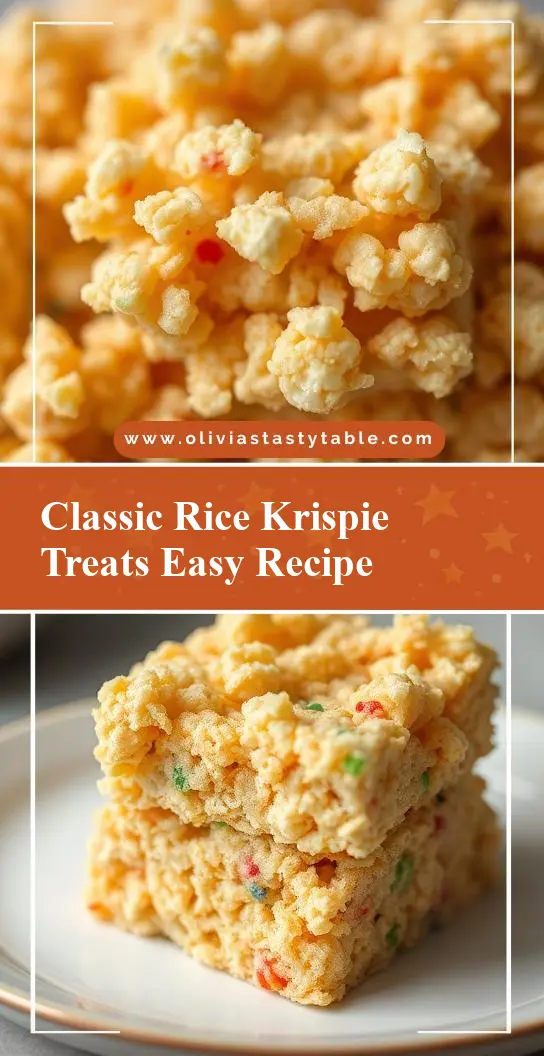
Making the best Rice Krispie treats is a matter of using simple, everyday ingredients to create a deliciously chewy and sweet snack that’s perfect for both kids and adults. With just a few minutes of preparation and some easy mixing, you can have a batch of these classic treats ready to enjoy. The beauty of Rice Krispie treats lies in their versatility and ease of customization – whether you’re looking to add some extra flavor with food coloring, mix-ins like nuts or dried fruits, or even create fun shapes with cookie cutters, the possibilities are endless. In this article, we’ll guide you through the process of making the perfect Rice Krispie treats, including tips for achieving the ideal texture, flavor variations, and storage advice.
Why This Works
- Flavor balance and ingredient accessibility: The combination of marshmallows, butter, and cereal provides a perfect balance of sweetness and crunch, and all the ingredients are easily found in most supermarkets.
- Ease of preparation: The process of making Rice Krispie treats is incredibly simple, requiring just a few steps and minimal cooking.
- Impressive results with minimal effort: Despite the simplicity of the recipe, the end result is a delicious and visually appealing treat that’s sure to impress both kids and adults.
Key Ingredients
The main ingredients for Rice Krispie treats include Rice Krispies cereal, marshmallows, and butter or margarine. You can also add optional mix-ins such as chocolate chips, nuts, or dried fruits to give your treats extra flavor and texture. For those looking for substitutions, you can use different types of cereal or marshmallows, such as gluten-free options or flavored marshmallows, to create variations on the classic recipe.
Instructions
- Step 1: Begin by preparing your workspace and ingredients. This includes laying out a large piece of parchment paper or a silicone mat, measuring out the cereal and marshmallows, and having your butter or margarine ready.
- Step 2: In a large pot or saucepan, melt the butter or margarine over low heat. Once melted, add in the marshmallows and stir until they are completely melted and the mixture is smooth.
- Step 3: Remove the pot from the heat and quickly add in the cereal, stirring until the cereal is evenly coated with the marshmallow mixture. If using mix-ins, fold them into the cereal mixture at this stage.
- Step 4: Press the cereal mixture into a greased 9×13 inch baking dish. Let the treats cool and harden for about 30 minutes before cutting into bars and serving.
Handy Tips
- To avoid sticky hands, make sure to grease your hands or a spatula with butter or cooking spray before pressing the cereal mixture into the baking dish.
- For an extra chewy treat, don’t overcook the marshmallows – they should be melted and smooth, but still retain some of their texture.
- Experiment with different mix-ins and flavor combinations to create unique variations on the classic Rice Krispie treat.
Heat Control
When melting the marshmallows, it’s essential to use low heat to avoid burning or browning the marshmallows. Stir the mixture constantly to ensure even melting and to prevent the formation of lumps. If using a microwave to melt the marshmallows, heat in short intervals (about 30 seconds) and stir between each heating to avoid overheating.
Crunch Factor
The crunch factor in Rice Krispie treats comes from the cereal itself, which should retain some of its crunch even after being coated in the marshmallow mixture. To achieve the perfect crunch, don’t overmix the cereal and marshmallow mixture, and press the mixture into the baking dish gently to avoid compacting the cereal too much.
Pro Kitchen Tricks
- Use a silicone spatula to scrape the sides and bottom of the pot when melting the marshmallows to ensure you get every last bit of the mixture.
- For easier cutting, use a sharp knife or cookie cutter to cut the treats into bars or fun shapes.
- To add an extra layer of flavor, try using flavored extracts (like vanilla or almond) or a pinch of salt to balance out the sweetness of the marshmallows.
Storage Tips
- Store Rice Krispie treats in an airtight container at room temperature for up to 3 days.
- For longer storage, wrap the treats individually in plastic wrap or aluminum foil and freeze for up to 2 months.
- To refresh stale treats, try microwaving them for a few seconds to soften the marshmallows and restore their chewiness.
Gift Packaging Ideas
Rice Krispie treats make a great gift for friends, family, or coworkers, especially when packaged in a cute or creative way. Try wrapping individual treats in plastic wrap or cellophane bags and tying with a ribbon, or packaging a batch of treats in a decorative tin or jar. You can also add a personal touch with a handwritten note or card.
Flavor Variations
- 🌟 Add a teaspoon of cinnamon or cocoa powder to the marshmallow mixture for a unique twist on the classic flavor.
- 🌟 Mix in some chopped nuts (like walnuts or pecans) or dried fruits (like cranberries or cherries) for added texture and flavor.
- 🌟 Use flavored marshmallows, like strawberry or blue raspberry, to create fun and colorful treats.
Troubleshooting
- Texture problems: If your treats are too hard or too soft, it may be due to over- or under-cooking the marshmallows. Try adjusting the cooking time or temperature to achieve the perfect texture.
- Ingredient replacements: If you’re out of a particular ingredient, try substituting with a similar item – for example, using margarine instead of butter or gluten-free cereal for a dietary restriction.
- Over/undercooking signs: Keep an eye on the marshmallows while they’re melting, and remove from heat as soon as they’re smooth and creamy. If you notice the mixture starting to brown or smell burnt, it’s likely overcooked.
FAQs
- Can I freeze it? Yes, you can freeze Rice Krispie treats for up to 2 months. Wrap individual treats in plastic wrap or aluminum foil and store in a freezer-safe bag or container.
- Is it gluten-free? Traditional Rice Krispie treats are not gluten-free, as they contain gluten-based cereal. However, you can make gluten-free treats by substituting with a gluten-free cereal.
- Can I double the recipe? Yes, you can easily double or triple the recipe to make a larger batch of treats. Just be sure to adjust the cooking time and temperature accordingly to avoid over- or under-cooking the marshmallows.
Conclusion
Making the best Rice Krispie treats is a fun and easy process that’s perfect for kids and adults alike. With these simple steps and handy tips, you’ll be well on your way to creating delicious and chewy treats that are sure to impress. Don’t be afraid to experiment with different flavors and mix-ins to create unique variations on the classic recipe, and enjoy sharing your creations with friends and family. Happy cooking!