Looking for a showstopping dessert? This classic red velvet cake is a family favorite, made easy with simple homemade ingredients like buttermilk and cocoa powder, perfect for a quick weeknight treat, save for later
Classic Red Velvet Cake – Soft, Creamy and Dreamy
Introduction
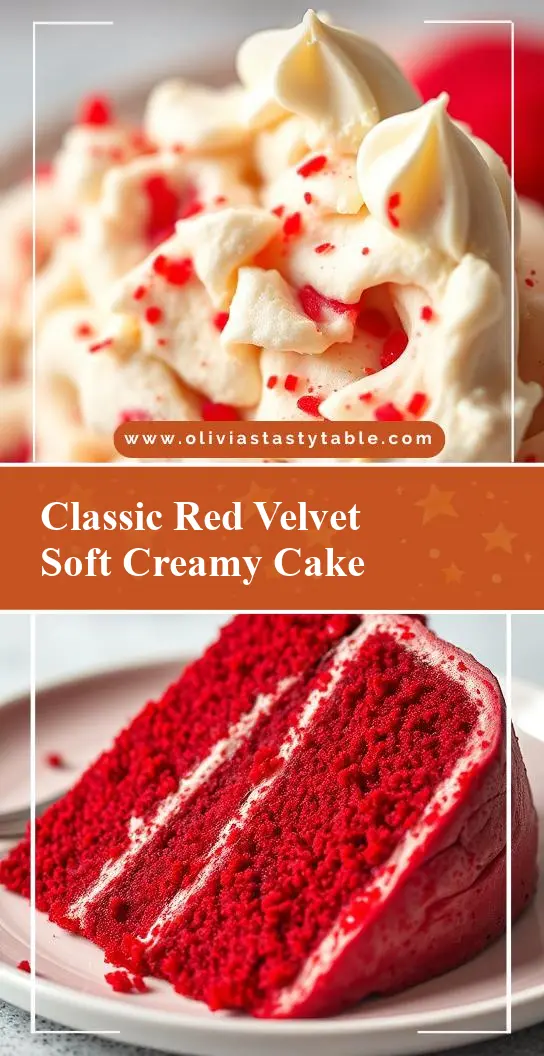
Imagine a cake that’s as visually stunning as it is deliciously decadent – a classic red velvet cake that embodies the perfect blend of softness, creaminess, and dreamy textures. This iconic dessert, with its deep red color and subtle cocoa flavor, has captured the hearts of many, and for good reason. It’s surprisingly easy to make, using everyday ingredients that you might already have in your pantry. Whether you’re a seasoned baker or a beginner looking to impress, this recipe is sure to become a staple in your household. The best part? It’s incredibly versatile, allowing you to express your creativity through various toppings and decorations. So, let’s dive into the world of classic red velvet cake and explore what makes it so special.
Why This Works
- Flavor balance and ingredient accessibility: The combination of buttermilk, cocoa powder, and food coloring creates a unique and tantalizing taste experience that’s both familiar and exciting. Plus, the ingredients are easily found in most supermarkets, making it a practical choice for any baker.
- Ease of preparation: Despite its impressive appearance, this cake is relatively simple to prepare. The instructions are straightforward, and the mixing process is quick and effortless, requiring minimal specialized equipment.
- Impressive results with minimal effort: The end result is a stunning, professional-looking cake that’s sure to impress your friends and family. The best part? It requires minimal effort and time, making it perfect for special occasions or everyday treats.
Key Ingredients
To make a classic red velvet cake, you’ll need the following key ingredients: all-purpose flour, granulated sugar, unsweetened cocoa powder, baking powder, salt, buttermilk, large eggs, red food coloring, and unsalted butter, softened. For the cream cheese frosting, you’ll need cream cheese, softened, unsalted butter, softened, vanilla extract, and powdered sugar. Don’t worry if you don’t have buttermilk – you can easily make a substitute by mixing 1 cup of milk with 1 tablespoon of white vinegar or lemon juice. Let it sit for 5-10 minutes before using.
Instructions
- Step 1: Preheat your oven to 350°F (180°C). Prepare two 9-inch (23cm) round cake pans by greasing them with butter and lining the bottoms with parchment paper. In a medium bowl, whisk together flour, sugar, cocoa powder, baking powder, and salt. Set aside.
- Step 2: In a large mixing bowl, whisk together buttermilk, eggs, red food coloring, and vanilla extract. Add the softened butter and whisk until well combined. Gradually add the dry ingredients to the wet ingredients, whisking until smooth.
- Step 3: Divide the batter evenly between the prepared pans and smooth the tops. Bake for 30-35 minutes or until a toothpick inserted in the center comes out clean. Let the cakes cool in the pans for 10 minutes before transferring them to a wire rack to cool completely.
- Step 4: To make the cream cheese frosting, beat the softened cream cheese and butter until smooth. Add the vanilla extract and powdered sugar, beating until well combined. Once the cakes are completely cool, place one layer on a serving plate and spread a thick layer of frosting on top. Place the second layer on top and frost the entire cake with the remaining frosting.
Handy Tips
- Make sure to use high-quality cocoa powder for the best flavor. If you don’t have buttermilk, don’t worry – the substitute will work just as well. To ensure the cake is moist and tender, don’t overmix the batter, and avoid overbaking.
Heat Control
To achieve the perfect texture, it’s essential to control the heat. Preheat your oven to 350°F (180°C) and bake the cakes for 30-35 minutes or until a toothpick inserted in the center comes out clean. Keep an eye on the cakes after 25 minutes, as oven temperatures can vary. If you’re unsure, check the cakes every 5 minutes until they’re done.
Crunch Factor
The classic red velvet cake is known for its soft and tender texture. To achieve this, make sure not to overmix the batter, and avoid overbaking. The cake should be moist and fluffy, with a subtle crunch from the pecans or walnuts (if using). If you prefer a crunchier texture, you can add some chopped nuts to the batter or sprinkle them on top of the frosting.
Pro Kitchen Tricks
- To ensure the cake layers are even, use a digital scale to measure the batter. If you don’t have a scale, you can estimate the amount by dividing the batter evenly between the two pans.
- To prevent the cake from becoming too dense, don’t overmix the batter. Stop mixing once the ingredients are well combined, and avoid over-whisking the frosting.
- To make the frosting smoother, make sure the cream cheese and butter are at room temperature. If the frosting is too thin, you can refrigerate it for 10-15 minutes to firm it up.
Storage Tips
- Store the cake in an airtight container at room temperature for up to 3 days. If you won’t be serving the cake within 3 days, you can refrigerate it for up to 5 days or freeze it for up to 2 months.
- To freeze the cake, place it in a single layer in a freezer-safe container or bag. When you’re ready to serve, thaw the cake overnight in the refrigerator or at room temperature for a few hours.
- To maintain the cake’s freshness, make sure to wrap it tightly in plastic wrap or aluminum foil. You can also store the cake layers separately and assemble the cake just before serving.
Gift Packaging Ideas
If you’re planning to give the cake as a gift, consider packaging it in a decorative cake box or a sturdy cardboard box lined with parchment paper. You can also wrap the cake in plastic wrap or aluminum foil and tie it with a ribbon. For a more rustic look, place the cake on a wooden board or a cake stand and wrap it in a burlap sack or a linen napkin. Don’t forget to add a personalized note or a gift card to make it extra special.
Flavor Variations
- 🌟 Different spices: Try adding a pinch of cinnamon, nutmeg, or cloves to the batter for a unique twist. You can also use different types of extract, such as almond or coconut, to create a distinct flavor profile.
- 🌟 Creative toppings: Instead of the classic cream cheese frosting, try using a whipped cream cheese frosting or a mascarpone cheese frosting. You can also top the cake with fresh fruits, nuts, or chocolate shavings.
- 🌟 Ingredient swaps: If you’re looking for a gluten-free option, try substituting the all-purpose flour with almond flour or coconut flour. You can also use different types of sugar, such as brown sugar or honey, to create a distinct flavor profile.
Troubleshooting
- Texture problems: If the cake is too dense or dry, it may be due to overmixing the batter or overbaking. Try adjusting the baking time or using a different type of flour.
- Ingredient replacements: If you don’t have buttermilk, you can substitute it with a mixture of milk and vinegar or lemon juice. If you don’t have cream cheese, you can use mascarpone cheese or neufchâtel cheese as a substitute.
- Over/undercooking signs: If the cake is undercooked, it may be too moist or soggy. If it’s overcooked, it may be too dry or crumbly. Check the cake for doneness by inserting a toothpick in the center – if it comes out clean, the cake is done.
FAQs
- Can I freeze it? Yes, you can freeze the cake for up to 2 months. Wrap it tightly in plastic wrap or aluminum foil and place it in a freezer-safe container or bag.
- Is it gluten-free? No, the classic red velvet cake recipe contains gluten due to the all-purpose flour. However, you can substitute the flour with gluten-free alternatives, such as almond flour or coconut flour.
- Can I double the recipe? Yes, you can double the recipe to make a larger cake. Just keep in mind that you may need to adjust the baking time and temperature accordingly.
Conclusion
And there you have it – a classic red velvet cake recipe that’s sure to impress your friends and family. With its soft and tender texture, subtle cocoa flavor, and stunning appearance, this cake is perfect for any occasion. Whether you’re a seasoned baker or a beginner, this recipe is easy to follow and requires minimal effort. So go ahead, get creative, and make this cake your own. Don’t be afraid to experiment with different flavors and toppings, and don’t hesitate to reach out if you have any questions or need further guidance. Happy baking!