Craving a slice of comfort food? Try this easy homemade cherry pie made with fresh cherries and a flaky crust, perfect for a family favorite weeknight dinner, Save for later
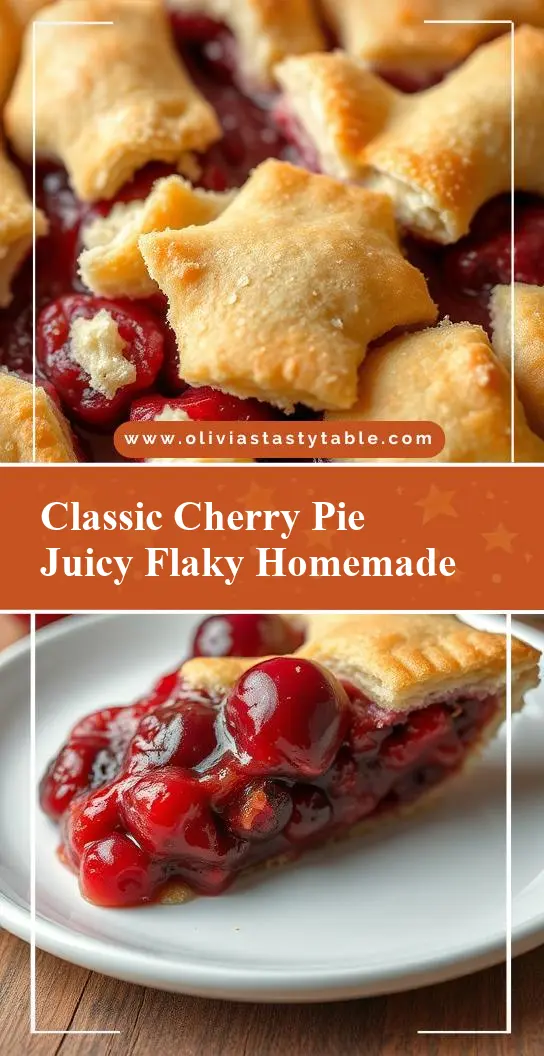
Classic Cherry Pie – Juicy, Flaky and Homemade
Introduction
Imagine a warm summer evening, surrounded by loved ones, and the centerpiece of your gathering is a beautifully crafted, homemade classic cherry pie. The combination of juicy cherries, nestled in a bed of sugar and spices, all wrapped up in a flaky, golden crust, is sure to delight both kids and adults alike. The best part? This masterpiece can be achieved with everyday ingredients and a bit of creativity, making it the perfect dessert for any occasion. Whether you’re a seasoned baker or just starting out, this classic cherry pie recipe is easy to follow, requires minimal effort, and yields impressive results that are sure to leave a lasting impression.
Why This Works
- Flavor balance and ingredient accessibility: This recipe strikes the perfect balance between sweet and tart, using cherries that are readily available in most supermarkets. The ingredients are also easily accessible, making it a great option for last-minute gatherings or special occasions.
- Ease of preparation: The instructions are straightforward, and the preparation time is relatively short, making it an ideal choice for those with busy schedules. The dough can be made ahead of time, and the filling can be prepared in just a few minutes, allowing you to focus on other aspects of your gathering.
- Impressive results with minimal effort: Despite the simplicity of the recipe, the end result is a stunning, professional-looking pie that’s sure to impress your guests. The flaky crust and juicy filling are a match made in heaven, and the presentation is sure to be a talking point at any gathering.
Key Ingredients
The key to a great classic cherry pie lies in the quality of the ingredients. For the filling, you’ll need 2 cups of fresh or frozen cherries, 1/3 cup of granulated sugar, 2 tablespoons of cornstarch, and 1 tablespoon of lemon juice. For the crust, you’ll need 2 1/4 cups of all-purpose flour, 1 teaspoon of salt, 1 cup of cold unsalted butter, and 1/4 cup of ice water. If you don’t have access to fresh cherries, frozen or canned cherries can be used as a substitute. Additionally, if you’re looking for a gluten-free option, you can replace the all-purpose flour with a gluten-free flour blend.
Instructions
- Step 1: Begin by preparing the crust. In a large mixing bowl, combine the flour and salt. Add the cold butter and use a pastry blender or your fingers to work it into the flour until the mixture resembles coarse crumbs. Gradually add the ice water, stirring with a fork until the dough comes together in a ball. Wrap the dough in plastic wrap and refrigerate for at least 30 minutes.
- Step 2: Preheat your oven to 375°F (190°C). In a separate bowl, mix together the cherries, granulated sugar, cornstarch, and lemon juice. Let it sit for about 15 minutes, until the cherries start to release their juice and the mixture becomes syrupy.
- Step 3: Roll out the chilled dough on a lightly floured surface to a thickness of about 1/8 inch. Transfer the dough to a 9-inch pie dish and trim the edges to fit. Fill the pie crust with the cherry mixture and dot the top with any remaining butter.
- Step 4: Roll out the remaining dough to a thickness of about 1/8 inch. Use this dough to cover the pie and crimp the edges to seal. Cut a few slits in the top crust to allow steam to escape during baking. Brush the top crust with a little milk or beaten egg for a golden glaze. Bake the pie for 40-50 minutes, or until the crust is golden brown and the filling is bubbly.
Handy Tips
- When working with the dough, make sure to keep it cold, as this will help the crust to be flaky and prevent it from shrinking during baking.
- Don’t overmix the filling, as this can cause the cherries to become tough and the mixture to become too thick.
- If you find that your crust is too brown, you can cover the edges with foil or a pie shield to prevent overbrowning.
Heat Control
The ideal temperature for baking the pie is 375°F (190°C). The pie is done when the crust is golden brown and the filling is bubbly. You can check for doneness by inserting a knife into the filling; if it comes out clean, the pie is ready. If you’re unsure, you can always bake the pie for an additional 5-10 minutes, checking for doneness after each interval.
Crunch Factor
The crust should be flaky and golden, with a crunchy texture that gives way to a tender, juicy filling. To achieve this, make sure to keep the dough cold and handle it gently, as overworking the dough can cause it to become tough. Additionally, don’t overbake the pie, as this can cause the crust to become too brown and the filling to become too dry.
Pro Kitchen Tricks
- Use a pastry blender to work the butter into the flour, as this will help to create a flaky crust.
- Chill the dough for at least 30 minutes, as this will help the crust to hold its shape and prevent it from shrinking during baking.
- Use a pie shield or foil to cover the edges of the crust, as this will help to prevent overbrowning and ensure that the crust is evenly cooked.
Storage Tips
- The pie can be stored at room temperature for up to 2 days, or wrapped tightly in plastic wrap and refrigerated for up to 5 days.
- To freeze the pie, wrap it tightly in plastic wrap and place it in a freezer-safe bag. The pie can be frozen for up to 3 months, and thawed at room temperature or in the refrigerator.
- When reheating the pie, make sure to cover it with foil to prevent overbrowning, and bake at 350°F (180°C) for 15-20 minutes, or until the filling is warm and the crust is crispy.
Gift Packaging Ideas
If you’re looking to give the pie as a gift, consider packaging it in a decorative tin or basket, lined with parchment paper or a clean towel. You can also add a few decorative touches, such as a ribbon or a gift tag, to make the gift even more special. Additionally, you can include a few serving suggestions, such as a scoop of vanilla ice cream or a dollop of whipped cream, to make the gift even more thoughtful.
Flavor Variations
- 🌟 Add a hint of almond extract to the filling for a unique and delicious twist.
- 🌟 Use a combination of sweet and tart cherries for a balanced flavor.
- 🌟 Add a sprinkle of sugar to the top crust before baking for a crunchy, caramelized topping.
Troubleshooting
- Texture problems: If the crust is too tough, it may be due to overworking the dough. Try to handle the dough gently and keep it cold, as this will help to create a flaky crust. If the filling is too runny, it may be due to overmixing or underbaking. Try to mix the filling gently and bake the pie for an additional 5-10 minutes, checking for doneness after each interval.
- Ingredient replacements: If you don’t have access to fresh cherries, frozen or canned cherries can be used as a substitute. Additionally, if you’re looking for a gluten-free option, you can replace the all-purpose flour with a gluten-free flour blend.
- Over/undercooking signs: If the crust is too brown, it may be due to overbaking. Try to cover the edges with foil or a pie shield to prevent overbrowning. If the filling is too dry, it may be due to overbaking. Try to bake the pie for a shorter interval, checking for doneness after each interval.
FAQs
- Can I freeze it? Yes, the pie can be frozen for up to 3 months, and thawed at room temperature or in the refrigerator.
- Is it gluten-free? No, the pie contains all-purpose flour, which contains gluten. However, you can replace the all-purpose flour with a gluten-free flour blend to make a gluten-free version.
- Can I double the recipe? Yes, the recipe can be doubled to make a larger pie. Simply multiply the ingredients and follow the same instructions.
Conclusion
Making a classic cherry pie from scratch may seem intimidating, but with this recipe, you’ll be able to create a stunning, professional-looking pie that’s sure to impress your guests. Remember to keep the dough cold, handle it gently, and don’t overmix the filling. With a little practice and patience, you’ll be a pro at making classic cherry pies in no time. So go ahead, give this recipe a try, and enjoy the fruits of your labor (literally!).