Can you really make a decadent chocolate cake without dairy? This easy homemade vegan chocolate cake is a family favorite, made with rich cocoa powder and moist plant-based milk. Save for later and indulge in a quick weeknight dessert treat!
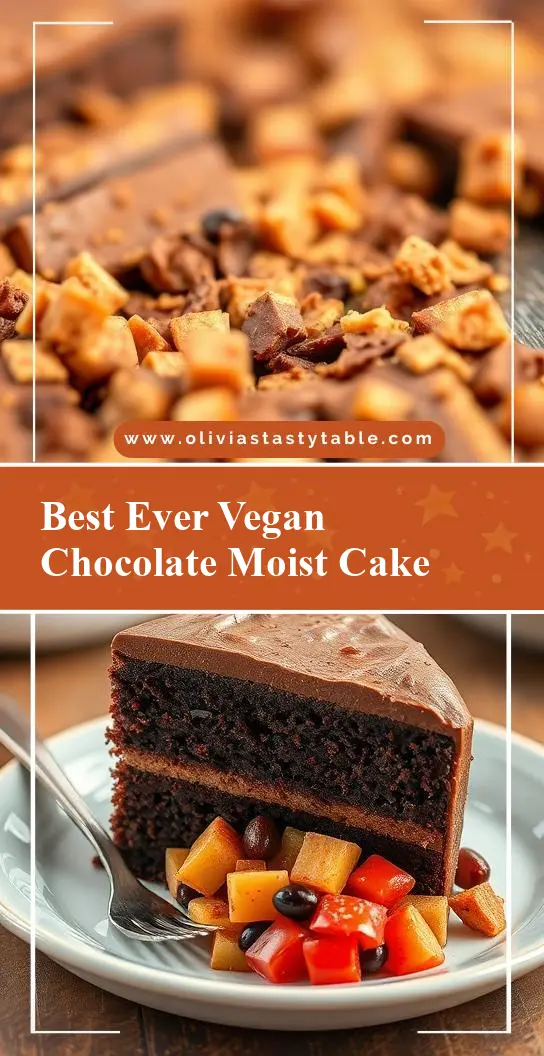
The Best-Ever Vegan Chocolate Cake (No One Will Believe It’s Vegan!) 🍫✨
Introduction
Engaging in the world of vegan baking can be a delightful adventure, especially when you stumble upon a recipe that not only impresses with its simplicity but also with its rich, decadent flavor. The Best-Ever Vegan Chocolate Cake is a masterpiece of vegan cuisine, requiring everyday ingredients that you might already have in your pantry. This cake is a testament to the creativity and ease of vegan baking, proving that you don’t need dairy or eggs to create a moist, flavorful, and impressively rich chocolate cake. Whether you’re a seasoned baker or just starting your vegan journey, this cake is sure to become a favorite, impressing both vegans and non-vegans alike with its depth of flavor and tender texture.
Why This Works
- Flavor balance and ingredient accessibility: This recipe strikes the perfect balance between flavor and ease of preparation, using ingredients that are readily available in most supermarkets.
- Ease of preparation: The simplicity of this recipe makes it accessible to everyone, regardless of their baking experience. It requires minimal effort for maximum reward.
- Impressive results with minimal effort: Despite its simplicity, the cake turns out moist, rich, and utterly decadent, making it perfect for special occasions or everyday indulgence.
Key Ingredients
The magic of this cake lies in its carefully selected ingredients. You’ll need 1 1/2 cups of all-purpose flour as the base, 1 cup of granulated sugar for sweetness, 1/2 cup of unsweetened cocoa powder for that deep chocolate flavor, and 1 teaspoon of baking powder to ensure the cake rises beautifully. For moisture and binding, 1 cup of non-dairy milk and 1/2 cup of canola oil are used, along with 2 teaspoons of vanilla extract for added depth of flavor. Practical substitutions can be made with the non-dairy milk and oil to suit your dietary preferences or ingredient availability.
Instructions
- Step 1: Begin by preheating your oven to 350°F (180°C). Prepare two 9-inch round cake pans by greasing them and lining the bottoms with parchment paper. In a medium bowl, whisk together the flour, sugar, cocoa powder, and baking powder. This step ensures all your dry ingredients are well combined and ready for the wet ingredients.
- Step 2: In a large mixing bowl, whisk together the non-dairy milk, canola oil, and vanilla extract. Once well combined, gradually add the dry ingredients to the wet ingredients, whisking until smooth. The batter should be free of lumps and have a beautiful, dark chocolate color.
- Step 3: Divide the batter evenly between the prepared pans and smooth the tops. This ensures your cakes will bake evenly and look beautiful once they’re done.
- Step 4: Bake for 25-30 minutes or until a toothpick inserted in the center comes out clean. Remove the cakes from the oven and let them cool in the pans for 10 minutes before transferring them to a wire rack to cool completely. Once the cakes are cool, you can frost them with your favorite vegan chocolate frosting and decorate as desired.
Handy Tips
- Always ensure your ingredients are at room temperature for better mixing and aeration. For the non-dairy milk, you can use almond, soy, or coconut milk as substitutes.
- Avoid overmixing the batter, as this can lead to a dense cake. Mix just until the ingredients are combined, then stop.
- Don’t open the oven door during the baking time, as this can cause the cakes to sink. Instead, check for doneness by inserting a toothpick into the center of each cake.
Heat Control
Heat control is crucial in baking. For this cake, preheat your oven to 350°F (180°C) and bake for 25-30 minutes. The ideal temperature and timing may vary slightly depending on your oven, so it’s essential to check the cakes for doneness. A perfectly baked cake will be firm to the touch, with a toothpick inserted into the center coming out clean or with a few moist crumbs.
Crunch Factor
This cake is designed to be moist and tender, not crunchy. To achieve this texture, ensure you don’t overbake the cakes. The moment they are done, remove them from the oven to prevent drying out. If you prefer a crunchier topping, you can add nuts or chocolate shavings on top of the frosting.
Pro Kitchen Tricks
- For an extra moist cake, try adding an extra tablespoon or two of non-dairy milk to the batter. However, be cautious not to add too much, as this can make the batter too thin.
- Use high-quality cocoa powder for the best flavor. Dutch-processed cocoa powder gives a deeper, richer flavor compared to natural cocoa powder.
- If you’re not using the cakes immediately, you can wrap them tightly in plastic wrap or aluminum foil and store them at room temperature for up to 3 days or freeze for up to 2 months.
Storage Tips
- Once the cake is frosted, it’s best stored in an airtight container in the refrigerator to keep the frosting fresh. Allow the cake to come to room temperature before serving for the best flavor and texture.
- For leftovers, cut the cake into slices and store them in an airtight container in the fridge for up to 5 days or freeze for up to 2 months. Frozen slices can be thawed at room temperature or reheated in the microwave.
- Always use clean and dry containers to store cake to prevent moisture from accumulating and making the cake soggy.
Gift Packaging Ideas
If you’re considering gifting this cake, it can be beautifully packaged. Place the cake on a decorative plate or cake stand, and cover it with a clear plastic dome or wrap it in plastic wrap. You can then place the cake in a gift box or wrap the plate in colorful paper or a gift bag. Adding a ribbon around the plate or box with a gift card can make it a lovely and thoughtful present.
Flavor Variations
- 🌟 Different spices: Try adding a pinch of salt, a teaspoon of espresso powder, or a teaspoon of cinnamon to the batter for unique flavor profiles.
- 🌟 Creative toppings: Instead of traditional frosting, top your cake with fresh fruits, nuts, or even a drizzle of chocolate sauce for a varied and exciting dessert.
- 🌟 Ingredient swaps: Experiment with different types of non-dairy milk or oils to find the combination that works best for you. Coconut oil, for example, can add a distinct flavor and moisture to the cake.
Troubleshooting
- Texture problems: If your cake turns out too dense, it might be due to overmixing the batter. If it’s too dry, it could be overbaked. Adjust your mixing and baking times accordingly for the next attempt.
- Ingredient replacements: Always replace ingredients with similar alternatives. For example, if you’re out of canola oil, you can use another neutral-tasting oil like grapeseed oil.
- Over/undercooking signs: An undercooked cake will be soggy and wet in the center, while an overcooked cake will be dry and possibly cracked on top. Adjust your baking time based on your oven’s performance and the cake’s appearance.
FAQs
- Can I freeze it? Yes, you can freeze the cake for up to 2 months. Wrap it tightly in plastic wrap or aluminum foil and place it in a freezer-safe bag. Thaw at room temperature or reheat in the microwave when needed.
- Is it gluten-free? The recipe uses all-purpose flour, which contains gluten. However, you can experiment with gluten-free flour mixes for a gluten-free version, though you may need to adjust the ratio of flours and add xanthan gum for better texture.
- Can I double the recipe? Yes, you can easily double the recipe to make a larger cake or more cakes. Just ensure you have enough pans and adjust the baking time slightly, as larger cakes take longer to bake through.
Conclusion
The Best-Ever Vegan Chocolate Cake is a game-changer for anyone looking to indulge in a rich, moist, and utterly delicious chocolate cake without compromising on their dietary preferences. With its straightforward instructions, accessible ingredients, and impressive results, this recipe is perfect for beginners and experienced bakers alike. Feel free to experiment with the recipe, sharing your creations and adaptations with friends and family. Whether it’s for a special occasion or a cozy night in, this cake is sure to bring joy and satisfaction to all who taste it. Happy baking!