Craving something sweet and easy to make? Try these easy cookies packed with Oreo chunks for a quick homemade treat that’s a family favorite, save for later
Easy Cookies and Cream Cookies with Oreo Chunks
Introduction
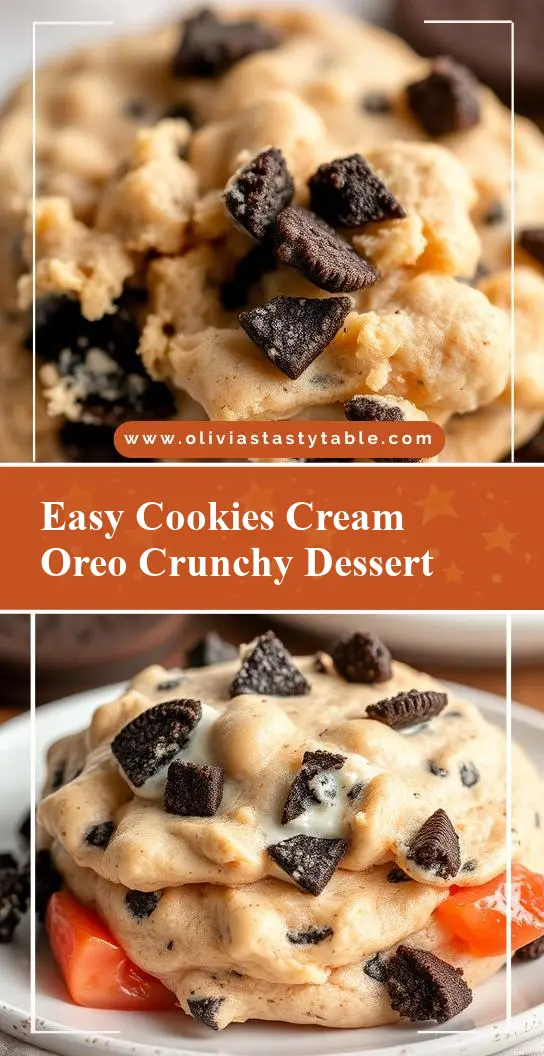
Imagine sinking your teeth into a soft, chewy cookie filled with the unmistakable crunch of Oreo chunks, all while being effortlessly easy to make. These Easy Cookies and Cream Cookies with Oreo Chunks are a dream come true for anyone with a sweet tooth and a penchant for simplicity. By utilizing everyday ingredients and a straightforward method, you can create a batch of these delightful treats in no time. The beauty of this recipe lies not only in its ease of preparation but also in its ability to evoke a sense of nostalgia and comfort, making it perfect for both personal indulgence and sharing with loved ones.
Why This Works
- Flavor balance and ingredient accessibility: The combination of butter, sugar, eggs, flour, and of course, Oreo cookies, provides a well-rounded flavor profile that is both familiar and exciting. All the ingredients are easily found in most supermarkets, making this recipe accessible to everyone.
- Ease of preparation: The method involves basic mixing and baking, steps that are easy to follow and require minimal specialized equipment, making it perfect for beginners and experienced bakers alike.
- Impressive results with minimal effort: Despite the simplicity of the recipe, the end result is a batch of cookies that look and taste like they were purchased from a bakery, sure to impress friends and family without requiring hours of labor in the kitchen.
Key Ingredients
The main ingredients in these cookies include all-purpose flour, baking soda, salt, unsalted butter, granulated sugar, brown sugar, eggs, vanilla extract, and the star of the show, crushed Oreo cookies. For those looking for substitutions, using salted butter and omitting the added salt is a viable option, and while the Oreos are a crucial element, other cream-filled cookies could potentially be used as a substitute in a pinch, though the flavor and texture might vary slightly.
Instructions
- Step 1: Begin by preheating your oven to 375°F (190°C). Line a baking sheet with parchment paper or a silicone mat to ensure easy cookie removal after baking. Next, whisk together the flour, baking soda, and salt in a medium bowl, setting it aside for later use.
- Step 2: In a large bowl, use an electric mixer to cream together the butter and sugars until light and fluffy, about 2-3 minutes. Beat in the eggs one at a time, followed by the vanilla extract, until well combined.
- Step 3: Gradually mix in the dry ingredients (flour mixture) until just combined, being careful not to overmix. Stir in the crushed Oreo cookies to distribute them evenly throughout the dough.
- Step 4: Scoop tablespoon-sized balls of dough onto the prepared baking sheet, leaving about 2 inches of space between each cookie to allow for spreading. Bake for 10-12 minutes or until the edges are lightly golden. Remove the cookies from the oven and let them cool on the baking sheet for 5 minutes before transferring them to a wire rack to cool completely.
Handy Tips
- For chewier cookies, bake for 8-10 minutes. For crisper cookies, bake for 12-14 minutes. Keep an eye on them, as the baking time may vary depending on your oven and the size of your cookies.
- Using room temperature ingredients, especially the butter and eggs, will help in achieving a better texture and easier mixing.
- Avoid overmixing the dough, as this can lead to tough cookies. Stop mixing once the ingredients come together in a cohesive ball.
Heat Control
The ideal baking temperature for these cookies is 375°F (190°C). It’s crucial to keep an eye on the cookies during the baking time, as the perfect doneness can vary slightly from one oven to another. Look for lightly golden edges and a set center. If you prefer a chewier center, take the cookies out when they are lightly golden and still slightly underbaked, as they will continue to cook a bit after being removed from the oven.
Crunch Factor
The crunch in these cookies comes from the Oreo chunks. To maintain this crunch, it’s best to bake the cookies until they are just done and still slightly soft to the touch, as overbaking can cause the cookies to lose some of their texture. Additionally, chilling the dough for about 30 minutes before baking can help the cookies retain their shape and provide a better texture contrast between the soft cookie and the crunchy Oreos.
Pro Kitchen Tricks
- Chilling the dough: Besides helping with texture, chilling the dough makes it easier to handle and scoop, resulting in more uniform cookies.
- Using a cookie scoop: A cookie scoop can help portion out the dough evenly, ensuring that all your cookies bake consistently and have a professional appearance.
- Cleaning as you go: To avoid a big mess at the end, clean your utensils and bowls as you finish using them. This habit will make the baking process more enjoyable and reduce cleanup time significantly.
Storage Tips
- These cookies can be stored in an airtight container at room temperature for up to 5 days. For longer storage, consider freezing them. Place the cooled cookies in a single layer in a freezer-safe bag or container and store in the freezer for up to 2 months. To thaw, simply leave the cookies at room temperature or reheat them in the microwave for a few seconds.
- For the best flavor and texture, it’s recommended to store the cookies in a cool, dry place. Avoid storing them in humid environments or near direct sunlight, as this can cause the cookies to become soggy or develop off-flavors.
Gift Packaging Ideas
These cookies make a wonderful gift for friends, family, or coworkers. Consider packaging them in decorative jars, tins, or bags tied with a ribbon. For a more personalized touch, you could include a handwritten note or a small packet of coffee or tea to enjoy with the cookies. If you’re looking for a creative way to present them, arrange the cookies in a pattern on a plate or tray, or build a small cookie tower using a stack of cookies held together with frosting or melted chocolate.
Flavor Variations
- 🌟 Different spices: Try adding a pinch of cinnamon, nutmeg, or cardamom to the dough for a unique twist on the classic flavor.
- 🌟 Creative toppings: Before baking, press additional Oreo chunks, chocolate chips, or even nuts into the top of each cookie for added texture and flavor.
- 🌟 Ingredient swaps: Experiment with different types of cream-filled cookies or even candy pieces like M&M’s or chopped peanut butter cups to create a variety of flavor combinations.
Troubleshooting
- Texture problems: If your cookies turn out too hard, they may have been overbaked. If they’re too soft, they might have been underbaked. Adjust the baking time accordingly for the next batch.
- Ingredient replacements: While the recipe is quite flexible, replacing the butter with margarine or the eggs with egg substitutes can affect the texture and flavor. Proceed with caution and adjust other ingredients if necessary.
- Over/undercooking signs: Overcooked cookies will be dark golden and hard, while undercooked ones will be pale and soft. Aim for a lightly golden color and a firm edge with a slightly soft center.
FAQs
- Can I freeze it? Yes, both the dough and the baked cookies can be frozen. Freeze the dough in an airtight container or freezer bag for up to 2 months, and the baked cookies for up to 3 months.
- Is it gluten-free? No, this recipe includes all-purpose flour and therefore contains gluten. For a gluten-free version, consider substituting the flour with a gluten-free flour blend, though this may affect the texture and flavor of the cookies.
- Can I double the recipe? Yes, you can easily double or even triple this recipe if you need a larger batch of cookies. Just ensure you have enough baking sheets and space in your oven to accommodate the increased number of cookies.
Conclusion
With these Easy Cookies and Cream Cookies with Oreo Chunks, you’re not just baking a dessert; you’re creating memories. Whether you’re a seasoned baker or a beginner in the kitchen, this recipe is sure to delight. Feel free to experiment with the suggestions provided, and don’t hesitate to reach out if you have any questions or need further assistance. Happy baking, and enjoy the joy that comes from sharing your creations with others!