Craving a decadent chocolate dessert? Try this easy homemade Classic Brooklyn Blackout Cake Recipe made with rich chocolate and moist cake, perfect for a family favorite weeknight dinner treat, save for later
Classic Brooklyn Blackout Cake Recipe for Chocolate Lovers
Introduction
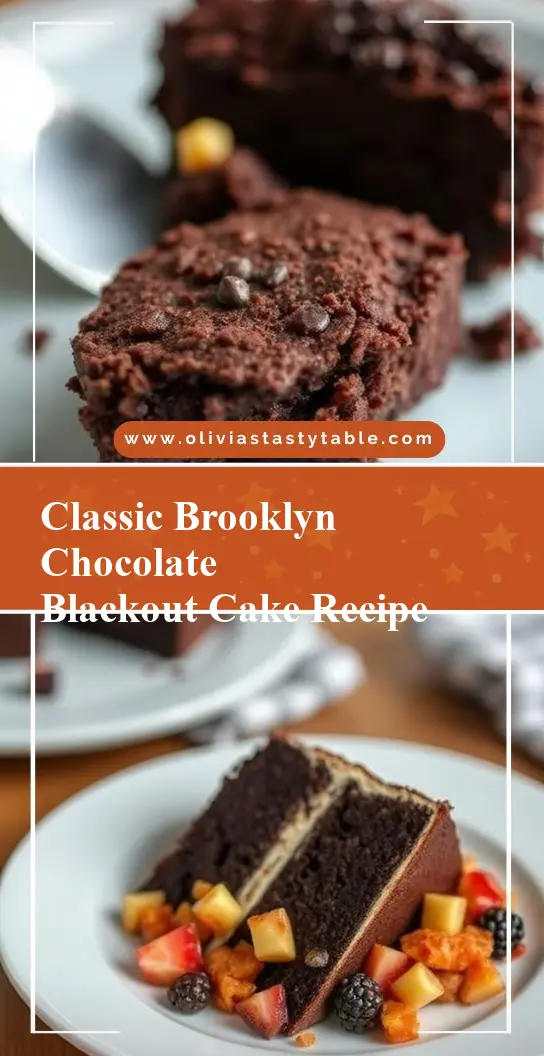
Imagine indulging in a rich, velvety chocolate cake that embodies the essence of Brooklyn’s iconic dessert scene. The Classic Brooklyn Blackout Cake is a masterpiece of deep, dark chocolate flavors, perfectly balanced with a hint of sweetness and a satisfying crunch from the chocolate cake crumbs that adorn its exterior. This recipe is a testament to the magic that happens when everyday ingredients come together in harmony, requiring minimal effort for a result that is nothing short of impressive. Whether you’re a seasoned baker or a novice in the kitchen, this cake is sure to delight, with its ease of preparation and the joy of watching it transform into a stunning centerpiece for any gathering.
Why This Works
- Flavor balance and ingredient accessibility: The combination of dark chocolate, sugar, eggs, and flour creates a depth of flavor that is both intense and accessible, using ingredients that are readily available in most supermarkets.
- Ease of preparation: Despite its sophisticated appearance and taste, the Brooklyn Blackout Cake is surprisingly straightforward to make, with steps that are easy to follow and require no special equipment beyond a standard mixer and baking pans.
- Impressive results with minimal effort: The cake’s dramatic appearance, with its layers of chocolate cake, chocolate pudding filling, and chocolate cake crumb coating, belies the simplicity of its preparation, making it an ideal choice for special occasions or as a show-stopping dessert for any dinner party.
Key Ingredients
The Classic Brooklyn Blackout Cake relies on a few key ingredients to achieve its distinctive flavor and texture. These include high-quality dark chocolate for the cake and the pudding filling, all-purpose flour, granulated sugar, large eggs, and unsalted butter. For the chocolate pudding filling, you’ll also need milk, cornstarch, and a pinch of salt. The cake is finished with a generous coating of chocolate cake crumbs, which can be made from leftover cake or purchased from a bakery. Practical substitutions can be made for some ingredients, such as using semi-sweet chocolate chips if dark chocolate is not available, or substituting whole milk with a non-dairy milk alternative for those with dietary restrictions.
Instructions
- Step 1: Begin by preheating your oven to 375°F (190°C). Prepare two 9-inch round cake pans by greasing them and lining the bottoms with parchment paper. In a medium bowl, whisk together flour, sugar, and a pinch of salt. In a large mixing bowl, combine eggs, milk, and melted butter. Gradually add the dry ingredients to the wet ingredients, mixing until just combined. Melt the dark chocolate and allow it to cool slightly before folding it into the cake batter.
- Step 2: Divide the batter evenly between the prepared pans and smooth the tops. Bake for approximately 30-35 minutes, or until a toothpick inserted into the center of each cake comes out clean. Allow the cakes to cool in the pans for 10 minutes before transferring them to a wire rack to cool completely.
- Step 3: To make the chocolate pudding filling, whisk together milk, cornstarch, and a pinch of salt in a medium saucepan. Cook over medium heat, stirring constantly, until the mixture thickens. Remove from heat and stir in melted dark chocolate until well combined. Allow the pudding to cool to room temperature.
- Step 4: To assemble the cake, place one of the cooled cake layers on a serving plate. Spread a generous amount of the chocolate pudding filling over the top of the cake layer. Place the second cake layer on top and press gently to adhere. Coat the outside of the cake with chocolate cake crumbs, pressing the crumbs gently onto the cake to ensure they stick.
Handy Tips
- For the best flavor, use high-quality dark chocolate with a high cocoa content. If you’re looking for substitutions, consider using a combination of semi-sweet and unsweetened chocolate for a deeper flavor profile.
- Avoid overmixing the cake batter, as this can result in a dense cake. Stop mixing as soon as the ingredients are combined.
- For an extra moist cake, try adding a tablespoon or two of sour cream or Greek yogurt to the batter.
Heat Control
When baking the cake layers, it’s crucial to maintain the correct oven temperature to ensure the cakes cook evenly and thoroughly. Use an oven thermometer to verify your oven’s temperature, and adjust the baking time as needed based on your oven’s performance. The cakes are done when a toothpick inserted into the center comes out clean, and the tops are set and slightly springy to the touch.
Crunch Factor
The crunch factor in the Brooklyn Blackout Cake comes from the generous coating of chocolate cake crumbs on the outside of the cake. To achieve the perfect crunch, make sure the cake crumbs are finely ground and evenly distributed over the cake. You can also toast the crumbs in a low oven (250°F or 120°C) for a few minutes to enhance their texture and flavor.
Pro Kitchen Tricks
- Use room temperature ingredients for the best results in baking. This ensures that the ingredients mix together smoothly and evenly, resulting in a tender and consistent crumb.
- Don’t overbake the cake layers. A slightly underbaked cake will be moister and more tender than one that is overbaked.
- For a professional finish, chill the assembled cake in the refrigerator for at least 30 minutes before serving. This allows the flavors to meld together and the cake to set, making it easier to slice and serve.
Storage Tips
- Store the cake at room temperature for up to 3 days. If you won’t be serving the cake within this timeframe, consider freezing it. Wrap the cake tightly in plastic wrap or aluminum foil and place it in a freezer-safe bag. Frozen cake can be stored for up to 2 months.
- To reheat a frozen cake, thaw it overnight in the refrigerator and then allow it to come to room temperature before serving.
- For the best results, use an airtight container to store leftover cake. This will keep the cake fresh and prevent it from drying out.
Gift Packaging Ideas
The Brooklyn Blackout Cake makes a stunning gift for any chocolate lover. Consider packaging the cake in a decorative cake box or wrapping it in cellophane and tying it with a ribbon. For a more rustic look, wrap the cake in brown paper and twine. If you’re giving the cake as a gift, you might also include a card with the recipe or a few baking tips to make the gift even more special.
Flavor Variations
- 🌟 Different spices: Try adding a pinch of cinnamon, nutmeg, or cayenne pepper to the cake batter for a unique twist on the classic recipe.
- 🌟 Creative toppings: Instead of the traditional chocolate cake crumb coating, consider topping the cake with chopped nuts, shaved chocolate, or even a sprinkle of sea salt.
- 🌟 Ingredient swaps: Substitute some of the all-purpose flour with whole wheat flour for a nuttier flavor, or use coconut sugar instead of granulated sugar for a slightly caramel-like flavor.
Troubleshooting
- Texture problems: If your cake turns out too dense, it may be due to overmixing the batter. Try mixing the ingredients just until they come together, and then stop mixing.
- Ingredient replacements: If you’re missing an ingredient, don’t be afraid to get creative with substitutions. Just be aware that substituting ingredients can affect the final flavor and texture of the cake.
- Over/undercooking signs: Keep an eye on your cake while it’s baking, and check it frequently towards the end of the baking time. A toothpick inserted into the center of the cake should come out clean, and the tops should be set and slightly springy to the touch.
FAQs
- Can I freeze it? Yes, the Brooklyn Blackout Cake can be frozen for up to 2 months. Wrap the cake tightly in plastic wrap or aluminum foil and place it in a freezer-safe bag.
- Is it gluten-free? No, the traditional recipe for Brooklyn Blackout Cake includes all-purpose flour and is not gluten-free. However, you can experiment with gluten-free flours to create a gluten-free version of the cake.
- Can I double the recipe? Yes, you can easily double the recipe to make a larger cake. Just be aware that you may need to adjust the baking time slightly, so keep an eye on the cakes as they bake.
Conclusion
The Classic Brooklyn Blackout Cake is a recipe that embodies the spirit of chocolate lovers everywhere. With its deep, dark chocolate flavor and satisfying crunch from the chocolate cake crumbs, this cake is sure to delight anyone who tries it. Whether you’re a seasoned baker or just starting out in the kitchen, this recipe is approachable and rewarding, with results that are well worth the effort. So go ahead, indulge in a slice (or two), and share the love with friends and family. Happy baking!