Craving a sweet treat that’s easy to make? Look no further than these no bake peanut butter blossoms, a quick and delicious homemade favorite made with peanut butter and perfect for a weeknight dinner dessert, save for later
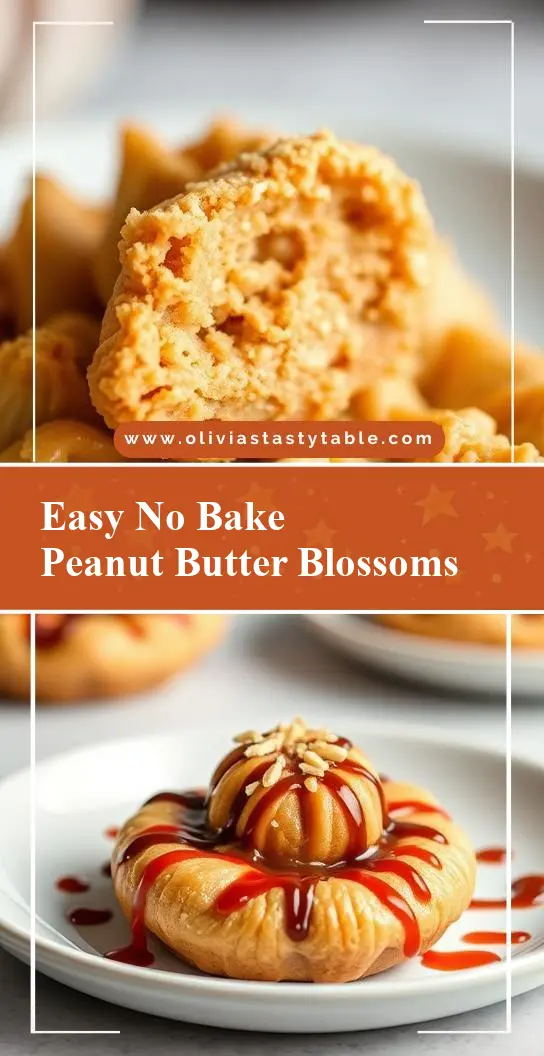
Irresistible No Bake Peanut Butter Blossoms
Introduction
No bake desserts are a staple for any occasion, offering a delightful escape from the heat of the kitchen while still satisfying our sweet cravings. Among these, the Irresistible No Bake Peanut Butter Blossoms stand out for their ease, flavor, and creativity, utilizing everyday ingredients to craft a treat that is both familiar and exciting. These bite-sized wonders are perfect for gatherings, potlucks, or as a simple indulgence at home. With their rich peanut butter flavor, soft yet firm texture, and the elegance of a Hershey’s Kiss pressed into their center, they are sure to impress both in taste and presentation.
Why This Works
- Flavor balance and ingredient accessibility: The combination of peanut butter, oats, and powdered sugar creates a harmonious balance of flavors, while the use of common pantry ingredients makes this recipe highly accessible.
- Ease of preparation: The no-bake aspect eliminates the need for any cooking, making the preparation quick and straightforward. This is ideal for hot summer days or for those who are new to baking.
- Impressive results with minimal effort: Despite the simplicity of the recipe, the end result is visually appealing and delicious, making it perfect for gift-giving or serving at parties.
Key Ingredients
The main ingredients for these blossoms include creamy peanut butter, rolled oats, powdered sugar, graham cracker crumbs for added texture, and Hershey’s Kisses for the centerpiece. For those looking for substitutions, almond butter or cashew butter can replace peanut butter for a different flavor profile, and gluten-free graham crackers can be used for those with dietary restrictions. The versatility of these ingredients allows for creativity and adaptation to various tastes and needs.
Instructions
- Step 1: Begin by preparing your ingredients. In a large mixing bowl, combine the peanut butter, powdered sugar, and oats. Mix until well combined and a dough forms. If the dough is too sticky, you can add a bit more oats. If it’s too dry, a small amount of peanut butter can be added.
- Step 2: Use your hands to shape the dough into small balls, about 1 inch in diameter. You should end up with around 20-25 balls, depending on the size. Place the balls onto a baking sheet lined with parchment paper.
- Step 3: Immediately press a Hershey’s Kiss into the center of each ball, creating a blossom effect. The warmth of your hands should slightly soften the chocolate, allowing it to adhere to the peanut butter mixture.
- Step 4: Refrigerate the blossoms for at least 30 minutes to set. This step is crucial as it allows the flavors to meld together and the textures to stabilize. Once set, your No Bake Peanut Butter Blossoms are ready to be served or stored.
Handy Tips
- For easier shaping, ensure your hands are slightly damp. This will prevent the dough from sticking to your palms.
- Avoid overmixing the dough, as this can lead to a dense final product. Mix just until the ingredients come together in a cohesive ball.
- Experiment with different types of chocolate or candy for the center. While Hershey’s Kisses are traditional, other candies like M&M’s or chopped peanut butter cups can offer a fun twist.
Heat Control
Since these are no-bake treats, heat control is not a concern in the traditional sense. However, refrigeration plays a key role in setting the blossoms. Ensure your refrigerator is at the appropriate temperature (around 40°F) to properly chill the treats. This step is crucial for achieving the right texture and for the chocolate to set correctly.
Crunch Factor
The crunch factor in these blossoms comes from the graham cracker crumbs and the exterior of the chocolate. To enhance the crunch, you can also roll the peanut butter balls in additional graham cracker crumbs before pressing in the chocolate. This adds an extra layer of texture, making the blossoms even more appealing.
Pro Kitchen Tricks
- For a more polished look, chill the blossoms and then drizzle with melted chocolate or candy melts. This adds an extra layer of elegance, perfect for gift-giving or special occasions.
- Use a cookie scoop to portion out the dough. This ensures uniformity in size and makes the process quicker and less messy.
- Prepare the blossoms ahead of time and store them in an airtight container in the refrigerator for up to a week. This makes them perfect for planning ahead for events or parties.
Storage Tips
- Store the blossoms in an airtight container in the refrigerator to keep them fresh. They can be stored for up to a week.
- Avoid freezing, as the texture of the peanut butter mixture can become affected, leading to a less desirable consistency upon thawing.
- When storing, place the blossoms in a single layer to prevent them from sticking together. If you must stack them, place a sheet of parchment paper between each layer.
Gift Packaging Ideas
These blossoms are perfect for gifting, especially during the holiday season. Consider packaging them in decorative tins, jars, or even cellophane bags tied with a ribbon. A personal touch, such as a handwritten note or a sprinkle of holiday-themed candy on top, can make the gift even more special. For a more rustic look, place the blossoms in a mason jar and tie a ribbon around the lid. This presentation is not only charming but also protects the treats during transport.
Flavor Variations
- 🌟 Different spices: Add a pinch of salt or a teaspoon of cinnamon to the peanut butter mixture for a unique twist.
- 🌟 Creative toppings: Instead of Hershey’s Kisses, try using different types of candy, nuts, or even dried fruit to create various flavor combinations.
- 🌟 Ingredient swaps: Replace peanut butter with another nut butter, like almond or cashew butter, for a different flavor profile. You can also use different types of oats or add-ins like chocolate chips or coconut flakes to the dough.
Troubleshooting
- Texture problems: If the dough is too sticky, add a bit more oats. If it’s too dry, add a small amount of peanut butter. This balance is key to achieving the right texture.
- Ingredient replacements: Always consider the flavor and texture profile when substituting ingredients. For example, if replacing peanut butter with almond butter, note that almond butter can be more oily, which might affect the final texture.
- Over/undercooking signs: Since these are no-bake, the concern is more about the setting time in the refrigerator. Ensure they are chilled long enough to set properly, but avoid over-chilling, which can make them too hard.
FAQs
- Can I freeze it? It’s not recommended to freeze the blossoms, as the texture can become affected. However, if you choose to freeze, ensure they are in an airtight container and thaw in the refrigerator when ready to serve.
- Is it gluten-free? Depending on the type of oats and graham crackers used, these blossoms can be gluten-free. Ensure that all ingredients are gluten-free to accommodate dietary restrictions.
- Can I double the recipe? Yes, the recipe can be easily doubled or tripled. Just ensure you have enough space in your refrigerator to chill all the blossoms at once.
Conclusion
The Irresistible No Bake Peanut Butter Blossoms are a testament to the simplicity and elegance of no-bake desserts. With their ease of preparation, rich flavor, and beautiful presentation, they are perfect for any occasion. Whether you’re a seasoned baker looking for a quick treat or a beginner in the kitchen, these blossoms are sure to delight. Feel free to experiment with the recipe, adding your own twist and flair to make it truly special. And as you share these treats with friends and family, remember the joy of baking and the love that goes into creating something delicious for others to enjoy.