Are you ready for a weeknight dinner game changer? These easy cheesy cheeseburger tater tot cups are a quick homemade family favorite made with ground beef, cheese, and crispy tater tots. Save for later and make tonight!
Cheesy Cheeseburger Tater Tot Cups
Introduction
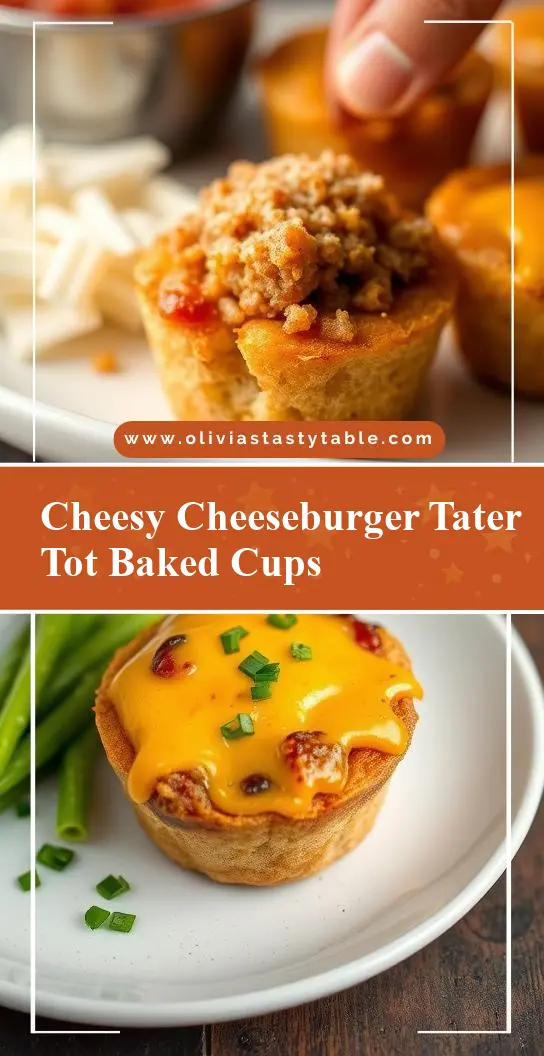
Imagine a dish that combines the comfort of a cheeseburger with the crispy delight of tater tots, all in a convenient, bite-sized cup. Welcome to the world of Cheesy Cheeseburger Tater Tot Cups, a creative recipe that transforms everyday ingredients into an extraordinary snack or meal. This dish is not only easy to make but also bursting with flavor, making it perfect for family gatherings, parties, or a quick weeknight dinner. The best part? It’s incredibly easy to customize with your favorite toppings, ensuring everyone finds a combination they love.
Why This Works
- Flavor balance and ingredient accessibility: The combination of ground beef, cheese, tater tots, and various toppings creates a harmonious balance of flavors and textures that are easily accessible in most supermarkets.
- Ease of preparation: The steps involved in making these cups are straightforward and require minimal cooking skills, making it a great option for beginners or those short on time.
- Impressive results with minimal effort: Despite the simplicity of the recipe, the end result is impressive and sure to please both kids and adults, perfect for serving at gatherings or events.
Key Ingredients
The main ingredients for Cheesy Cheeseburger Tater Tot Cups include ground beef, tater tots, shredded cheese (such as cheddar or mozzarella), diced onions, diced tomatoes, and any desired toppings (like lettuce, pickles, or bacon bits). For a vegetarian version, you could substitute the ground beef with a plant-based alternative or black beans. The tater tots serve as the base and ‘cup’ of the dish, providing a crispy exterior and a fluffy interior, while the cheese binds everything together and adds richness.
Instructions
- Step 1: Begin by preheating your oven to 400°F (200°C). While the oven is heating up, cook the ground beef in a skillet over medium-high heat until it’s browned, breaking it into small pieces as it cooks. Drain excess fat and set aside.
- Step 2: Cook the tater tots according to the package instructions until they’re crispy and golden brown. This can usually be done in the oven for about 20-25 minutes, shaking the pan halfway through.
- Step 3: In a large bowl, mix the cooked ground beef with diced onions, diced tomatoes, and any other desired fillings. Add shredded cheese to the mixture and stir until well combined.
- Step 4: To assemble the cups, place a small number of tater tots into the bottom of a muffin tin to form the base of each cup. Spoon the beef and cheese mixture over the tater tots, filling each cup to the top. Place additional tater tots around the filling to form the ‘cup’ shape, pressing gently to adhere. Top each cup with more shredded cheese. Bake in the preheated oven for an additional 10-15 minutes, or until the cheese is melted and bubbly.
Handy Tips
- When cooking the ground beef, make sure to break it into small pieces to ensure it distributes evenly throughout the cups.
- Don’t overfill the cups, as the cheese will melt and expand during baking.
- Experiment with different types of cheese and toppings to find your favorite combinations.
Heat Control
Heat control is crucial in this recipe, especially when cooking the ground beef and baking the tater tot cups. For the ground beef, cook it over medium-high heat until it’s fully browned, which should take about 5-7 minutes, depending on the quantity. When baking the cups, ensure your oven is preheated to the correct temperature (400°F or 200°C) and bake for the recommended time (10-15 minutes) to achieve melted cheese and crispy tater tots.
Crunch Factor
The crunch factor in these cups comes from the tater tots, which should be cooked until they’re golden brown and crispy. To enhance the crunch, you can also add some crispy bacon bits or chopped nuts on top of the cups before baking. The key to achieving the perfect crunch is not to overbake the tater tots before assembling the cups and to bake the assembled cups just until the cheese is melted and the tater tots are crispy.
Pro Kitchen Tricks
- Use a variety of cheeses for a deeper flavor profile. Mixing cheddar with mozzarella or parmesan can add complexity to the dish.
- Prepare the ground beef mixture ahead of time and refrigerate or freeze it for later use, making this recipe highly adaptable to busy schedules.
- For an extra crispy top, broil the cups for an additional 1-2 minutes after baking. Keep a close eye to prevent burning.
Storage Tips
- Leftover cups can be stored in an airtight container in the refrigerator for up to 3 days. Reheat them in the oven or microwave until warmed through.
- For longer storage, the assembled but unbaked cups can be frozen. Simply bake them frozen for an additional 5-10 minutes, or until the cheese is melted and the tater tots are crispy.
- Use containers that are safe for both refrigerator and oven use to simplify storage and reheating.
Gift Packaging Ideas
While Cheesy Cheeseburger Tater Tot Cups are primarily a snack or meal, they can be part of a gift basket or care package, especially for college students or as a welcome gift for new neighbors. Consider packaging them in insulated bags or containers to keep them warm, accompanied by dipping sauces or other snacks. For a more festive touch, add some decorative picks or small flags with personalized notes.
Flavor Variations
- 🌟 Different spices: Add some heat with diced jalapeños or flavor with smoked paprika.
- 🌟 Creative toppings: Experiment with various cheeses, meats (like diced ham or bacon), or vegetables (such as diced bell peppers or mushrooms).
- 🌟 Ingredient swaps: Use ground turkey or beef alternatives for a lighter version, or substitute tater tots with shredded potatoes for a homemade twist.
Troubleshooting
- Texture problems: If the tater tots become too soggy, it may be due to overbaking or using too much filling. Adjust the baking time and filling amount accordingly.
- Ingredient replacements: If you’re missing an ingredient, consider what its role is in the recipe and substitute with something similar. For example, if you don’t have cheddar, another melting cheese like mozzarella could work.
- Over/undercooking signs: Keep an eye on the cups while they’re baking. If the cheese is not melted and the tater tots are not crispy after the recommended time, bake for a few minutes longer. Conversely, if the tops start to brown too quickly, cover with foil to prevent burning.
FAQs
- Can I freeze it? Yes, you can freeze the assembled but unbaked cups for up to 2 months. Bake frozen cups for an additional 5-10 minutes, or until the cheese is melted and the tater tots are crispy.
- Is it gluten-free? This recipe is gluten-free as long as the ingredients used (such as the tater tots and any sauces) are gluten-free. Always check the labels of packaged items.
- Can I double the recipe? Yes, you can easily double or triple this recipe for larger gatherings. Just ensure you have enough muffin tins and adjust the baking time slightly if necessary.
Conclusion
Cheesy Cheeseburger Tater Tot Cups are a fun, creative, and delicious way to enjoy the flavors of a cheeseburger in a unique and convenient format. With their ease of preparation, flexibility in ingredients, and impressive presentation, they’re perfect for a wide range of occasions. Whether you’re a busy parent looking for a quick dinner solution, a party host seeking a crowd-pleasing appetizer, or simply someone who loves to experiment with new recipes, these cups are sure to become a favorite. So don’t be afraid to get creative, share your variations, and enjoy the process of making something truly special with everyday ingredients.