Looking for a healthy alternative to store-bought snacks? Try this easy homemade fruit snacks recipe made with fresh fruit and simple ingredients, perfect for a quick weeknight treat, save for later and make it a family favorite.
Fruit Snacks Recipe: Homemade and Healthy
Introduction
Creating your own fruit snacks at home is not only easy but also incredibly rewarding. With just a few simple ingredients and some basic kitchen tools, you can craft delicious, healthy, and visually appealing snacks that are perfect for both kids and adults. The beauty of making your own fruit snacks lies in the freedom to experiment with a wide array of flavors and textures, allowing you to tailor your creations to your family’s preferences. Whether you’re looking for a quick breakfast option, a lunchbox addition, or an after-school snack, homemade fruit snacks are the perfect solution. They are free from preservatives, can be made in bulk, and are an excellent way to get your daily dose of fruits in a fun and exciting way.
Why This Works
- Flavor balance and ingredient accessibility: This recipe strikes a perfect balance between sweet and tangy, using ingredients that are easily found in most supermarkets.
- Ease of preparation: The process is straightforward and requires minimal cooking, making it accessible to cooks of all skill levels.
- Impressive results with minimal effort: Despite the simplicity of the recipe, the end result is a delicious and healthy snack that looks and tastes like it was purchased from a gourmet store.
Key Ingredients
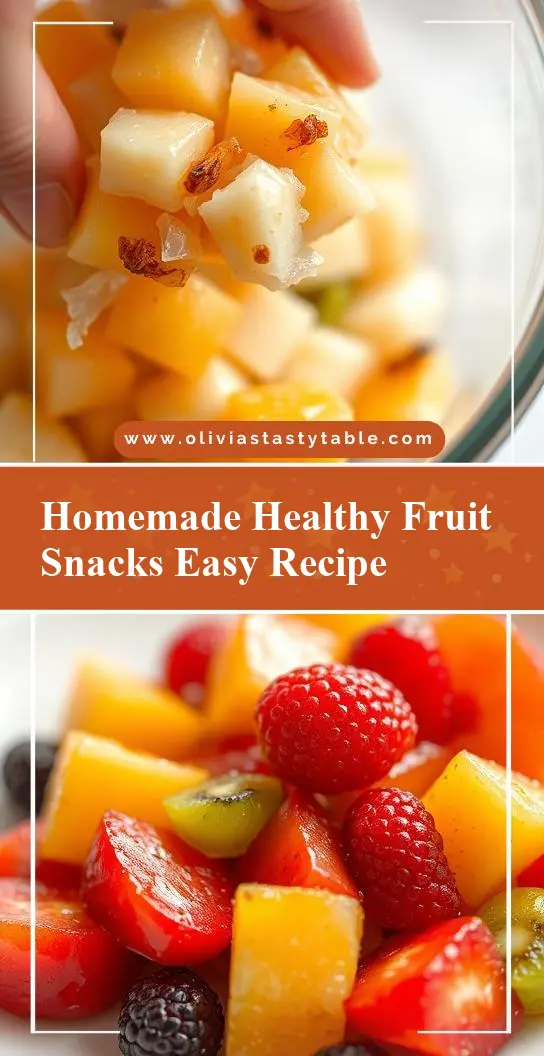
The main ingredients for this fruit snacks recipe include a variety of fresh fruits such as strawberries, blueberries, raspberries, and pineapple, along with a small amount of honey or maple syrup for sweetness, and lemon juice for a touch of acidity. You can also use fruit purees or jams as a base for added flavor. Practical substitutions can be made based on seasonal availability and personal preference, allowing you to experiment with different combinations to find your favorite.
Instructions
- Step 1: Begin by washing and preparing your fruits. This may involve hulling strawberries, rinsing blueberries, or cutting pineapple into chunks. Measure out your honey or maple syrup and lemon juice according to the recipe.
- Step 2: In a blender or food processor, puree your fruits until you reach your desired consistency. Some people prefer their fruit snacks smooth, while others like a bit of texture. Add in your sweetener and lemon juice, and blend until well combined.
- Step 3: Pour the mixture onto a baking sheet lined with parchment paper or a silicone mat. Use a spatula to spread it evenly, aiming for a thickness of about 1/4 inch. This will help your fruit snacks dry evenly and prevent them from becoming too chewy or too brittle.
- Step 4: Place the baking sheet in a low-temperature oven (150°F – 200°F) for about 3-4 hours, or until the mixture has dried out and achieved a flexible, leather-like texture. Alternatively, you can use a dehydrator according to the manufacturer’s instructions. Once dried, remove the sheet from the oven or dehydrator and let it cool completely before cutting into strips or rolls.
Handy Tips
- Always use fresh, high-quality fruits for the best flavor and texture. If a fruit is past its prime, it may not puree well or could add off-flavors to your snacks.
- Experiment with spices and extracts like cinnamon, vanilla, or citrus zest to add unique flavors to your fruit snacks.
- For a clearer fruit snack, strain the puree through a fine-mesh sieve before drying to remove seeds and pulp.
Heat Control
If using an oven, it’s crucial to maintain a low temperature to prevent the fruits from cooking or caramelizing, which can alter their flavor and texture. Ideal drying conditions are between 150°F and 200°F. For dehydrators, follow the manufacturer’s guidelines for temperature and time settings. It’s also important to check on your fruit snacks periodically to ensure they are drying evenly and not becoming too dry or brittle.
Crunch Factor
The desired texture for fruit snacks can vary, but generally, you’re aiming for a flexible, slightly chewy texture that’s not too hard or too soft. To achieve this, monitor the drying time closely and remove the snacks from the oven or dehydrator when they still retain a bit of flexibility. If you prefer a crunchier snack, you can dry them for a slightly longer period, but be cautious not to overdry, as this can result in a brittle or crumbly texture.
Pro Kitchen Tricks
- Use a variety of fruits to create a rainbow effect in your snacks, making them more visually appealing.
- For an extra burst of flavor, add a sprinkle of citrus zest or a drizzle of honey on top of your fruit snacks before they fully dry.
- Consider using silicone mats or parchment paper with a light dusting of cornstarch for easier removal of the dried fruit snacks.
Storage Tips
- Store your homemade fruit snacks in airtight containers to maintain freshness. Glass jars or plastic containers with tight-fitting lids work well.
- Keep them in a cool, dry place. Refrigeration can help extend shelf life, but it’s not necessary for short-term storage.
- For longer storage, consider freezing. Simply place the fruit snacks in a freezer-safe bag or container and store in the freezer for up to 6 months.
Gift Packaging Ideas
Homemade fruit snacks make wonderful gifts, especially for health-conscious friends or as a unique addition to gift baskets. Consider packaging them in decorative jars, wrapping them in colorful paper or cellophane bags, and tying with a ribbon. You can also include a personalized note with the ingredients used and storage instructions, adding a thoughtful touch to your gift.
Flavor Variations
- 🌟 Different spices: Try adding a pinch of cinnamon to apple-based snacks or a sprinkle of ginger to tropical fruit mixes.
- 🌟 Creative toppings: Before drying, sprinkle your fruit mixture with shredded coconut, chopped nuts, or seeds for added texture and flavor.
- 🌟 Ingredient swaps: Substitute honey with maple syrup or agave nectar for a different sweetness profile, or use lime juice instead of lemon for a unique twist.
Troubleshooting
- Texture problems: If your snacks are too chewy, they may not have dried long enough. Conversely, if they’re too brittle, they might have overdried. Adjust the drying time accordingly for future batches.
- Ingredient replacements: When substituting fruits, keep in mind the sweetness and acidity levels, as these can affect the overall flavor and drying time of your snacks.
- Over/undercooking signs: Keep an eye out for signs of overcooking, such as darkening of the fruit or an overly dry texture. Undercooked snacks will be too moist and may not store well.
FAQs
- Can I freeze it? Yes, homemade fruit snacks can be frozen for up to 6 months. Simply place them in a freezer-safe bag or container and store in the freezer.
- Is it gluten-free? Yes, this recipe is naturally gluten-free, making it a great option for those with gluten intolerance or sensitivity.
- Can I double the recipe? Absolutely. Simply multiply all the ingredients by two and proceed with the instructions. Keep in mind that drying time may be slightly longer for thicker layers of fruit mixture.
Conclusion
Making your own fruit snacks at home is a fun and rewarding process that allows you to control the ingredients, flavors, and textures of your snacks. With a little creativity and experimentation, you can create a wide variety of delicious and healthy options that are perfect for snacking on the go. Whether you’re a parent looking for a healthy alternative to store-bought snacks or an individual seeking a tasty way to increase your fruit intake, homemade fruit snacks are an excellent choice. So, don’t hesitate to get creative in the kitchen and start making your own fruit snacks today!