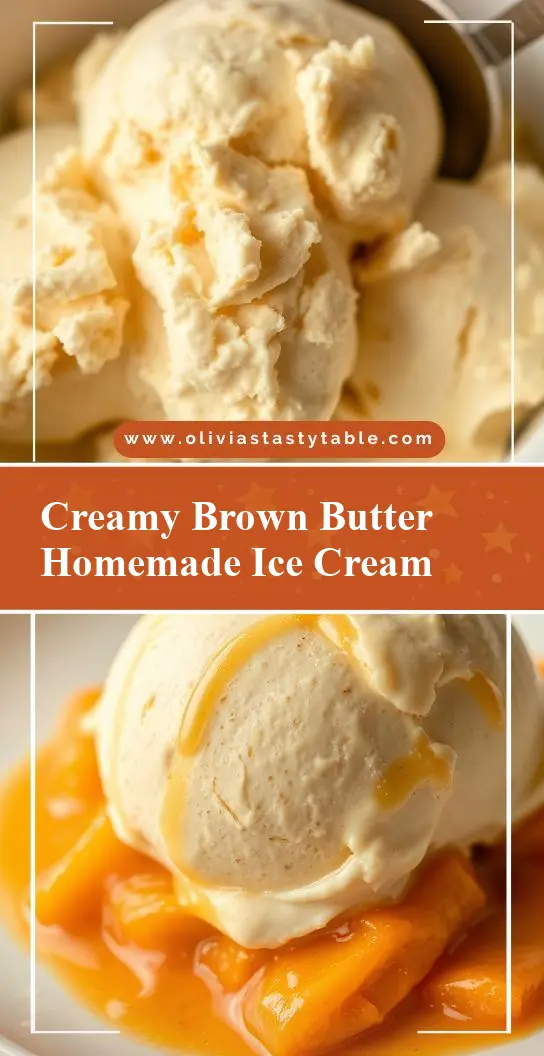
Looking for a decadent dessert to impress your family? This creamy brown butter ice cream recipe is a homemade favorite made with rich brown butter and heavy cream, perfect for a quick weeknight treat, save for later and indulge in its creamy goodness
Creamy Brown Butter Ice Cream Recipe
Introduction
Imagine indulging in a scoop of creamy, rich ice cream that has been infused with the deep, nutty flavor of brown butter. This Creamy Brown Butter Ice Cream Recipe is a game-changer for anyone looking to elevate their dessert game without spending hours in the kitchen. By utilizing everyday ingredients and a straightforward method, you can create a truly unique and decadent treat that is sure to impress both family and friends. The beauty of this recipe lies in its simplicity, allowing for a great deal of creativity and experimentation with various mix-ins and toppings to suit any taste.
Why This Works
- Flavor balance and ingredient accessibility: The combination of brown butter, cream, and sugar creates a perfectly balanced flavor profile that is both familiar and excitingly new. All the ingredients are easily found in most supermarkets, making this recipe accessible to everyone.
- Ease of preparation: Despite its sophisticated taste, this ice cream is surprisingly easy to make. The process involves a few simple steps that require minimal specialized equipment, other than an ice cream maker, which can even be substituted with a bit of patience and a freezer.
- Impressive results with minimal effort: The end result is a creamy, smooth ice cream with a deep, nutty flavor from the brown butter, making it perfect for special occasions or as a unique treat any day of the week.
Key Ingredients
The main ingredients in this recipe include heavy cream, whole milk, granulated sugar, and unsalted butter, which is browned to create the distinctive flavor. Brown butter, or beurre noisette, adds a rich, nutty flavor that complements the sweetness of the cream and sugar perfectly. For those looking for substitutions, using a high-quality, European-style butter can enhance the flavor, and for a non-dairy version, coconut cream or a non-dairy milk alternative can be used, though this may affect the texture and flavor slightly.
Instructions
- Step 1: Begin by browning the butter in a saucepan over medium heat. This involves melting the butter and continuing to cook it until it turns golden brown and smells nutty. Be careful not to burn the butter, as this can quickly give it a bitter taste.
- Step 2: In a separate saucepan, combine the heavy cream, whole milk, and granulated sugar. Heat this mixture over medium heat, stirring occasionally, until the sugar has dissolved and the mixture is hot but not boiling.
- Step 3: Remove the cream mixture from the heat and slowly pour in the brown butter, whisking constantly to prevent the mixture from curdling. Allow this mixture to cool slightly before covering it and refrigerating it until chilled.
- Step 4: Once the mixture is chilled, pour it into an ice cream maker and churn according to the manufacturer’s instructions. If you don’t have an ice cream maker, you can also place the mixture in a metal loaf pan or a 9×13 inch baking dish and freeze it, stirring every 30 minutes until the desired consistency is reached, which can take about 2 to 3 hours.
Handy Tips
- When browning the butter, it’s essential to stir frequently and keep a close eye on the heat, as the butter can quickly go from perfectly browned to burnt.
- For a creamier ice cream, make sure the mixture is well chilled before churning, and consider adding a little more cream or using a higher ratio of cream to milk.
- Avoid over-churning the ice cream, as this can result in an icy texture. If using the freeze-and-stir method, be patient and gentle when stirring to incorporate air without making the ice cream too hard or icy.
Heat Control
Heat control is crucial in two stages of this recipe: browning the butter and heating the cream mixture. For browning the butter, medium heat is ideal, and constant stirring is necessary to distribute the heat evenly. The cream mixture should be heated until it’s hot but not boiling, which usually means keeping the heat at a medium to low setting and removing it from the heat source as soon as it starts to simmer.
Crunch Factor
This ice cream recipe is designed to be smooth and creamy. However, for those who enjoy a bit of texture, adding mix-ins like chopped nuts, chocolate chips, or even cookie dough towards the end of the churning process can introduce a delightful crunch and variety of flavors. Be cautious not to add too many mix-ins, as this can disrupt the creamy texture of the ice cream.
Pro Kitchen Tricks
- Using a higher quality vanilla extract or a vanilla bean can enhance the flavor of the ice cream, adding a deeper and more complex taste profile.
- For a lighter texture, a small amount of air can be incorporated into the ice cream by whipping the cream before mixing it with the other ingredients, though be careful not to over-whip.
- Cleaning as you go can make the entire process smoother and less overwhelming. Make sure to wash and dry all utensils and equipment immediately after use to prevent any residue from affecting the taste or texture of the ice cream.
Storage Tips
- Once the ice cream is churned, it’s best to transfer it to an airtight container and store it in the freezer to preserve the texture and prevent ice crystals from forming.
- If you’re not planning to consume the ice cream within a few days, consider dividing it into smaller portions and freezing them separately. This makes it easier to thaw and serve only what you need.
- When serving, let the ice cream sit at room temperature for a few minutes to soften slightly, making it easier to scoop and ensuring a smoother texture.
Gift Packaging Ideas
This creamy brown butter ice cream makes a wonderful gift, especially when packaged in decorative jars or containers. Consider topping the ice cream with a sprinkle of sea salt or a few pieces of caramelized nuts before sealing the jar for an added touch of elegance. A ribbon around the lid and a gift tag with the flavors and a personal message can make it a thoughtful and unique present for friends and family.
Flavor Variations
- 🌟 Different spices: Adding a pinch of cinnamon, nutmeg, or cardamom can introduce warm, aromatic flavors that complement the brown butter beautifully.
- 🌟 Creative toppings: Besides the classic chocolate chips or nuts, consider using fresh fruits, caramel sauce, or even crispy bacon bits to add texture and flavor contrast.
- 🌟 Ingredient swaps: For a vegan version, use a non-dairy milk and a vegan butter substitute. You can also experiment with different types of sugar or sweeteners, like honey or maple syrup, for a distinct flavor profile.
Troubleshooting
- Texture problems: If the ice cream turns out too icy, it might be due to over-churning or not enough cream in the mixture. Conversely, if it’s too soft, it could be under-churned or contain too much air.
- Ingredient replacements: Always consider the flavor and texture implications when substituting ingredients. For example, using a different type of milk can affect the creaminess and flavor of the ice cream.
- Over/undercooking signs: The butter is overcooked if it smells burnt or has a dark brown color. The cream mixture is underheated if the sugar hasn’t fully dissolved, and overheated if it starts to boil.
FAQs
- Can I freeze it? Yes, this ice cream can be frozen. In fact, it’s necessary to freeze it to achieve the desired consistency. It’s best to freeze it in an airtight container to preserve the flavor and texture.
- Is it gluten-free? Yes, this recipe is naturally gluten-free, making it a great option for those with gluten intolerance or sensitivity.
- Can I double the recipe? Yes, you can double or even triple this recipe if you’re serving a larger crowd. Just ensure that your ice cream maker can handle the increased volume, or be prepared to freeze it in batches if using the freeze-and-stir method.
Conclusion
Making creamy brown butter ice cream at home is a rewarding process that yields a deliciously unique dessert perfect for any occasion. With its rich, nutty flavor and smooth texture, it’s sure to become a favorite among both kids and adults. Don’t be afraid to experiment with different mix-ins and toppings to make the recipe your own, and consider sharing your creations with friends and family as a thoughtful gift. Whether you’re a seasoned chef or a beginner in the kitchen, this recipe is a great way to explore the world of homemade ice cream and discover the joy of creating something truly special from scratch.