Looking for a show-stopping dessert? This easy homemade cake features creamy coconut and a super moist texture, perfect for a weeknight treat or family favorite – Save for later!
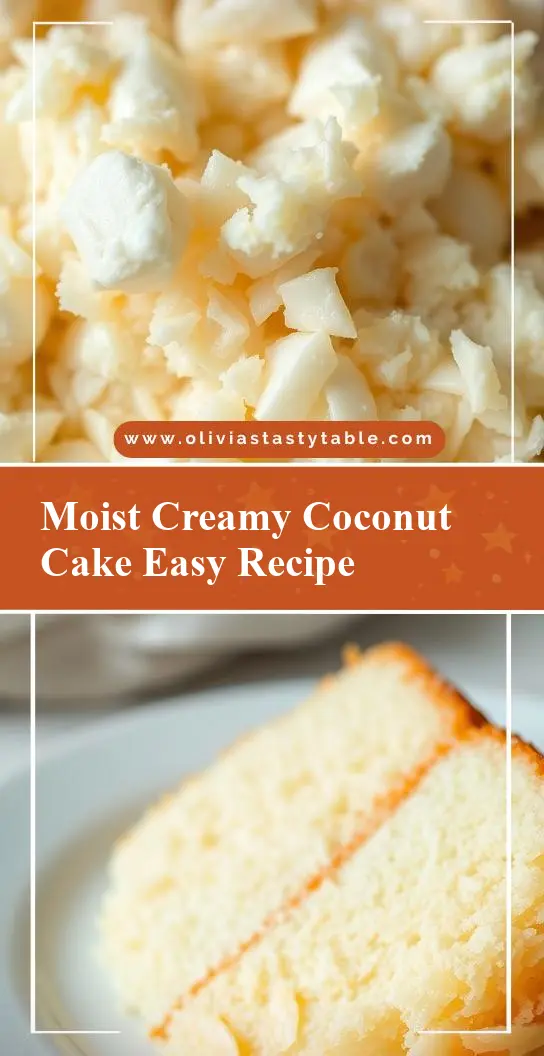
The BEST Creamy Coconut Cake – Super Moist and Easy to Make! 🌴🍰
Introduction
Welcome to the most divine and easy-to-make creamy coconut cake recipe that will transport your taste buds to a tropical paradise! This cake is not only a delight to the palate with its perfect balance of coconut flavor and creamy texture, but it’s also incredibly simple to prepare, making it perfect for both beginners and seasoned bakers. The beauty of this recipe lies in its use of everyday ingredients, transformed into a masterpiece that’s sure to impress your family and friends. Whether you’re celebrating a special occasion or just want to indulge in a sweet treat, this creamy coconut cake is the perfect choice. So, let’s dive into what makes this cake truly special and how you can make it in the comfort of your own home.
Why This Works
- Flavor balance and ingredient accessibility: The combination of coconut, vanilla, and a hint of sweetness creates a flavor profile that’s both unique and universally appealing. Plus, the ingredients are easily found in most supermarkets, making this cake accessible to everyone.
- Ease of preparation: Despite its impressive presentation and taste, this cake requires minimal effort and time to prepare. The instructions are straightforward, and the steps are easy to follow, even for those who are new to baking.
- Impressive results with minimal effort: What’s most surprising about this recipe is how such simple steps can lead to such an impressive and delicious cake. The creamy coconut frosting and the moist cake itself will make you feel like a professional baker, without having to spend hours in the kitchen.
Key Ingredients
To make this creamy coconut cake, you’ll need a few key ingredients. First, you’ll need all-purpose flour, which provides the structure for your cake. Then, there’s granulated sugar to balance out the flavors, and unsweetened shredded coconut to give your cake that distinct coconut taste and texture. You’ll also need unsalted butter, large eggs, vanilla extract, and whole milk to create a moist and creamy base. For the frosting, you’ll use a combination of unsalted butter, cream cheese, powdered sugar, and more unsweetened shredded coconut. These ingredients work together to create a cake that’s not only delicious but also visually appealing. If you’re looking for substitutions, you can use almond milk instead of whole milk for a dairy-free option, and vegetable oil can replace butter in the cake mixture, though it will slightly alter the flavor.
Instructions
- Step 1: Begin by preheating your oven to 350°F (175°C). Prepare two 9-inch round cake pans by greasing them and lining the bottoms with parchment paper. In a medium bowl, whisk together flour, sugar, and unsweetened shredded coconut. Set this mixture aside.
- Step 2: In a large mixing bowl, use an electric mixer to beat the butter until it’s creamy, then add eggs one at a time, beating well after each addition. Gradually mix in the flour mixture, alternating with milk, beginning and ending with the flour mixture. Beat in the vanilla extract. Divide the batter evenly between the prepared pans and smooth the tops.
- Step 3: Bake the cakes for about 25-30 minutes, or until a toothpick inserted into the center comes out clean. Let the cakes cool in the pans for 5 minutes, then transfer them to a wire rack to cool completely. Once the cakes are cool, you can start making the frosting by beating the butter and cream cheese until smooth, then gradually adding the powdered sugar and unsweetened shredded coconut until well combined.
- Step 4: To assemble the cake, place one cake layer on a serving plate and spread a thick layer of frosting on top. Place the second cake layer on top and frost the entire cake with the remaining frosting. You can decorate the cake with additional shredded coconut or toasted coconut flakes for a more festive look.
Handy Tips
- To ensure your cake is moist, don’t overmix the batter, and make sure to not overbake. The cakes are done when they’re lightly golden and a toothpick comes out clean.
- For the frosting, make sure the butter and cream cheese are at room temperature to ensure a smooth and creamy consistency.
- If you find the frosting too thick, you can thin it out with a little milk. If it’s too thin, you can refrigerate it for about 10 minutes to firm it up before using.
Heat Control
When baking the cakes, it’s crucial to keep an eye on the temperature and the baking time. The ideal temperature is 350°F (175°C), and the cakes should bake for about 25-30 minutes. You’ll know they’re done when they’re lightly golden on top and a toothpick inserted into the center of each cake comes out clean. Avoid opening the oven door too often during the baking time, as this can cause the cakes to sink or not cook evenly.
Crunch Factor
The crunch factor in this cake comes from the toasted coconut flakes you can use as a topping. To toast coconut flakes, simply spread them on a baking sheet and bake them in a 350°F oven for about 5-7 minutes, or until they’re lightly golden. Keep an eye on them to prevent burning. This adds a nice texture contrast to the moist cake and creamy frosting.
Pro Kitchen Tricks
- To ensure your cakes are perfectly level, you can use a cake leveler or a serrated knife to trim the tops once they’re completely cool.
- For a more intense coconut flavor, you can add a teaspoon of coconut extract to the batter and the frosting.
- If you’re not planning to serve the cake immediately, you can prepare the cakes and the frosting ahead of time and store them in the refrigerator for up to a day before assembling and serving.
Storage Tips
- The cake can be stored at room temperature for up to 3 days, covered with plastic wrap or aluminum foil.
- For longer storage, you can refrigerate the cake for up to 5 days. Let it come to room temperature before serving.
- Freezing is also an option; wrap the cake tightly in plastic wrap or aluminum foil and place it in a freezer-safe bag. Frozen cake can be stored for up to 2 months. Thaw overnight in the refrigerator before serving.
Gift Packaging Ideas
This creamy coconut cake makes a wonderful gift for friends, family, or coworkers. To package it as a gift, you can place the cake on a decorative cake stand or plate, and cover it with a clear plastic dome or wrap it in plastic wrap. Add a ribbon around the base of the stand or a gift tag with a personal message for a touch of elegance. If you’re gifting just the cake without the stand, consider placing it in a large, sturdy cake box lined with parchment paper or a cake keeper for protection during transport.
Flavor Variations
- 🌟 Different spices: Adding a pinch of salt or a teaspoon of cinnamon can enhance the flavor profile of the cake.
- 🌟 Creative toppings: Besides toasted coconut flakes, you can top the cake with fresh fruits like strawberries or blueberries, or even caramel sauce for a different twist.
- 🌟 Ingredient swaps: For a gluten-free version, you can replace all-purpose flour with a gluten-free flour blend. Additionally, using different types of milk, like almond or soy milk, can offer a non-dairy alternative.
Troubleshooting
- Texture problems: If your cake turns out too dense, it might be due to overmixing the batter. If it’s too dry, it could be overbaked. Adjust your mixing time and baking time accordingly in your next attempt.
- Ingredient replacements: Always try to use the ingredients listed in the recipe for the best results. However, if you need to make substitutions, do so with caution and in small increments to taste.
- Over/undercooking signs: Keep an eye on your cakes while they’re baking. If they’re undercooked, they’ll be soggy in the center. If they’re overcooked, they’ll be dry and possibly cracked on top.
FAQs
- Can I freeze it? Yes, you can freeze the cake for up to 2 months. It’s best to freeze it without the frosting, then thaw and frost it when you’re ready to serve.
- Is it gluten-free? The original recipe is not gluten-free, but you can make it gluten-free by substituting the all-purpose flour with a gluten-free flour blend.
- Can I double the recipe? Yes, you can double the recipe to make a larger cake. Just remember to adjust the baking time accordingly, as larger cakes take longer to bake through.
Conclusion
Making the best creamy coconut cake is a journey that’s as rewarding as it is delicious. With its moist texture, creamy frosting, and the perfect hint of coconut, this cake is sure to become a favorite. Don’t be afraid to experiment with different flavors and toppings to make the recipe your own, and don’t hesitate to reach out if you have any questions or need further substitutions or variations. Happy baking, and I hope you enjoy every slice of this heavenly creamy coconut cake!