Looking for a show-stopping dessert that’s easy to make? Try these homemade red velvet cupcakes made with simple ingredients and a quick cooking method, perfect as a family favorite, save for later and indulge in the sweetness
Red Velvet Cupcakes Made Easy – Your New Go-To Dessert!
Introduction
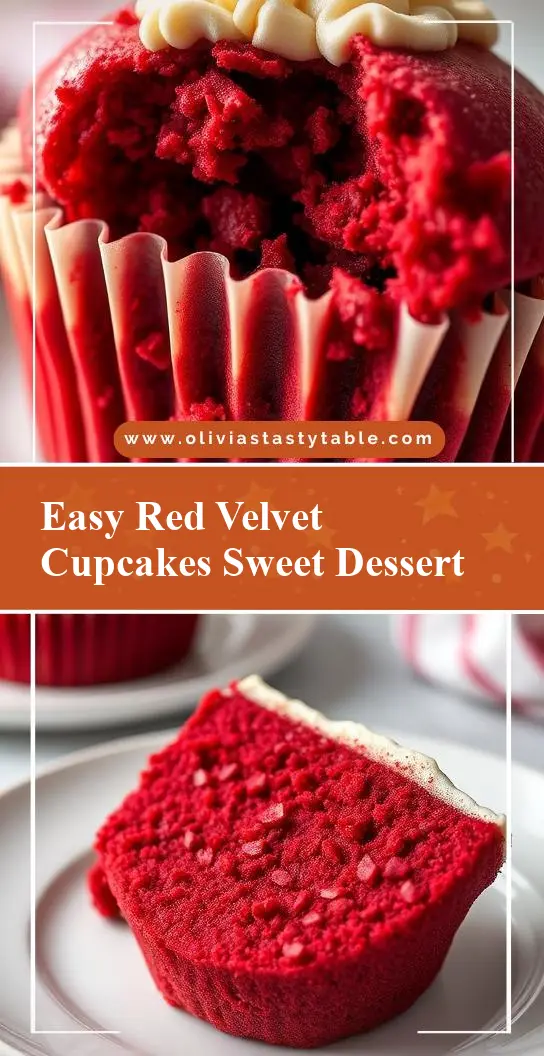
Imagine sinking your teeth into a moist, fluffy, and vibrantly colored red velvet cupcake, feeling the richness of the cream cheese frosting, and knowing that it was incredibly easy to make. Red velvet cupcakes have long been a favorite among dessert lovers, and for good reason. They offer a unique blend of flavors and textures that are both familiar and exciting. The best part? They can be made with everyday ingredients, allowing anyone to create these stunning desserts at home. Whether you’re a beginner in the kitchen or an experienced baker, this recipe for red velvet cupcakes is your key to unlocking a world of deliciousness with minimal fuss.
Why This Works
- Flavor balance and ingredient accessibility: This recipe strikes the perfect balance between the subtle cocoa flavor, the tanginess of buttermilk, and the sweetness of sugar, all of which are easily found in most supermarkets.
- Ease of preparation: The steps are straightforward, and the ingredients are simple to mix together, making it a great option for those short on time or new to baking.
- Impressive results with minimal effort: Despite the ease of preparation, these cupcakes are sure to impress with their vibrant color and delicious taste, perfect for gatherings, parties, or just a sweet treat.
Key Ingredients
To make these delightful red velvet cupcakes, you’ll need a few key ingredients. First, you’ll need all-purpose flour, granulated sugar, unsweetened cocoa powder, and baking powder for the cake base. Buttermilk adds a tangy flavor and moisture, while large eggs bind everything together. Vegetable oil is used instead of butter for a lighter texture, and red food coloring gives the cupcakes their signature color. For the frosting, you’ll need cream cheese, unsalted butter, vanilla extract, and powdered sugar. Practical substitutions can be made, such as using milk with vinegar as a buttermilk substitute, but the original ingredients will yield the best results.
Instructions
- Step 1: Begin by preheating your oven to 350°F (175°C). Line a 12-cup muffin tin with cupcake liners. In a medium bowl, whisk together flour, sugar, cocoa powder, and baking powder. In a large bowl, whisk together buttermilk, eggs, oil, and red food coloring.
- Step 2: Add the dry ingredients to the wet ingredients and mix until just combined, being careful not to overmix. Divide the batter evenly among the muffin cups.
- Step 3: Bake for 18-20 minutes, or until a toothpick inserted in the center comes out clean. Allow the cupcakes to cool completely in the pan before frosting.
- Step 4: For the frosting, beat the cream cheese and butter until smooth. Add the vanilla extract and powdered sugar, beating until combined and smooth. Frost the cooled cupcakes and decorate as desired.
Handy Tips
- Make sure to not overmix the batter, as this can lead to dense cupcakes. Stop mixing as soon as the ingredients are combined.
- For an extra moist cupcake, don’t overbake. Check for doneness a minute or two before the recommended baking time.
- Substitute buttermilk with a mixture of milk and white vinegar or lemon juice if you don’t have buttermilk on hand. Let it sit for 5-10 minutes to curdle before using.
Heat Control
When baking the cupcakes, it’s crucial to maintain the right oven temperature. An oven that’s too hot can lead to overcooked edges and undercooked centers, while an oven that’s too cool can result in cupcakes that don’t bake properly. Use an oven thermometer to ensure your oven is at the correct temperature. The cupcakes are done when a toothpick inserted into the center of a cupcake comes out clean, and they should spring back when touched lightly.
Crunch Factor
These cupcakes are designed to be tender and moist, not crunchy. To achieve this texture, make sure to not overbake them and to use the right amount of liquid ingredients. If you’re looking to add a crunch factor, you could top the cupcakes with chopped nuts or sprinkles before the frosting sets.
Pro Kitchen Tricks
- Use room temperature ingredients for a lighter and fluffier texture. This is especially important for the eggs and buttermilk.
- Don’t open the oven door during the baking time, as this can cause the cupcakes to sink or not bake evenly.
- For easier frosting, make sure the cupcakes are completely cool, and the frosting ingredients are at room temperature.
Storage Tips
- Frosted cupcakes can be stored in an airtight container in the refrigerator for up to 3 days. Allow them to come to room temperature before serving for the best flavor and texture.
- Unfrosted cupcakes can be frozen for up to 2 months. Thaw at room temperature or reheat in the microwave when needed.
- When storing, keep the cupcakes away from strong-smelling foods, as they can absorb odors easily.
Gift Packaging Ideas
These cupcakes make perfect gifts for friends, family, or coworkers. Consider packaging them in decorative cupcake boxes or bags, tied with a ribbon. You can also add a personal touch with a handwritten note or a small decorative pick on top of each cupcake. For a more rustic look, place the cupcakes in a mason jar or a wooden crate lined with parchment paper.
Flavor Variations
- 🌟 Different spices: Add a pinch of cinnamon or nutmeg to the batter for an extra depth of flavor.
- 🌟 Creative toppings: Top the cupcakes with fresh fruits, chocolate shavings, or caramel sauce for a unique twist.
- 🌟 Ingredient swaps: Replace the cream cheese frosting with a whipped cream or a chocolate ganache for a different flavor profile.
Troubleshooting
- Texture problems: If your cupcakes turn out too dense, it might be due to overmixing. If they’re too dry, they might have been overbaked.
- Ingredient replacements: Always try to use the exact ingredients called for in the recipe, but if you must substitute, do so with similar ingredients. For example, you can substitute cake flour for all-purpose flour, but you’ll need to adjust the liquid content.
- Over/undercooking signs: Keep an eye on your cupcakes while they’re baking. If they’re undercooked, they’ll be soggy in the center. If they’re overcooked, they’ll be dry and possibly cracked on top.
FAQs
- Can I freeze it? Yes, you can freeze both the baked cupcakes and the frosting separately for up to 2 months. Thaw and frost as needed.
- Is it gluten-free? No, this recipe contains wheat flour and is not suitable for those with gluten intolerance or sensitivity. However, you can experiment with gluten-free flours as a substitute.
- Can I double the recipe? Yes, you can easily double or triple this recipe if you’re making cupcakes for a large gathering. Just remember to adjust the baking time slightly if you’re making a larger batch.
Conclusion
Making red velvet cupcakes doesn’t have to be a daunting task. With the right ingredients and a bit of patience, you can create these stunning and delicious treats at home. Remember, the key to success lies in not overmixing the batter and not overbaking the cupcakes. Don’t be afraid to experiment with different flavors and toppings to make the recipe your own. Whether you’re a seasoned baker or just starting out, these red velvet cupcakes are sure to become a favorite. So go ahead, get baking, and share your creations with friends and family. Happy baking!