What’s your favorite campfire treat? Try our easy and quick Reese’s Campfire Marshmallow Cones made with marshmallows and chocolate, a homemade family favorite, save for later
Reese's Campfire Marshmallow Cones: A Sweet Firepit Treat
Introduction
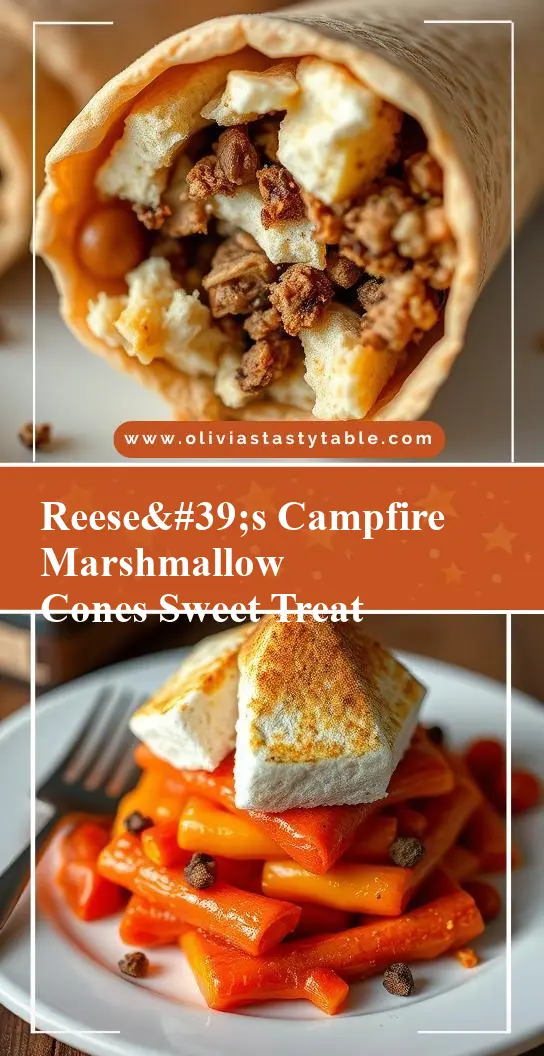
Imagine gathering around a warm, crackling fire with friends and family, the smell of toasted marshmallows and melted chocolate filling the air. Reese’s Campfire Marshmallow Cones are a delightful twist on traditional campfire treats, combining the beloved flavors of Reese’s peanut butter cups with the classic campfire delight of toasted marshmallows. This recipe is not only a treat for the taste buds, but it’s also incredibly easy to make and requires minimal ingredients, most of which you might already have on hand. The best part? It’s a versatile treat that can be customized to suit any taste, making it perfect for both kids and adults alike.
Why This Works
- Flavor balance and ingredient accessibility: The combination of peanut butter, chocolate, and marshmallows creates a perfect harmony of flavors that is both familiar and exciting. The ingredients are easily accessible and can be found in most grocery stores.
- Ease of preparation: One of the biggest advantages of this recipe is how simple it is to prepare. With just a few steps, you can have your Reese’s Campfire Marshmallow Cones ready in no time.
- Impressive results with minimal effort: Despite the ease of preparation, the end result is impressive and sure to delight both children and adults. The presentation is visually appealing, and the combination of textures and flavors is a real treat.
Key Ingredients
To make Reese’s Campfire Marshmallow Cones, you’ll need a few key ingredients. These include waffle cones, marshmallows, Reese’s peanut butter cups, chocolate chips (preferably milk chocolate for a sweeter treat), and peanut butter for added richness. For practical substitutions, you can use different types of chocolate chips or add nuts for extra crunch. If you’re looking for a gluten-free option, ensure that your waffle cones and chocolate chips are gluten-free. The beauty of this recipe lies in its flexibility, allowing you to customize it to your dietary needs and preferences.
Instructions
- Step 1: Begin by preparing your ingredients. Unwrap your Reese’s peanut butter cups and have them ready. If using nuts or any other toppings, prepare those as well. Place your chocolate chips in a microwave-safe bowl for easy melting later on.
- Step 2: Roast your marshmallows over the campfire or using a kitchen torch until they’re toasted to your liking. Some people prefer their marshmallows lightly toasted, while others like them more golden brown. The choice is yours.
- Step 3: Melt your chocolate chips in the microwave in 30-second increments, stirring between each interval, until smooth. Be careful not to overheat the chocolate. Once melted, dip the top of each waffle cone into the chocolate, then immediately place a toasted marshmallow on top. Follow this by placing a Reese’s peanut butter cup on the marshmallow, gently pressing it into place.
- Step 4: For the final touches, you can drizzle any remaining chocolate over the top of the Reese’s peanut butter cup or add nuts, sprinkles, or any other desired toppings. Place your cones on a piece of parchment paper or a silicone mat to set. Once the chocolate is set, your Reese’s Campfire Marshmallow Cones are ready to be enjoyed.
Handy Tips
- When toasting marshmallows, it’s helpful to use a stick or roasting fork to keep them at a safe distance from the flames. This also makes it easier to rotate them for even toasting.
- For an extra crunchy treat, consider dipping the bottom of the waffle cone in melted chocolate and then rolling it in chopped nuts or sprinkles before assembling the cone.
- If you’re having trouble getting the chocolate to set, try placing the cones in the refrigerator for about 10 minutes. This should help the chocolate harden and make the cones easier to handle.
Heat Control
When it comes to heat control, the most crucial part of this recipe is toasting the marshmallows. The ideal heat will depend on your method of toasting—whether it’s over a campfire or using a kitchen torch. For campfires, adjust the marshmallow’s distance from the flames to control the toasting speed. With a kitchen torch, move the flame slowly and steadily back and forth over the marshmallow to achieve an even toast. The sign of perfect doneness is when the marshmallow reaches your desired level of toastiness, ranging from lightly golden to deeply browned.
Crunch Factor
The crunch factor in Reese’s Campfire Marshmallow Cones comes from the waffle cone and any additional toppings you might choose, such as nuts. To achieve the perfect crunch, ensure that your waffle cones are fresh and that any toppings are added immediately after the chocolate is applied, so they stick well. If you’re looking for an extra crunchy treat, consider using crunchy peanut butter instead of smooth for an added texture.
Pro Kitchen Tricks
- One pro tip for working with chocolate is to use a double boiler or a heat-proof bowl set over a pot of simmering water to melt the chocolate. This method provides gentle heat and can help prevent the chocolate from seizing up or becoming too hot.
- For easier cleanup, lay down parchment paper or a silicone mat before starting your project. This will catch any stray chocolate drips or toppings, making cleanup a breeze.
- Consider making a batch of these cones ahead of time and storing them in an airtight container in the refrigerator. This can be a great way to prepare for a party or gathering, allowing you to enjoy your treats without the last-minute hustle.
Storage Tips
- Leftover storage: Store your Reese’s Campfire Marshmallow Cones in an airtight container in the refrigerator for up to 3 days. Allow them to come to room temperature before serving for the best flavor and texture.
- Reheating tips: If your cones have been refrigerated, you can let them sit at room temperature for about 30 minutes to soften the chocolate slightly before serving. Avoid reheating them in the microwave, as this can cause the chocolate to melt unevenly.
- Shelf life and best containers: The shelf life of your cones will depend on how well they’re stored. Keep them away from direct sunlight and moisture, and use a container that will protect them from getting crushed or damaged.
Gift Packaging Ideas
If you’re considering gifting your Reese’s Campfire Marshmallow Cones, there are several creative ways to package them. You could place each cone in a cellophane bag and tie the top with a ribbon, or arrange them in a gift basket filled with other sweet treats. For a more rustic look, consider packaging them in a wooden crate or a vintage picnic basket. Whatever method you choose, adding a personal touch, such as a handwritten note or a small memento, can make the gift even more special.
Flavor Variations
- 🌟 Different spices: Consider adding a pinch of cinnamon, nutmeg, or cayenne pepper to your melted chocolate for a unique twist on the classic flavor.
- 🌟 Creative toppings: In addition to nuts, you could use sprinkles, shaved coconut, or even crushed candy pieces to add color and texture to your cones.
- 🌟 Ingredient swaps: For a different take on the recipe, you could substitute the Reese’s peanut butter cups with another type of candy or use different flavors of chocolate chips.
Troubleshooting
- Texture problems: If your chocolate is too thick, you can thin it out with a small amount of shortening. If it’s too thin, you can try cooling it slightly or adding more chocolate chips.
- Ingredient replacements: If you don’t have Reese’s peanut butter cups, you could use a combination of peanut butter and chocolate chips to achieve a similar flavor.
- Over/undercooking signs: Keep an eye on your marshmallows while they’re toasting, as they can quickly go from perfectly toasted to burnt. If you’re using a kitchen torch, be cautious not to apply too much heat in one spot.
FAQs
- Can I freeze it? While you can store your Reese’s Campfire Marshmallow Cones in the refrigerator, freezing is not recommended, as the texture of the marshmallows and the chocolate can become unpleasantly affected.
- Is it gluten-free? This recipe can be gluten-free, depending on the ingredients you choose. Ensure that your waffle cones and any additional ingredients are gluten-free to accommodate dietary restrictions.
- Can I double the recipe? Yes, you can easily double or triple this recipe to make more cones. Just be sure to have enough ingredients and space to work comfortably.
Conclusion
Reese’s Campfire Marshmallow Cones are a delightful and easy-to-make treat that combines the best of campfire cooking with the indulgence of chocolate and peanut butter. Whether you’re gathering around the campfire or simply looking for a fun dessert to make at home, this recipe is sure to please. With its flexibility and ease of preparation, it’s perfect for both everyday enjoyment and special occasions. So go ahead, get creative, and make some unforgettable memories with your loved ones around the fire or in the comfort of your own home.