Craving comfort food? Try these easy garlic bread rolls made with homemade dough and savory garlic butter, perfect for a quick weeknight dinner, save for later
Garlic Bread Rolls
Introduction
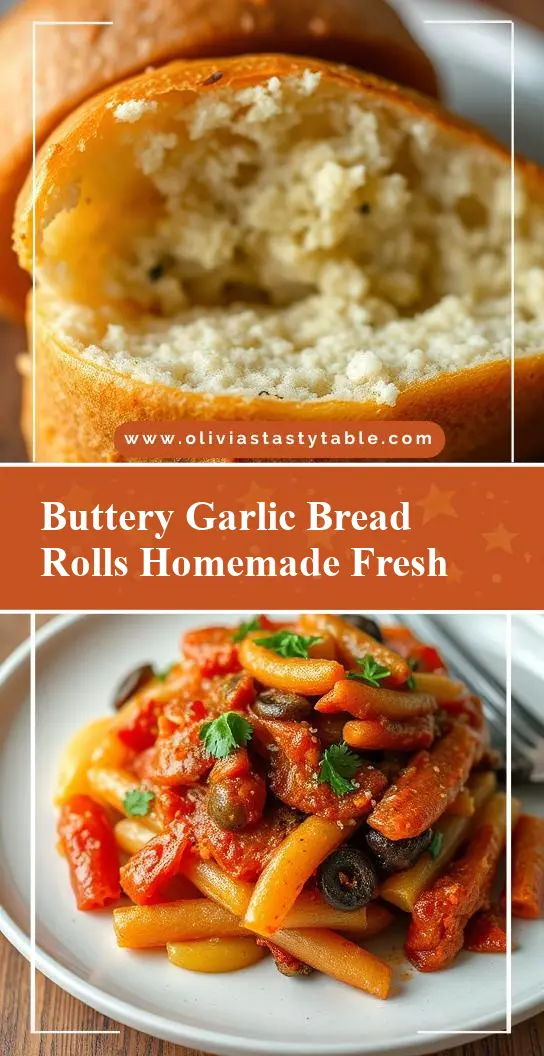
Imagine sinking your teeth into a soft, fluffy bread roll infused with the aromatic essence of garlic, perfectly balanced to satisfy your cravings without overpowering your senses. Garlic bread rolls are a culinary masterpiece that achieves this perfect harmony, using everyday ingredients in a creative and accessible way. What makes this recipe stand out is its ease of preparation, the impressive results it yields with minimal effort, and the versatility it offers in terms of flavor and presentation. Whether you’re a seasoned baker or a beginner in the kitchen, this recipe is designed to guide you through the process of creating delicious garlic bread rolls that are sure to become a favorite.
Why This Works
- Flavor balance and ingredient accessibility: The beauty of garlic bread rolls lies in their simplicity and the availability of ingredients. Garlic, bread, and a few basic seasonings are all you need to create a dish that’s full of flavor.
- Ease of preparation: The process of making garlic bread rolls is straightforward and doesn’t require advanced culinary skills. It involves mixing, kneading, letting the dough rise, shaping, and baking—steps that are easy to follow and execute.
- Impressive results with minimal effort: Despite the simplicity of the ingredients and the preparation process, garlic bread rolls can be quite impressive, especially when served fresh out of the oven. They make a great accompaniment to meals or can be enjoyed on their own as a snack.
Key Ingredients
The main ingredients for garlic bread rolls include high-quality bread flour, yeast, salt, sugar, warm water, butter, garlic (either fresh or in powdered form), and any additional seasonings or herbs you prefer. For the garlic butter, you’ll need softened butter, minced garlic, and a pinch of salt. Practical substitutions can be made for some ingredients; for example, you can use all-purpose flour if bread flour is not available, though the texture might be slightly different. Additionally, you can adjust the amount of garlic to your taste, and consider adding other ingredients like dried herbs (such as oregano or thyme) to enhance the flavor.
Instructions
- Step 1: Begin by activating the yeast in warm water with a teaspoon of sugar. Let it sit for about 5-10 minutes until it becomes frothy. Meanwhile, combine flour, salt, and any additional dry ingredients in a large mixing bowl.
- Step 2: Add the yeast mixture to the dry ingredients and mix until a dough forms. Knead the dough for about 10 minutes until it becomes smooth and elastic. Place the dough in a greased bowl, cover it, and let it rise in a warm place for about an hour, or until it has doubled in size.
- Step 3: Preheat your oven to 375°F (190°C). Punch down the dough and divide it into 8-10 equal pieces. Roll each piece into a ball and then flatten it slightly into a disk shape. Brush the tops with garlic butter (made by mixing softened butter with minced garlic and a pinch of salt). Fold the dough over the butter, forming a roll, and place the rolls onto a baking sheet lined with parchment paper, leaving about an inch of space between each roll.
- Step 4: Let the shaped rolls rise for another 30 minutes. Then, bake them in the preheated oven for 15-20 minutes, or until they are golden brown. Remove the garlic bread rolls from the oven and let them cool for a few minutes before serving.
Handy Tips
- Ensure your ingredients, especially the yeast, are fresh for the best results. Old yeast can fail to activate properly, leading to poor rising.
- Don’t overmix the dough, as this can lead to tough bread rolls. Mix the ingredients just until they come together in a shaggy mass, then knead.
- For an extra crispy crust and a softer interior, try baking the rolls with steam. You can achieve this by placing a pan of water in the oven while the rolls are baking.
Heat Control
The ideal temperature for baking garlic bread rolls is 375°F (190°C). The baking time can vary depending on the size of your rolls and your oven’s performance, but generally, they are done in 15-20 minutes. Signs of doneness include a golden brown color and a soft, fluffy interior. If you prefer a crisper crust, you can bake them for an additional 2-3 minutes, keeping a close eye to prevent burning.
Crunch Factor
The crunch factor in garlic bread rolls comes from the crust, which should be crispy on the outside and soft on the inside. To achieve this, make sure your oven is at the right temperature, and don’t overbake the rolls. Brushing the tops with egg wash or melted butter before baking can also enhance the crust’s texture and color.
Pro Kitchen Tricks
- For a more intense garlic flavor, roast the garlic before mincing it. Simply cut the top off a whole head of garlic, drizzle with olive oil, and roast at 400°F (200°C) for about 20-25 minutes, or until the cloves are tender and mashed easily.
- Use a stand mixer with a dough hook attachment to knead the dough, especially if you’re making a large batch. This saves time and effort.
- For cleanup, have a damp cloth ready to wipe down surfaces after kneading, and use a lightly oiled bowl for rising to prevent the dough from sticking.
Storage Tips
- Garlic bread rolls are best served fresh, but they can be stored in an airtight container at room temperature for up to 2 days. For longer storage, consider freezing them. Place the cooled rolls in a freezer bag or wrap them tightly in plastic wrap or aluminum foil and freeze for up to 2 months.
- To reheat, simply bake frozen rolls in a preheated oven at 350°F (175°C) for about 10-15 minutes, or until warmed through. You can also reheat them in the microwave, but be cautious not to overheat, as this can make the rolls dry.
Gift Packaging Ideas
Garlic bread rolls make a wonderful gift, especially when packaged thoughtfully. Consider placing freshly baked rolls in a decorative basket or tin, wrapped in a checkered cloth or paper. You can also package them in paper bags with a personal touch, such as a handwritten note or! a sprig of fresh rosemary. For a more elegant presentation, use a wooden crate or a large mason jar filled with the rolls, tied with a ribbon.
Flavor Variations
- 🌟 Different spices: Try adding a pinch of red pepper flakes for a spicy kick, or some dried oregano for an Italian twist.
- 🌟 Creative toppings: Before baking, sprinkle the tops with sesame seeds, poppy seeds, or grated cheese for added texture and flavor.
- 🌟 Ingredient swaps: Substitute some of the all-purpose flour with whole wheat flour for a nuttier flavor and denser texture, or use garlic scapes for a milder garlic flavor.
Troubleshooting
- Texture problems: If your rolls turn out too dense, it might be due to overmixing the dough. If they’re too dry, it could be from overbaking or using old ingredients.
- Ingredient replacements: If you’re out of an ingredient, consider what can be substituted without altering the flavor profile too much. For example, you can use garlic powder if you don’t have fresh garlic, though the flavor will be less vibrant.
- Over/undercooking signs: Keep an eye on your rolls while they’re baking. Undercooked rolls will be pale and soft, while overcooked ones will be dark and hard. Adjust the baking time as needed based on your oven’s performance.
FAQs
- Can I freeze it? Yes, garlic bread rolls can be frozen for up to 2 months. It’s best to freeze them after they’ve cooled completely to preserve their texture.
- Is it gluten-free? The traditional recipe for garlic bread rolls includes wheat flour, making it not gluten-free. However, you can experiment with gluten-free flours to create a version that suits dietary needs, though the texture and rise might be different.
- Can I double the recipe? Yes, you can easily double or triple the recipe if you’re serving a large crowd. Just ensure you have enough space for the dough to rise and for the rolls to bake without overcrowding the baking sheet.
Conclusion
Making garlic bread rolls is a rewarding baking experience that combines simplicity with impressive results. With a few basic ingredients and some straightforward steps, you can create a delicious treat that’s perfect for any occasion. Feel free to experiment with different flavors and toppings to make the recipe your own, and don’t hesitate to share your creations with friends and family. Whether you’re a beginner looking for a confidence-boosting recipe or a seasoned baker seeking a new favorite, garlic bread rolls are sure to delight. So go ahead, get baking, and enjoy the warm, comforting aroma of freshly baked garlic bread rolls filling your home.