Want a sweet treat in no time? Try these easy brown sugar cookies inspired by pop tarts, made with simple homemade ingredients, perfect for a quick family favorite dessert, save for later
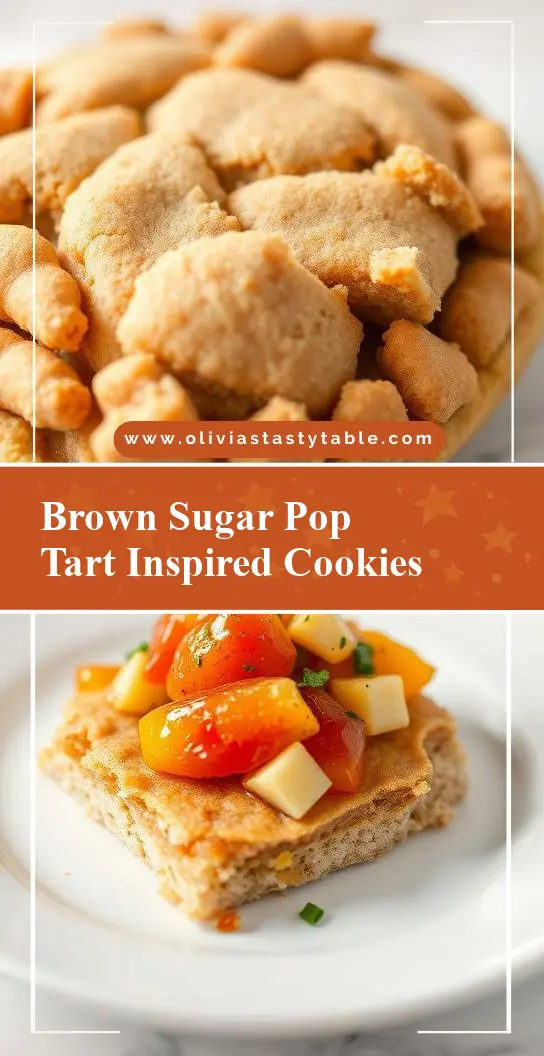
Brown Sugar Pop Tart-Inspired Cookies
Introduction
Indulge in the sweet, buttery goodness of homemade Brown Sugar Pop Tart-Inspired Cookies, where the simplicity of everyday ingredients meets the creativity of a classic childhood treat. These cookies are not only easy to make but also offer a depth of flavor that will satisfy any sweet tooth. By using brown sugar as the primary sweetener, these cookies achieve a richer, more caramel-like flavor profile that elevates them beyond a standard sugar cookie. The best part? They require minimal effort and can be customized with your favorite toppings or mix-ins, making them perfect for both beginners and seasoned bakers looking to add a personal touch to their creations.
Why This Works
- Flavor balance and ingredient accessibility: The combination of brown sugar, butter, and vanilla creates a well-balanced flavor that is both familiar and comforting. The ingredients are easily found in most kitchens, making this recipe highly accessible.
- Ease of preparation: The dough comes together quickly, and the process of rolling it out and cutting it into shapes is straightforward, even for those new to baking.
- Impressive results with minimal effort: Despite the simplicity of the ingredients and preparation, the end result is a batch of cookies that look and taste like they came from a professional bakery, perfect for impressing friends and family.
Key Ingredients
The foundation of these cookies is built around a few key ingredients: brown sugar, which provides the deep, caramel-like flavor; unsalted butter, which adds richness and tenderness; eggs, for moisture and binding; vanilla extract, to enhance the sweetness and depth of flavor; and all-purpose flour, which gives the cookies their structure. Practical substitutions can be made, such as using salted butter and omitting any additional salt called for in the recipe, or replacing a portion of the all-purpose flour with whole wheat flour for a nuttier flavor. However, keeping the brown sugar as the primary sweetener is crucial for achieving the signature flavor of these cookies.
Instructions
- Step 1: Begin by preheating your oven to 375°F (190°C). Line a baking sheet with parchment paper or a silicone mat. In a medium-sized bowl, whisk together the flour, baking powder, and salt. Set aside.
- Step 2: In a large bowl, use an electric mixer to cream together the butter and brown sugar until light and fluffy, about 2-3 minutes. Beat in the eggs one at a time, followed by the vanilla extract.
- Step 3: Gradually mix in the dry ingredients (flour mixture) until a dough forms. Wrap the dough in plastic wrap and refrigerate for at least 30 minutes to allow the flavors to meld and the dough to firm up.
- Step 4: On a lightly floured surface, roll out the dough to about 1/4 inch thickness. Cut into desired shapes using a cookie cutter. Place the cut cookies on the prepared baking sheet, leaving about 1 inch of space between each cookie. Bake for 12-15 minutes, or until the edges are lightly golden. Allow the cookies to cool on the baking sheet for 5 minutes before transferring them to a wire rack to cool completely.
Handy Tips
- Ensure your butter is at room temperature for easier mixing. If you’re in a hurry, you can soften it in the microwave in 10-second increments, checking until it’s ready.
- Don’t overmix the dough, as this can lead to tough cookies. Stop mixing once the ingredients come together in a cohesive ball.
- For an extra crispy cookie, bake for an additional 2-3 minutes. Keep an eye on them to prevent burning.
Heat Control
Maintaining the right oven temperature is crucial for baking these cookies. An oven that’s too hot can burn the cookies before they’re fully cooked, while an oven that’s too cool can result in undercooked or soggy cookies. Use an oven thermometer to ensure your oven is at the correct temperature. The cookies are done when the edges are lightly golden brown. Overcooking can make the cookies dry and less flavorful, so it’s better to err on the side of undercooking slightly, as they will continue to cook a bit after being removed from the oven.
Crunch Factor
The crunch factor of these cookies can be adjusted based on personal preference. For a crisper cookie, bake for a few minutes longer. For a chewier cookie, bake for a minute or two less. The key to achieving the perfect crunch is to keep an eye on the cookies during the last few minutes of baking and remove them from the oven when they reach your desired level of doneness.
Pro Kitchen Tricks
- Chill the dough: Allowing the dough to rest in the refrigerator will help the flavors to meld together and the gluten in the flour to relax, making the dough easier to roll out and resulting in a better texture.
- Use parchment paper: This makes cleanup easier and prevents the cookies from spreading too much during baking.
- Don’t overbake: Cookies continue to cook a bit after they’re removed from the oven, so taking them out when they’re lightly golden will help prevent overcooking.
Storage Tips
- Store cooled cookies in an airtight container at room temperature for up to 5 days. For longer storage, consider freezing the cookies in a single layer in a freezer-safe bag or container for up to 2 months. Frozen cookies can be thawed at room temperature or reheated in the microwave for a few seconds.
- For the best flavor and texture, it’s recommended to store cookies in a cool, dry place. Avoid storing them in humid environments or near direct sunlight.
Gift Packaging Ideas
These cookies make a wonderful gift, especially when packaged in a decorative tin or jar. Consider adding a ribbon around the lid and including a handwritten note with the recipe or baking tips. For a more rustic look, place the cookies in a paper bag and tie the top with twine. You can also package them in cellophane bags and tie with a ribbon for a more polished presentation. Adding a few decorative touches, such as sprinkles or small candies on top of the cookies, can make the gift even more special and personalized.
Flavor Variations
- 🌟 Different spices: Add a pinch of cinnamon, nutmeg, or cardamom to the dough for a unique twist on the classic flavor.
- 🌟 Creative toppings: Before baking, sprinkle the tops of the cookies with sea salt, chopped nuts, or shredded coconut for added texture and flavor.
- 🌟 Ingredient swaps: Replace some of the brown sugar with honey or maple syrup for a different flavor profile, or use almond extract instead of vanilla for a nutty taste.
Troubleshooting
- Texture problems: If your cookies turn out too hard, they may have been overbaked. If they’re too soft, they may have been underbaked. Adjust the baking time accordingly for the next batch.
- Ingredient replacements: If you’re out of a specific ingredient, consider what you can substitute it with. For example, if you don’t have brown sugar, you can make a substitute by mixing white sugar with a small amount of molasses.
- Over/undercooking signs: Keep an eye on your cookies during the baking time. If they start to brown too quickly, cover the baking sheet with foil to prevent burning. If they seem undercooked, give them a few more minutes but check frequently to avoid overcooking.
FAQs
- Can I freeze it? Yes, both the dough and the baked cookies can be frozen. Freeze the dough for up to 2 months and thaw overnight in the refrigerator before baking. Freeze baked cookies in an airtight container for up to 2 months and thaw at room temperature or reheat in the microwave.
- Is it gluten-free? The recipe as written is not gluten-free due to the use of all-purpose flour. However, you can experiment with gluten-free flours to create a gluten-free version. Note that gluten-free baking can be more unpredictable, and you may need to adjust the ratio of flours and add xanthan gum to help with texture.
- Can I double the recipe? Yes, you can easily double or even triple this recipe if you’re looking to make a larger batch of cookies. Just keep in mind that you may need to adjust the baking time slightly if you’re baking more cookies at once.
Conclusion
With these Brown Sugar Pop Tart-Inspired Cookies, you’re not just baking a treat; you’re creating a moment. Whether you’re sharing them with loved ones, gifting them to friends, or simply enjoying them on your own, the process and result are sure to bring joy. Don’t be afraid to experiment with different flavors and toppings to make the recipe your own. And remember, the most important ingredient in any recipe is love, so be sure to add a generous helping of that to your dough. Happy baking, and I look forward to hearing about your baking adventures and the delicious variations you come up with!